PoE2 Archmage Build Guide — The Ultimate Mana-Stacking Damage Multiplier
PoE2 Archmage build guide: the 100 Spirit buff, best classes (Spark Stormweaver, Arc Shaman), passive keystones, gear priorities and endgame scaling.
PoE2 Archmage Build Guide — The Ultimate Mana-Stacking Damage Multiplier
If you’ve been theorycrafting caster builds in Path of Exile 2, you’ve almost certainly heard the name Archmage thrown around in endgame discussions. It’s not a support gem you link to your spells like in PoE1 — it’s a 100 Spirit Persistent Buff that fundamentally rewrites the value of every point of Intelligence and Mana on your gear. In patch 0.5.4e, Archmage occupies high A-tier for endgame power, with top builds clearing 200% Delirium maps and one-shotting the Arbiter at maximum investment.
This guide covers everything you need to know: how Archmage scales, which class combinations dominate the meta, the keystones that make or break the build, gear priorities across every budget tier, and the exact leveling roadmap from Act 1 to Uber bosses. Let’s get into it.

What Is Archmage? (100 Spirit Persistent Buff, Not a Support Gem)
The single most common mistake returning PoE1 players make is trying to link Archmage to their spell. In PoE2, Archmage is fundamentally different — it’s a Tier 14 Persistent Buff / Lightning gem that reserves 100 Spirit and grants a passive effect to all your non-channelling spells while active.
Here are the base numbers:
- Primary Effect: Non-Channelling Spells gain 4% of Damage as extra Lightning damage per 100 maximum Mana
- Mana Cost Penalty: Non-Channelling Spells cost an additional 6.1–8% of max Mana on top of their base cost
- Level Requirement: Scales from level 1 to 90, with INT requirement from 4 to 157
- Quality Bonuses (20%): Up to +10% Reservation Efficiency, +1% extra Lightning per 100 Mana (bringing the total to 5%), and +2% additional mana cost
This means every single non-channelling spell you cast — Spark, Arc, Fireball, Comet, Hexblast — benefits from the Archmage buff automatically. You don’t socket it, you toggle it on like a herald or aura. The tradeoff is 100 Spirit that could otherwise fund other powerful buffs, plus increased mana expenditure on every cast.
How Archmage Scales (4% Extra Lightning per 100 Max Mana)
Archmage’s damage formula is straightforward but deceptively powerful. The 4% extra Lightning damage per 100 max Mana is a “more damage” multiplier — meaning it applies before critical strikes, gem level bonuses, and passive tree modifiers. This makes it multiplicative with virtually everything else in your build.
Here’s what the damage scaling looks like at key mana thresholds:
| Max Mana | Extra Lightning Damage | Build Stage |
|---|---|---|
| 1,500 | ~60% | Minimum viable threshold |
| 3,000 | ~120% | Break-even vs non-Archmage alternatives |
| 5,000 | ~200% | Strong endgame |
| 8,000+ | ~320%+ | Top-end mana-stacking builds |
But Archmage’s scaling doesn’t stop at raw damage. The real power comes from synergy with other mana-scaling mechanics:
- Force of Will (Stormweaver ascendancy) converts mana regeneration into cast speed — so every mana upgrade also makes you cast faster
- Mind Over Matter turns your mana pool into a damage buffer — so every mana upgrade also makes you tankier
- Arcane Intensity (passive notable) grants 3% increased Spell Damage per 100 max Mana — stacking multiplicatively with Archmage itself
- Intelligence → Mana conversion at a 2:1 ratio means every INT point on gear feeds directly into damage
The result? A single stat — maximum Mana — simultaneously powers your damage, your cast speed, and your effective health pool. This “triple duty” scaling is what makes Archmage builds so satisfying at high investment levels.

Best Class & Ascendancy Combinations (5 Options Ranked)
Archmage is cross-class viable, but the host ascendancy determines how effectively you can scale mana and convert it into overall power. Here are the five best options, ranked:
1. Stormweaver (Sorceress) — The Canonical Entry Point
Stormweaver is widely considered the default Archmage host for good reason. The ascendancy area contains 4% Maximum Mana passive clusters — a rarity across the full passive tree — and Force of Will connects your mana regeneration directly to cast speed. The recommended ascendancy order is: Storm’s Recollection → Refracted Infusion → Constant Gale → Force of Will. This is the best archetype for players transitioning into Archmage for the first time.
2. Shaman (Witch / Druid) — The Mana-Stacking Pinnacle
The Mana-Stacking Arc Shaman represents the absolute ceiling of Archmage power in 0.5.4e. Popularized by builder 787prada, this archetype pushes mana to extreme levels for Archmage + Temporalis + Runic Fork, combining MoM + EB for a 50,000 elemental max hit pool. The tradeoff: it’s extremely expensive, requiring multiple lineage gems and perfect jewel rolls. This is for players chasing the strongest possible version of the build.
3. Gemling Legionnaire (Warrior) — Budget Totem Archmage
A surprisingly potent budget option. Gemling Legionnaire’s attribute scaling lets you stack mana efficiently, and Arc totems deliver excellent single-target damage. Budget endgame versions work on just 2 Divine — making this the cheapest viable Archmage archetype. At maximum investment, Raxxanterax’s version achieves “millions of damage” and kills the Arbiter in roughly 1 second. Note that the 0.5 totem rework (75 Spirit per totem) hit this build, but it remains A-tier.
4. Invoker (Templar) — Whispering Ice Uber Killer
The Whispering Ice Invoker adopted Archmage as a permanent buff layer in 0.5, achieving approximately 3x more damage at the high end for uber boss content. This is a hybrid build where Archmage amplifies Whispering Ice’s comet-based core. It clears 200% Delirium maps and has the single-target burst to challenge every boss in the game — but demands a 500+ Divine budget.
5. Chronomancer (Sorceress) — Defensive Archmage Variant
Archmage Chronomancer trades some damage for unmatched survivability. Using Arc as the primary skill with Atziri’s Disfang + recoup for defense and Temporal Rift as a safety valve, this build is “difficult to get one-shot” but requires more active button management than the other archetypes. Best for players who value survival over pure DPS.
Three Meta Archetypes: Spark Stormweaver / Arc Shaman / Arc Totem
While all five class combinations are viable, three archetypes dominate the current meta in terms of player population and content clears:
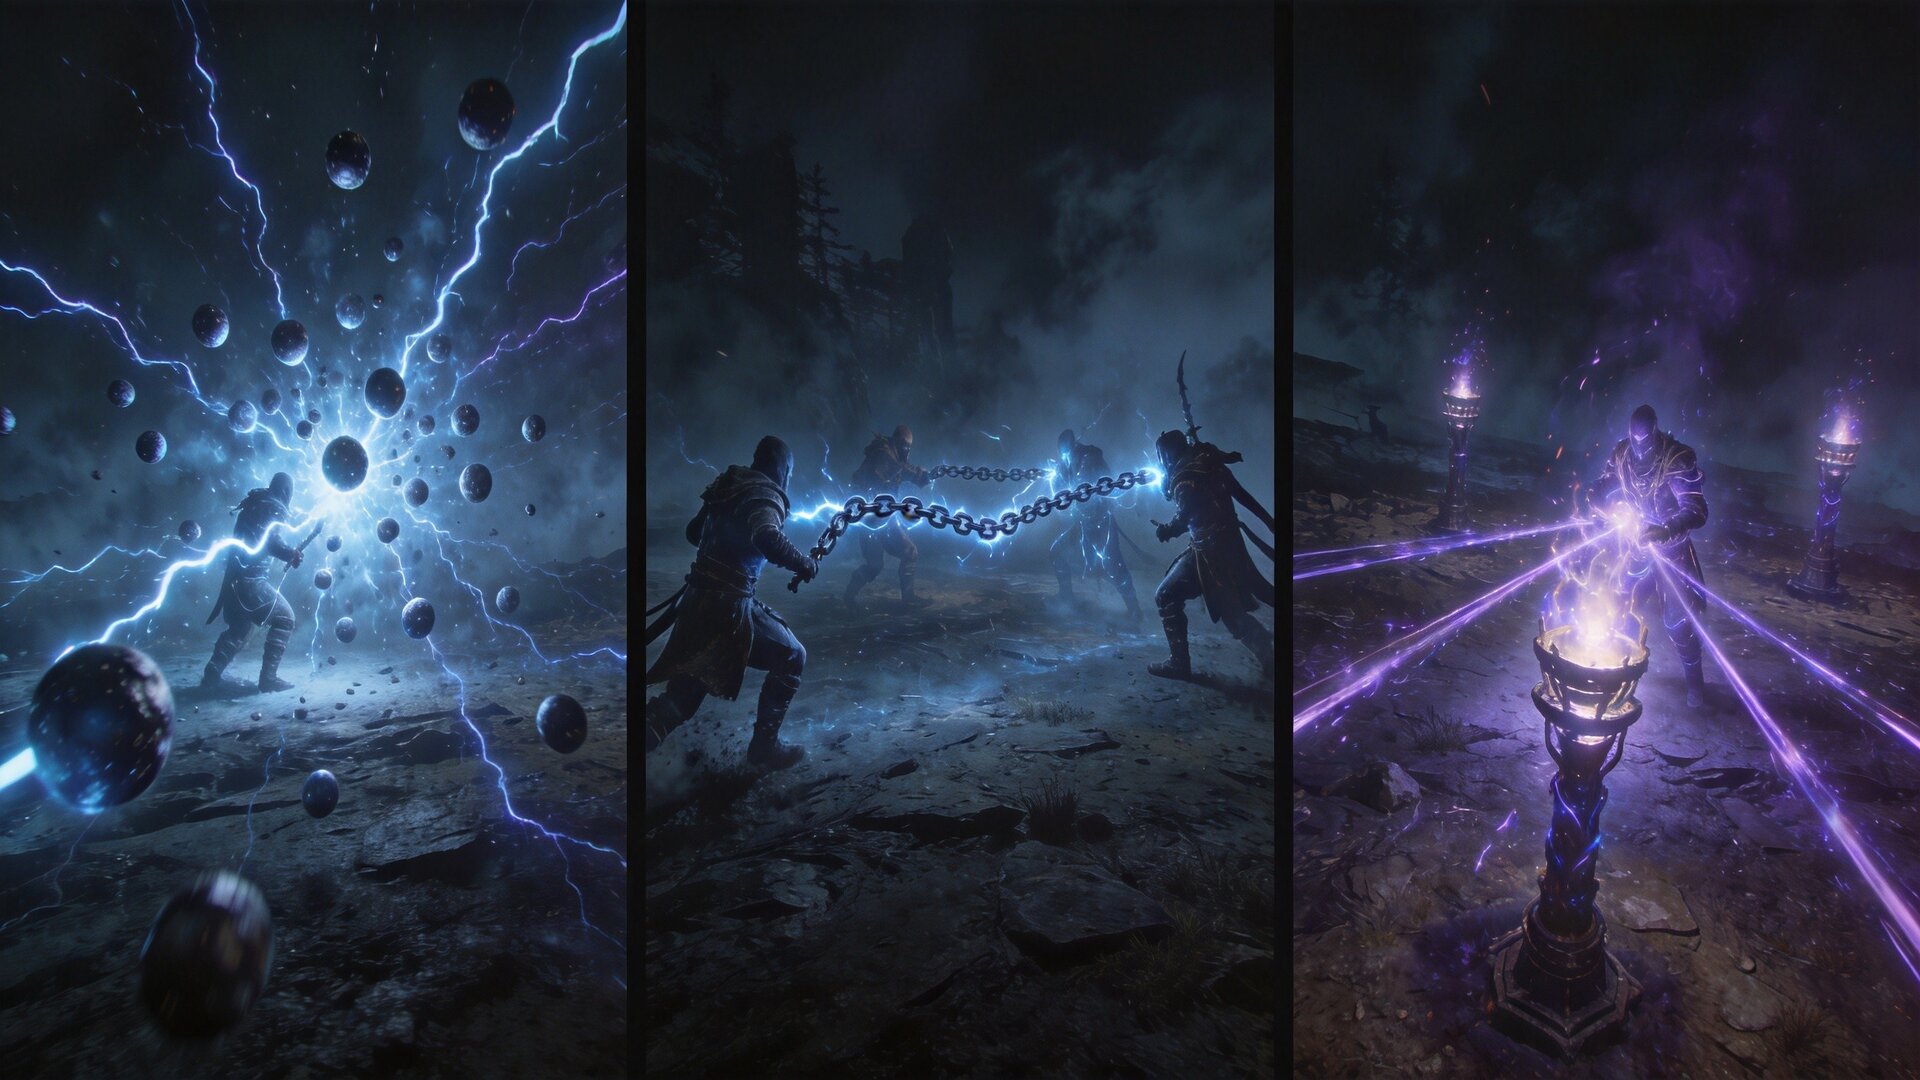
Spark Stormweaver is the most popular entry point. Screen-filling bouncing projectiles scaled by your entire mana pool turn map clearing into a walking simulator — you hold Spark, walk forward, and watch everything dissolve. The downside is single-target damage, which can feel lackluster against bosses unless you invest heavily.
Mana-Stacking Arc Shaman is the “do everything” build. Arc chains between enemies for solid clear, and the single-target damage ceiling is the highest of any Archmage variant. The catch: this is also the most expensive build to construct, with multiple lineage gems and perfect jewels required to reach its full potential.
Arc Totem Gemling Legionnaire occupies a unique niche. Totems provide screen-wide coverage and exceptional single-target damage, while the Gemling Legionnaire’s attribute efficiency keeps costs manageable. This is the best archetype for players who prefer a “place totems and watch” playstyle, or who want a budget-friendly path into Archmage content.

Passive Tree Keystones & Notables (MoM, EB, CI Trifecta)
The defensive backbone of virtually every endgame Archmage build rests on three keystones that create a single-pool mana system:
The Big Three
Mind Over Matter (MoM) — All damage is taken from Mana before Life, with 50% less Mana Recovery Rate. This is S-tier for any INT build because it means your mana pool is simultaneously your damage source and your health pool. Rated the single most important keystone for Archmage.
Eldritch Battery (EB) — Converts all Energy Shield to Mana but doubles all mana costs. This dramatically expands your mana pool since every piece of ES on gear converts directly into more Archmage damage. Use Lifetap Support to completely bypass the doubled mana cost penalty — this is a key high-end optimization. Note that global %ES passives do nothing after conversion, so only flat ES values matter.
Chaos Inoculation (CI) — Maximum Life becomes 1, and you gain immunity to Chaos Damage. Combined with MoM + EB, this completes the single-pool system where mana handles both offense and all incoming damage types. You’ll never need Life on any piece of gear.
Timing matters. Take MoM + EB when you acquire the Midnight Braid belt and the Adverse Growth notable. Take CI when entering maps, provided you have at least 3,000 Mana + 1,000 ES. Do not take all three simultaneously until your mana sustain can survive heavy hits.
Key Notable Passives
| Notable | Effect | Priority |
|---|---|---|
| Arcane Intensity | 3% increased Spell Damage per 100 max Mana | Critical — take ASAP |
| Pure Power | Bonus damage per Intelligence | Critical — stacks with everything |
| Overload | 10–15% Lightning Resistance Penetration at Low Mana | High — huge DPS increase |
| Branched Bolts | Additional Spark projectiles | High (Spark builds only) |
| Adverse Growth | Mana/ES scaling synergy | High — enables MoM+EB transition |
The Respec Strategy
During early leveling, prioritize flat damage passives (spell damage, lightning damage). After reaching ~1,500 Mana around Act 6, respec toward Intelligence and Mana nodes — passives like Pure Power and Arcane Intensity make flat damage nodes completely inefficient by comparison. The endgame tree objective is simple: take as much Mana and Jewel Sockets as possible.
Gear Priority & Budget Tiers (2 Div → God Tier)
Stat Priority on Every Rare Item
- Gem Levels & Spell Damage — Both scale all damage sources equally
- Maximum Mana — The core scaling stat; want it on every rare
- Crit Chance / Crit Multi — Scales well with high base damage
- Elemental / Lightning Damage — Additive but still valuable
- Intelligence — Converts to mana at 2:1 ratio
- Life — Only if not running CI; irrelevant with CI online
Key Unique Items
| Item | Slot | Purpose | Budget |
|---|---|---|---|
| Midnight Braid | Belt | Mana recoup — enables MoM+EB transition | Mid (~15 Div) |
| Morior Invictus | Body | %Mana + Spirit, 5-socket chest | Mid-High |
| Atziri’s Communion | Lineage Gem | Reserves life instead of mana — enables low-life bonuses | High (~50 Div) |
| Rakiata’s Flow | Lineage Gem | Core high-end damage multiplier | Very High (~100+ Div) |
| Uhtred’s Augury | Lineage Gem | Spell damage / cast speed scaling | High |
| Dialla’s Desire | Lineage Gem | Skill level / mana scaling | High |
| Uhtred’s Omen | Lineage Gem | Additional damage / utility | High |
The Non-Negotiable: 2% Mana on Kill Jewels
In MoM + CI Archmage builds, infinite mana equals infinite life. Jewels with 2% Mana on Kill mean every kill refills 2% of your mana pool. With multiple of these jewels socketed, you become effectively unkillable while clearing packs — and since mana is your health pool, this is both sustain and defense in one modifier. Budget multiple Divines for jewels with this specific roll.
Budget Tiers at a Glance
Budget (~2–10 Divine): Basic Spark Stormweaver or Arc Totem GL. 1,500–2,500 Mana, no lineage gems, basic rares with mana and INT. Clears T15 maps and quest pinnacle bosses.
Mid-Budget (~30–100 Divine): Midnight Braid + first lineage gem + 2% MoK jewels. 3,000–5,000 Mana with EB conversion, full MoM+EB+CI. Clears T18 maps, all non-uber pinnacle bosses, moderate Delirium (50–100%).
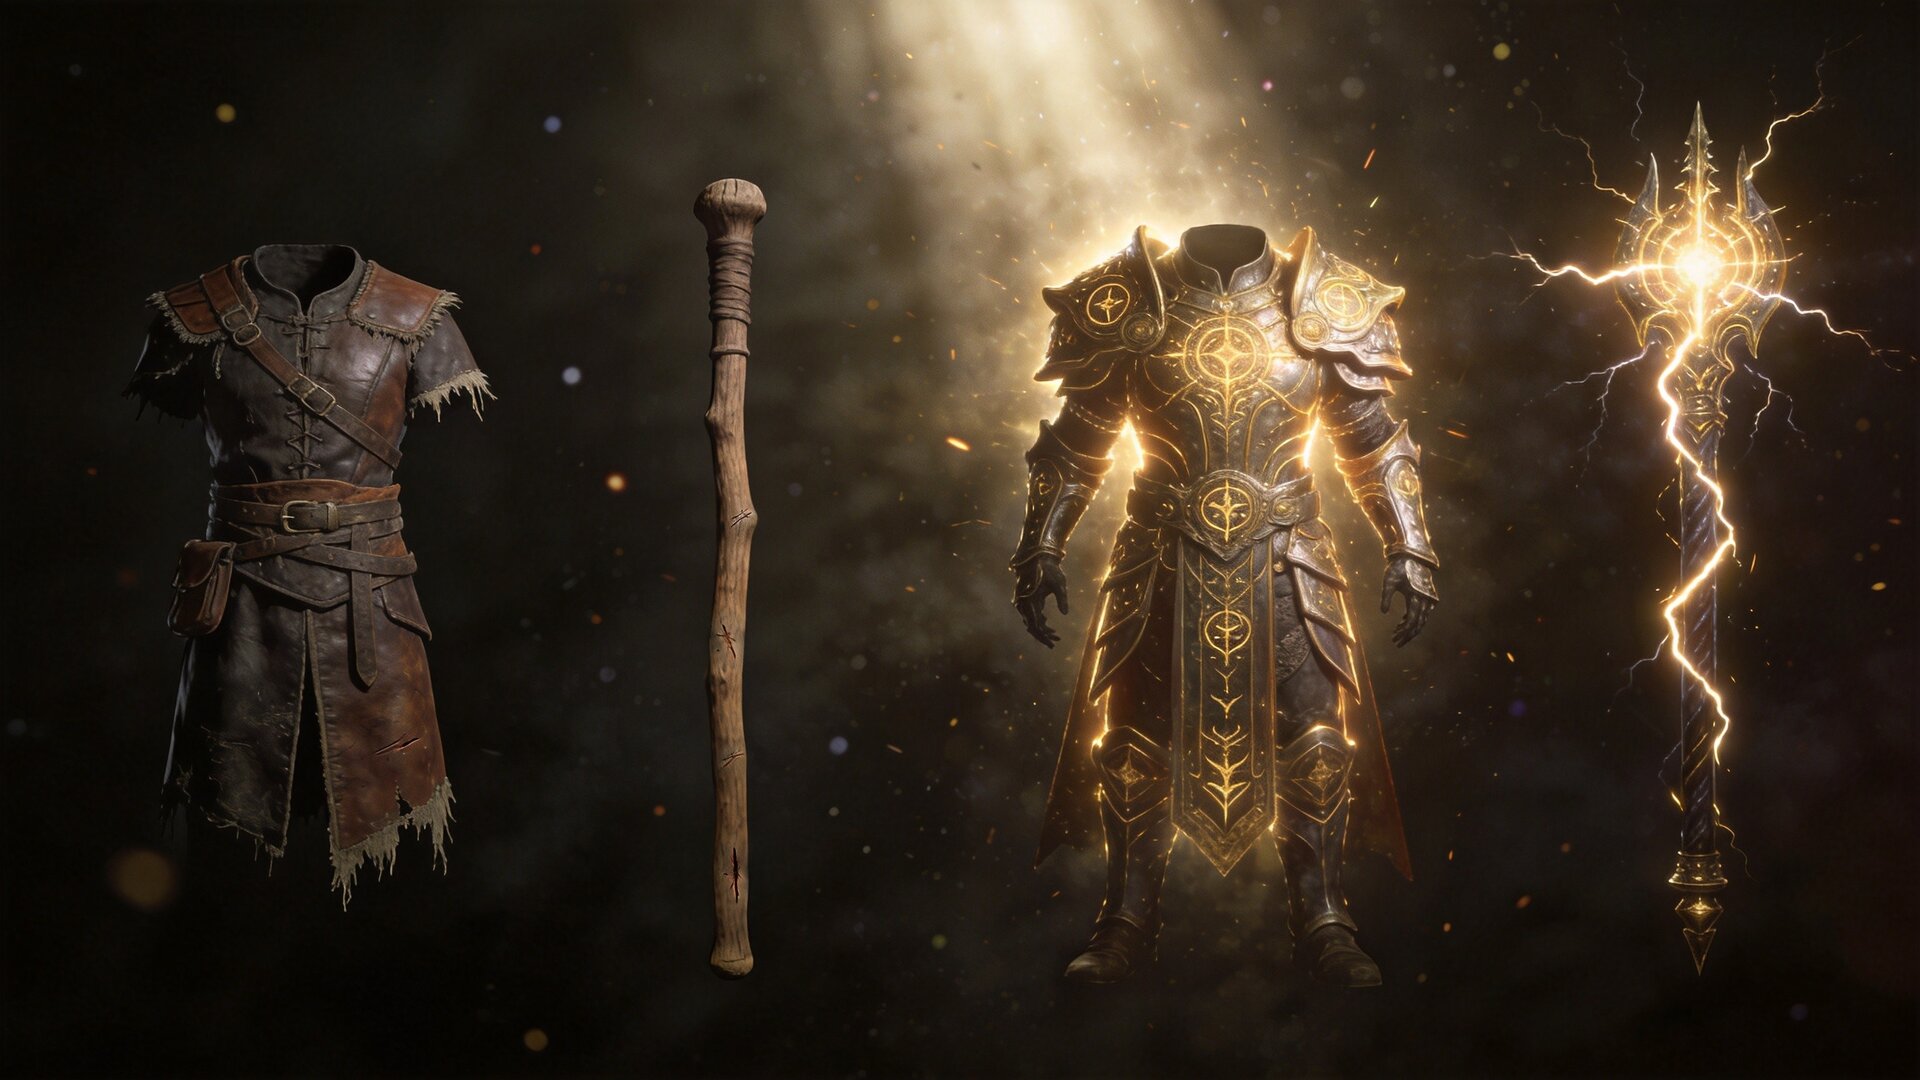
God-Tier (500–800+ Divine): All lineage gems (+7 to +11 skill levels), 5,000–8,000+ Mana, 50k elemental max hit, perfect jewels. Clears 200% Delirium with 20 modifiers, all Uber bosses, Arbiter in ~1 second.
Leveling Roadmap (1–100)
Levels 1–30 (Acts 1–3): Do NOT Use Archmage
Your mana pool is too small — the 100 Spirit reservation returns less damage than flat alternatives. Run Spark + Arcane Tempo + Pierce with Flame Wall support. Prioritize flat spell damage passives and take All Natural early.
Levels 30–60 (Acts 4–6): Build the Mana Foundation
Still no Archmage, but start stacking Intelligence nodes and pathing toward mana clusters on the passive tree. Upgrade your Spark links (add Rising Tempest, Mana Tempest). At 60 Spirit, slot Blasphemy + Conductivity for damage amplification.
Levels 60–80 (Act 6–End of Campaign): The Archmage Window
This is your transition phase. Enable Archmage once you hit 100 Spirit and 1,500+ Mana — you may need to remove your Blasphemy setup to free the Spirit. Add Lightning Exposure on Orb of Storms. Begin respeccing from flat damage nodes toward mana/INT scaling nodes like Arcane Intensity and Pure Power.
Rule of thumb: Do NOT slot Archmage below 1,500 Mana. Do NOT fully transition below 3,000 Mana + 3,000 ES.
Levels 80–90 (Early Maps): Defensive Layers Online
Acquire the Midnight Braid belt and take MoM + EB keystones. Farm for your first 2% Mana on Kill jewels. If you have 3,000+ Mana and 1,000+ ES, take Chaos Inoculation. Build should feel tanky with solid damage through T10 maps.
Levels 90+ (Endgame): Full Optimization
Maximize jewel sockets, target 2% MoK on every jewel. Acquire lineage gems in priority order: Rakiata’s Flow → Atziri’s Communion → Uhtred’s Augury → Dialla’s Desire → Uhtred’s Omen. Push toward 5,000–8,000+ Mana. Add Lifetap Support if running EB. Work toward 200% Delirium and Uber bosses.
Endgame Performance: Mapping vs Bossing
Archmage’s endgame performance varies significantly by archetype:
Spark Stormweaver dominates mapping with screen-filling auto-targeting projectiles and fast pace, but single-target damage against bosses is its weakest point. Expect to clear T18 maps comfortably and handle most pinnacle bosses, but uber boss kills will take longer than dedicated bossing builds.
Mana-Stacking Arc Shaman is the “do everything” build — Arc chains provide solid clear while the single-target ceiling is the highest of any Archmage variant. This is the only archetype that comfortably clears all content including Uber bosses at maximum investment.
Arc Totem Gemling Legionnaire offers a unique split: totems provide excellent screen coverage for mapping and devastating single-target for bossing. At high budget, this is the build that achieves the famous “Arbiter in 1 second” clear.
The universal strength across all archetypes: mana sustain from kills — with 2% MoK jewels, clearing packs equals a full heal. The universal weakness: boss fights without kills require careful mana management through flasks and regeneration.
When NOT to Use Archmage (Transition Point Analysis)
Archmage is not always the right choice. Here’s when you should skip it:
Below 1,500 Mana — The 100 Spirit reservation simply isn’t worth it. Flat damage buffs outperform the mana-scaling multiplier at low mana levels. You’re literally losing DPS by running Archmage.
Below 3,000 Mana + 3,000 ES — The break-even point where Archmage starts outperforming a non-Archmage variant of the same build. Below this threshold, those 100 Spirit are better spent on other persistent buffs like auras or heralds.
League Start (Days 1–7) — You cannot start as Archmage. Period. The gear and mana requirements make it impossible to function in the early game. Start as a normal Stormweaver or other caster, then transition mid-league once your mana pool grows.
Extremely Tight Budgets — If you can’t afford any mana-focused gear or the Midnight Braid belt, Archmage will feel underpowered. A well-geared non-Archmage build will outperform a poorly-geared Archmage build every time.
Comparison: Archmage vs Non-Archmage Variants
| Metric | Archmage Spark Stormweaver | Non-Archmage Spark Stormweaver | Frost Chronomancer |
|---|---|---|---|
| Damage Ceiling | ★★★★★ | ★★★★ | ★★★★ |
| Map Clear Speed | ★★★★★ | ★★★★ | ★★ |
| Single-Target | ★★★ (Spark) / ★★★★★ (Arc) | ★★★ | ★★★★★ |
| Survivability | ★★★★ (MoM+EB+CI) | ★★★ | ★★★★★ |
| League Start | ★★ (transition at Act 6) | ★★★★ | ★ |
| Budget Required | High (3k Mana floor) | Low–Medium | Medium |
| Complexity | Medium–High | Low–Medium | High |
The key insight: Archmage is not a standalone build — it’s a damage multiplier you layer onto existing caster builds. Non-Archmage Stormweaver is a perfectly functional B-tier build on its own: great clear, low gear dependency, works as a league starter. Archmage is what you upgrade into when you have enough mana to make the investment pay off.
Frost Chronomancer is the alternative: cooldown-based burst windows, unmatched survivability via Temporal Rift, but mediocre clear speed and a steep learning curve. Pick Archmage for speed and screen-clear satisfaction; pick Chronomancer for safety and bossing precision.
Final Verdict
Archmage in PoE2 patch 0.5.4e is a high A-tier endgame damage multiplier — approaching S-tier at extreme investment levels. It transforms good caster builds into exceptional ones by converting every point of Mana into damage, cast speed, and defense simultaneously.
The recommended path: start as Spark Stormweaver, transition at Act 6 with 1,500 Mana, fully commit at 3,000 Mana + 3,000 ES with Midnight Braid enabling your MoM + EB core. From there, every mana upgrade is simultaneously a damage and defense upgrade — the kind of scaling that makes gear hunting incredibly rewarding.
For players chasing the absolute peak, the Mana-Stacking Arc Shaman delivers the highest combined damage and defense ceiling in the game, at the cost of requiring a 500+ Divine investment. The Arc Totem Gemling Legionnaire remains the best budget entry point at just 2 Divine.
Whatever your budget, Archmage rewards patience and gear investment with some of the most satisfying damage scaling in Path of Exile 2. Stack that mana, watch the numbers explode, and enjoy every second.
This guide covers patch 0.5.4e (Return of the Ancients). The meta may shift with future patches — always verify gem values against current game data. Build references sourced from Mobalytics, Switchblade Gaming, Overgear, Odealo, and the official PoE forums.
Was this guide helpful?
Help us improve PoE2Path with your feedback.