PoE2 Defensive Layer Guide — Armor, Evasion, ES & Runic Ward Explained
PoE2 defensive layers explained for patch 0.5.x: Armor, Evasion, Energy Shield, Runic Ward, Deflection and resistances, with damage calculation order.
Path of Exile 2’s Patch 0.5 — Return of the Ancients — delivered the most sweeping overhaul of the defensive system since early access. Runic Ward arrived as an entirely new survival layer, Deflection got a formula rework that turned it from a niche mechanic into a meta cornerstone, and Energy Shield took a significant recharge nerf that reshaped every ES build in the game. If you’re still stacking defences the way you did in 0.4, your character is bleeding effective health.
This guide breaks down every defensive layer in PoE2, explains the exact damage calculation pipeline, and shows you how to combine layers into a build that actually survives endgame content. Whether you’re chasing the Evasion-Deflection meta, scaling Armour into elemental territory, or pushing Runic Ward to its limits, this is the full picture.

The Damage Calculation Order — Know Your Pipeline
Before diving into individual layers, you need to understand the order in which PoE2 processes incoming damage. This isn’t trivia — it determines which layers protect you from what, and how they interact. Defences don’t apply simultaneously. They stack in a fixed eight-step sequence:
- Hit Avoidance — The game checks whether the hit lands at all. Evasion operates here, along with Dodge Roll. Spells skip this step entirely — they are never subject to evasion or accuracy.
- Damage Calculation — Base hit damage is computed, including crits and variance. No player defence applies here.
- Damage Taken As — Modifiers like “Physical Damage Taken as Lightning” shift damage types so they hit your stronger protections.
- Mitigation — Armour (physical, or elemental if you have the conversion modifier), Additional Physical Damage Reduction, and Resistances all apply. Each layer is individually capped at 90%.
- Damage Taken Modifiers — “Less Damage Taken” and “More Damage Taken” effects like Fortify and Intimidate apply here, multiplicative with everything above.
- Stun Check — Stun is calculated against remaining damage relative to your max life.
- Block — Block is checked after all damage reduction. It prevents the final reduced amount, not the original hit.
- Resource Loss — Remaining damage drains from your health pools in order: Sorcery Ward → Guard (Charms) → Energy Shield → Mana → Life → Runic Ward.
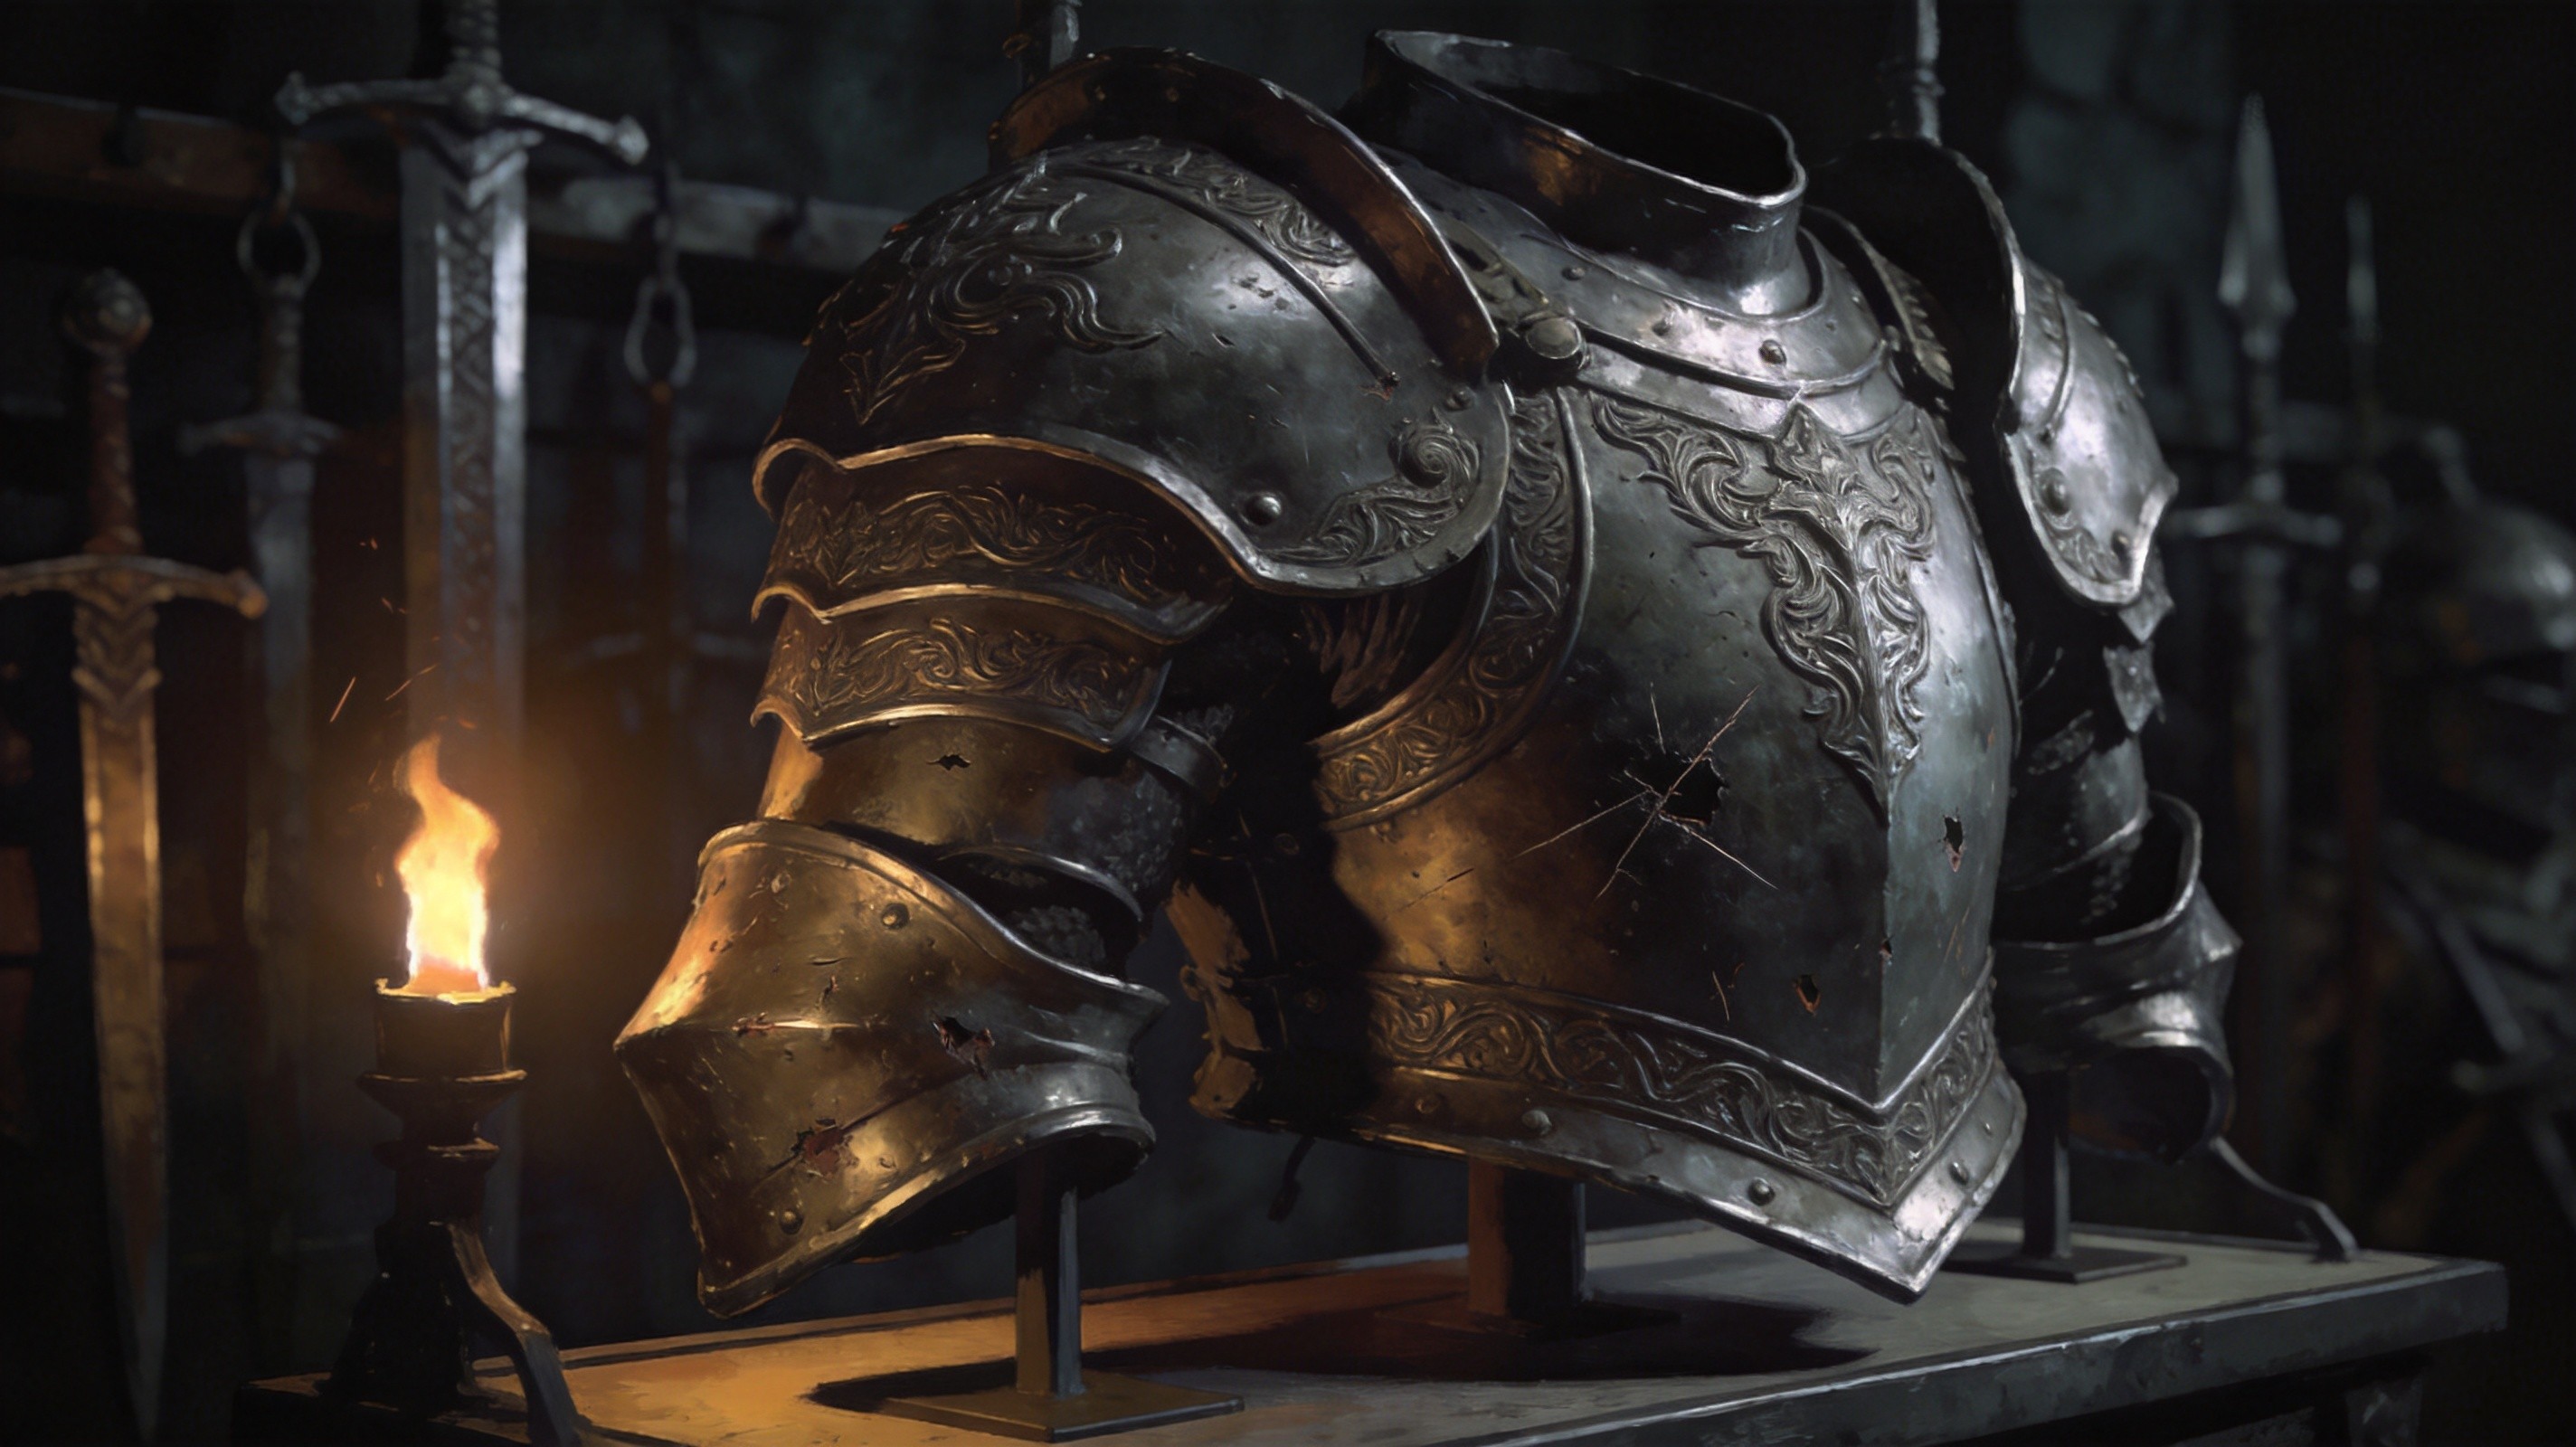
Understanding this order reveals why certain layer combinations are so powerful. Armour applied to elemental damage (Step 4) is calculated before resistances — meaning they stack multiplicatively, not additively. With 50% armour reduction against elemental and 75% resistance, you’re taking just 12.5% of the original damage. That equivalence is why the “Armour applies to Elemental Damage” modifier dominates the 0.5 meta.
Armour — The Physical Damage Gate
Armour reduces incoming physical hit damage through a non-linear formula:
Damage Reduction = Armour ÷ (Armour + 12 × Damage) — capped at 90%
The formula is brutally honest about its limits. Reaching 50% reduction requires armour equal to roughly 12× the hit damage. Against a 4,000-damage physical boss slam, even 25,000 armour only delivers around 34% reduction. You need to be north of 83,000 armour for meaningful endgame physical mitigation against heavy hits.
The practical takeaway is straightforward: armour excels against frequent small-to-medium damage — trash mobs, bleed ticks, environmental hits — but should never be your sole defence against big boss attacks. Pair it with a life pool large enough to absorb what punches through.
The game-changer in 0.5 is the ”% of Armour also applies to Elemental Damage” modifier, available in tiers from 14–19% up to 44–50%. This lets armour mitigate elemental hits before resistances kick in, creating a multiplicative stack that can nearly nullify elemental penetration mods on maps. Conditional armour bonuses (against crits, against projectiles, etc.) stack additively with each other, so a build with 200% armour against crits and 150% against projectiles defends with 350% of base armour against a critical strike projectile.

Evasion — Hit Avoidance, Not Chance
Evasion gives you a chance to completely avoid incoming attack damage. Key points:
- Chance to be hit floors at 5%, so effective evasion caps at 95%.
- An internal entropy counter smooths outcomes — no long streaks of hits or misses, making evasion feel more reliable than its raw percentage suggests.
- Does not work against spells. Spells bypass evasion entirely.
- Dexterity does not grant Evasion in PoE2 — attributes give only flat bonuses, unlike PoE1.
Evasion’s real power in 0.5 comes from its synergy with Deflection. Since Deflection rating scales off your Evasion rating, investing in evasion simultaneously improves both layers. More on that below.
Energy Shield — Nerfed but Not Dead
Energy Shield sits on top of your Life as a secondary health pool. It recharges automatically after 4 seconds of no ES damage, at a base rate of 12.5% of max ES per second. Chaos damage deals double to ES, and Poison and Bleeding bypass it entirely.
Patch 0.5 hit ES hard:
- Small passive nodes that granted 15% increased recharge rate were replaced with weaker 6% faster start of recharge nodes.
- Intelligence-based armour bases can no longer roll ES recharge modifiers.
- Bastion of the Forest dropped from 15% to 10% faster start.
- Ghost Dance changed from 5% instant ES recovery on evasion to a passive 2% of Evasion as ES regeneration per second — a significant downgrade.
The result: ES builds now need a larger raw pool rather than fast recharge cycling. The playstyle has shifted toward hit-and-run — engage, deal damage, disengage to let recharge kick in. CI (Chaos Inoculation) builds remain viable but demand more investment to feel comfortable, particularly the 1-HP CI Monk archetype sitting around 5,900 ES at level 90.
Runic Ward — Your Second Life Bar
Runic Ward is the marquee defensive addition of 0.5. It activates only when your Life hits 1, at which point incoming damage is absorbed by Ward instead. It regenerates independently at 5% per second and is unaffected by “Defences” modifiers (which explicitly apply only to Armour, Evasion, and ES).
You gain Runic Ward through Runeforging on armour pieces. Gear below level 55 gains Ward with no downside — it’s free extra defence. Above level 55, you trade some base Armour, Evasion, or ES for Ward, creating a real decision point.
For pure survivability, Runic Ward functions as a literal second life bar. A character with 2,000 Runic Ward effectively has 2,000 extra HP that activates at the brink of death. This is transformative against one-shot mechanics in high-tier endgame and hardcore leagues. Runic Ward also doubles as a resource for Kalguuran skill gems — 21 skill gems and 8 support gems consume Ward instead of mana.

Deflection Reworked — The Biggest Winner of 0.5
Deflection got a complete formula overhaul that transformed it from a fringe option into one of the strongest defensive mechanics in the game. When you successfully deflect a hit, damage is reduced by 40%. Crucially, it works against all hits — including boss attacks and spells, which Evasion cannot touch.
The new formula:
Chance to Deflect = 150 × (1 − A ÷ (A + 0.12 × D)) — capped at 95%
Where A is attacker accuracy and D is your deflection rating. Against a typical endgame boss with 20,000 accuracy, reaching the 95% cap requires approximately 28,800 deflection rating — far more accessible than the old formula demanded.
The primary source of Deflection rating is ”% of Evasion Rating as Deflection Rating.” This conversion happens after all Evasion scaling, so a character with 200% increased Evasion and 10% of Evasion as Deflection calculates deflection on the fully scaled number. The Wild Cat notable now grants 12% Evasion as Deflection (up from 10%), and small passives grant 8% (up from 6%).
The Evasion + Deflection combination is widely considered the strongest defensive setup in 0.5. Here’s why it works so well:
- Double-layered. Evasion tries to avoid the hit entirely against attacks. If it connects, Deflection gives another roll to cut damage by 40%.
- Covers each other’s gaps. Evasion fails against spells; Deflection works against spells. Evasion fails against bosses; Deflection works against bosses.
- Scales from one investment. Since Deflection derives from Evasion, a single stat improves both layers.
- Mathematically devastating. At 50% evasion and 50% deflect, average damage taken per attack hit drops to just 40% of the original — before armour or resistance even apply.
Layering Defences — Building the Full Picture
Knowing the individual layers isn’t enough. The art of PoE2 defence is stacking them so each layer covers the others’ weaknesses. Here’s the priority order for progression:
| Layer | Priority | When to Build |
|---|---|---|
| Elemental Resistances (75%) | 1st | Acts 1–3 |
| Effective Life Pool | 2nd | Acts 1–5 |
| Primary Mitigation Layer | 3rd | Acts 3–5 |
| Recovery (Leech/Regen/Recoup) | 4th | Act 4+ |
| Secondary Layers + Chaos Res | 5th | Maps and beyond |
For a deep dive into resistance scaling and maximum resistance investment, our Resistance & Defence Guide covers that topic in full. Here, the focus is on how resistances fit into the broader layering system.
The golden rule: commit to one primary mitigation layer and scale it hard. Splashing into a complementary secondary layer (Deflection with Evasion, or Armour-to-Elemental with Armour) is fine. Trying to reach 8k armour, 8k evasion, and 4k ES simultaneously leaves all three mediocre and your character fragile.
Life benchmarks matter too. Aim for ~1,200 life at Act 3, ~2,000 at Act 4, and ~3,500+ when entering maps. These buffers let you survive mistakes while your other layers come online.
For spell mitigation specifically — since spells ignore Evasion — your best tools are Resistances, Spell Suppression (half damage from all spell hits at 100%), Deflection (which does work against spells), and Armour-applied-to-Elemental if the spell deals elemental damage.
Key Passive Nodes in 0.5
The 0.5 patch restructured several defensive clusters on the passive tree:
New additions:
- Armour-applies-to-Elemental clusters — Game-changing for armour builds, enabling multiplicative stacking with resistances.
- Faster Start of ES Recharge clusters — Replacing the old recharge-rate nodes, these help ES builds start recovering sooner.
- Hybrid Armour-to-Elemental + Deflection clusters — Supporting mixed armour/deflection archetypes.
- Hybrid Deflection + Faster Start of ES Recharge clusters — Ideal for evasion/ES/deflection tri-builds.
Notable changes:
- Wild Cat — 10% → 12% Evasion as Deflection (buffed)
- Small Evasion→Deflection passives — 6% → 8% (buffed)
- Bastion of the Forest — 15% → 10% faster start of ES Recharge (nerfed)
- Vaal Pact — Complete rework: 50% more leech amount, 67% less speed, leech persists when full, no instant leech, no flask restriction. Better for sustained recovery, worse for burst healing.
- Ghost Dance — Reworked from 5% instant ES on evasion to 2% Evasion as ES regen/sec.
Remember that the “Defences” keyword explicitly means Armour, Evasion, and Energy Shield only. It does not apply to Runic Ward, Resistances, Block, or any other protection — a clarification 0.5 made explicit. Don’t waste “increased Defences” modifiers expecting them to boost your Ward.
Defensive Build Archetypes for 0.5

Evasion + Deflection (The Meta Pick)
The strongest defensive setup of 0.5. Stack Evasion for attack avoidance against trash, then let Deflection handle whatever gets through — including spells and boss attacks. Both layers scale from a single Evasion investment via conversion nodes. This is the go-to for Dexterity-based classes and attack builds.
Key nodes: Wild Cat notable, small Evasion→Deflection passives, new Deflection hybrid clusters.
Armour + Elemental Armour Tank
High Armour for physical mitigation combined with ”% of Armour applies to Elemental Damage” modifiers (up to 44–50%). Armour mitigates elemental hits before resistances, creating a multiplicative stack that is devastatingly effective on maps with −max resistance or elemental penetration mods. Pair with a large life pool and recovery.
Entry benchmark: 25,000 armour minimum; 83,000+ for serious endgame physical mitigation. Best for Strength-based melee builds.
ES Stacking + Maximum Resistance
CI builds persist in 0.5 but demand more investment. The emerging variant pairs Skin of the Loyal with Elemental Fluxes to stack a single resistance to extreme levels — reported builds exceed 1,000% uncapped cold resistance alongside 37,000 ES. This creates an almost impenetrable defensive shell for high-investment casters.
Recoup-Based Face-Tank
Two recoup archetypes have emerged as meta: the Blazing Berserker Ritualist (80–90% damage recouped as life, 2,000 HP + 2,000 Runic Ward, sustained through armour and regeneration) and the Recoup Infernalist (Pyromantic Pact self-damage + high recoup + large ES pool, where taking more damage paradoxically increases recovery). Both rely on Runic Ward as a critical safety net.
Block + Armour + Life
The classic tank formula. Block now caps at 50% base (down from 75% at beta), but Warbringer’s Turtle Charm raises it to 75% at the cost of taking 20% of blocked damage. Remember that blocked hits still trigger on-hit effects like stun and freeze. Best paired with heavy armour and a deep life pool for what gets through.
Common Mistakes to Avoid
Splitting defensive investment. The number-one killer. Trying to build 8k armour, 8k evasion, and 4k ES simultaneously guarantees all three are underpowered. Pick a primary layer and scale it.
Half-investing in Armour. 25,000 armour sounds impressive but only gives 90% reduction against ~230-damage hits. Against 4,000-damage boss slams, that’s roughly 34% reduction. If you’re building armour, commit fully — partial armour investment feels terrible.
Ignoring Runic Ward trade-offs. Gear above level 55 trades base defences for Runic Ward. If you’re already running a strong primary layer and your Ward value is negligible, the base defence loss may hurt more than the Ward helps. Evaluate the tradeoff on each piece.
Forgetting ES’s specific weaknesses. Chaos damage deals 2× to ES. Poison and Bleeding bypass ES entirely. If you’re running an ES build without a plan for chaos and DoTs, you’ll die to content that should be manageable.
Trusting Block against ailments. Block prevents damage but not on-hit effects. A blocked hit still counts as a hit for stun and freeze application. Build ailment mitigation separately.
Neglecting recovery. Strong mitigation means nothing without a way to recover. Ensure at least one solid recovery mechanism — leech, regeneration, recoup, or flasks — before pushing endgame content.
Patch 0.5 Defensive Changes at a Glance

Buffs and additions:
- Runic Ward added as a new defensive layer (activates at 1 Life, 5%/sec regen)
- Deflection formula completely reworked — 95% cap now reachable at ~28,800 rating
- Base Armour and Evasion on items buffed (~33% early game, ~15% at 80+)
- New passive clusters for Armour-to-Elemental, Deflection hybrids, and ES recharge start
Nerfs:
- ES recharge small passives reduced (15% increased rate → 6% faster start)
- Ghost Dance reworked (instant recovery → passive regen)
- Leech per-hit damage capped at 40,000; only one leech instance per resource; instant leech removed
- Sorcery Ward downside increased (35% Less Armour/Evasion → 50%)
- Block base max reduced from 75% to 50%
Mixed changes:
- Vaal Pact reworked — larger total leech, slower speed, persists when full
- “Defences” keyword clarified as Armour + Evasion + ES only (not Runic Ward)
- 0.5.1 hotfix: Refutation cooldown no longer recovers during buff — ending perma-invulnerability loops
Conclusion
Patch 0.5 fundamentally reshaped how PoE2 defence works. The old ES recharge meta is gone, instant leech is gone, and the new reality demands deliberate layering. Runic Ward gives every build a safety net that didn’t exist before. Deflection’s formula rework turned it into the single best defensive investment for agility-based characters. And Armour-applied-to-Elemental created a multiplicative stacking opportunity that rewards committed tank builds.
The winning principle hasn’t changed, even as the mechanics have: understand the damage pipeline, commit to a primary defence, build complementary layers that cover its gaps, and always have recovery ready for what gets through. The players thriving in the Season of Runes of Aldur are the ones who thought carefully about how their defences interact — not just how much of each they stacked.
Build smart, layer well, and the Wraeclast endgame will feel a lot more survivable.

Was this guide helpful?
Help us improve PoE2Path with your feedback.