Path of Exile 2 Delirium Mechanics Guide — Endgame Fog, Bosses, and the Emotion Economy
Master PoE2 Delirium in patch 0.5.x: fog mechanics, Uber bosses, Dissolution resistance, Simulacrum rewards and the liquid emotion farming economy.
Path of Exile 2 Delirium Mechanics Guide — Fog, Emotions & Farming
Delirium is Path of Exile 2’s most profitable endgame mechanic in the 0.5 patch cycle. What was a flat, forgettable system in early patches was rebuilt from the ground up in 0.5.0 “Return of the Ancients” into a multi-layered endgame loop with a named questline, a dedicated hub area, a 7-wave Simulacrum gauntlet, and a brand-new pinnacle boss. Done right, Delirium farming generates 20 to 40+ Divine Orbs per hour for builds with sufficient clear speed and survivability.
This guide covers everything you need to know: how to trigger encounters, how Deliriousness scaling works, what rewards drop at each tier, how to navigate the Simulacrum, and which Atlas Passive Tree nodes matter most. Whether you are running your first mirror or pushing 200% Deliriousness with Breach stacking, this is the reference you need.
What Is Delirium?
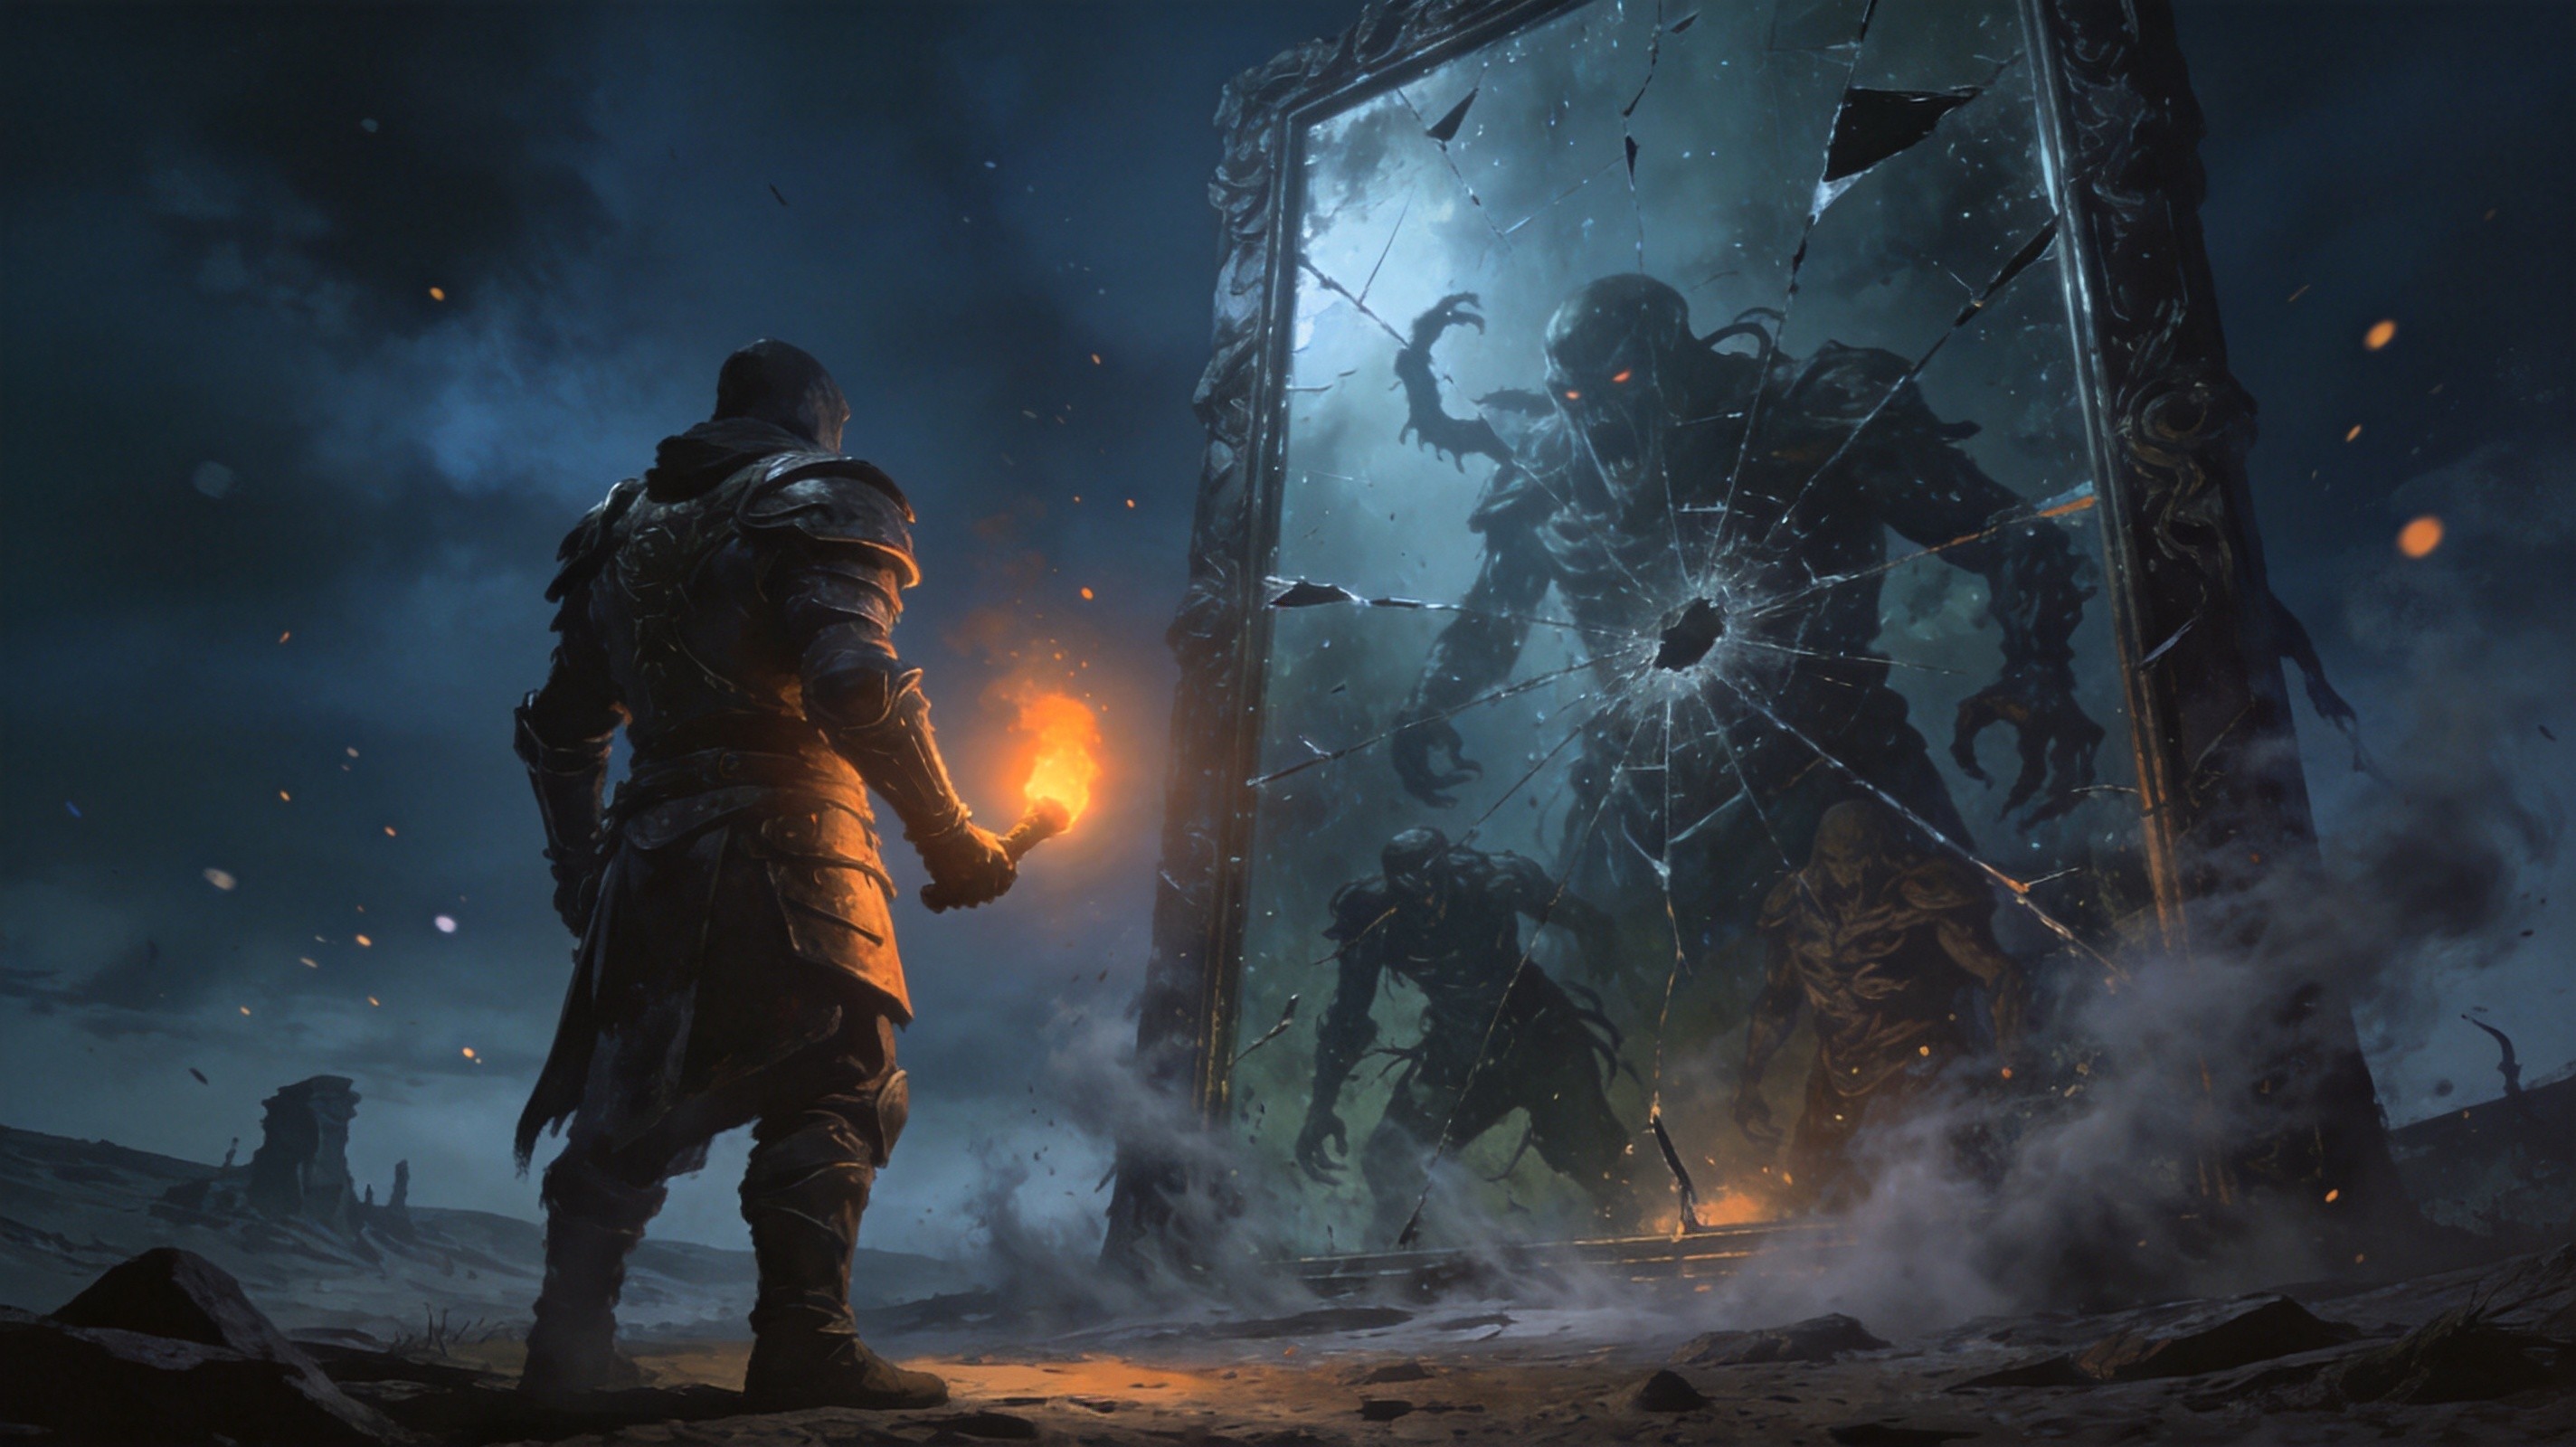
Delirium is a timed, fog-based Atlas map mechanic tied to the Strange Reflections questline. When you walk through a Delirium Mirror — a shattered-glass portal that spawns near map entry points — the entire area engulfs in expanding grey fog. Your objective is to push deeper toward the map boss, destroying enemies and activating special encounters along the way, all while staying inside the mist to keep the event active.
The 0.5.0 rework added the Withered Willow hub area, completely revamped the Delirium Atlas Passive Tree, introduced a visible progress bar for tracking fog depth, added Fractured Mirror Shards at depth thresholds, introduced five new Elite Delirium Monsters, and debuted the Loathsome Mire sub-area with its unique double-anoint amulet rewards. The Simulacrum was trimmed from 15 waves to 7, and Tangmazu, the Raven Trickster (~7 million HP across 2+ phases) was added as the mechanic’s ultimate challenge.
Delirium operates across four interconnected layers:
- Regular Delirium Mirrors spawn randomly on maps and provide a single fog encounter.
- Grand Mirrors spawn after killing a map boss while the fog is active, pitting you against both the original boss and its Delirium-reflected duplicate.
- Trial of Madness spreads persistent fog across a chosen Atlas region where Deliriousness climbs cumulatively across connected maps.
- Simulacrum unlocks once the region reaches 100% Deliriousness — a 7-wave survival gauntlet with escalating difficulty.
- Tangmazu becomes accessible after completing the Simulacrum, using the Raven’s Reflection key as the Delirium pinnacle boss.

How to Trigger Delirium
Regular Mirrors and Precursor Tablets
The most common entry point is a Delirium Mirror that spawns naturally on affected maps. These appear as shattered, multicolored standing mirrors near the map entry and are indicated by a mirror icon on the Atlas tooltip. To guarantee encounters, use a Delirium Precursor Tablet on a Lost Tower — the tablet’s implicit modifier determines how many nearby Waystones become infected, while explicit modifiers apply to all uncompleted maps within the tower’s radius.
The Progress Bar and Fog Movement
After breaking a mirror, a progress bar appears at the bottom of the screen — one of the most significant quality-of-life improvements in the rework. The start represents your initial location; the end represents the map boss. Push deeper into the fog to fill the bar. The fog always flows toward the boss, so following the mist direction guarantees you reach the boss arena.
Fractured Mirror Shards appear at depth thresholds along the progress bar. Each shard type carries different risk and reward:
| Shard | Effect | Risk | Reward |
|---|---|---|---|
| Blue | Standard enemy encounter | Low | Normal Delirium drops |
| Purple | Empowered enemies, larger pack | Medium | Improved loot quality |
| Gold | Summons Kosis or Omniphobia | High | Extra Splinters + emotions |
| Red | Teleports to Loathsome Mire | Variable | Twisted/Distorted Amulet |
The critical rule: if you fall behind the fog for more than 4 seconds, the entire encounter vanishes. Speed is non-negotiable.
Deliriousness: The Core Scaling Mechanic
Deliriousness is the single number that governs both difficulty and rewards. It starts at 10% when you enter a mirror and scales upward as you push deeper, kill monsters, and activate encounters.
| Deliriousness | Difficulty | Reward Tier |
|---|---|---|
| 10–30% | Manageable for most endgame builds | Diluted Emotions, basic Splinters |
| 30–60% | Challenging; requires dedicated defenses | Mid-tier Emotions (Paranoia, Envy, Disgust, Despair) |
| 60–100% | Punishing; one mistake can be fatal | Concentrated Emotions begin dropping |
| 100–200% | Pinnacle difficulty; comparable to endgame bosses | Concentrated Isolation (~62 Div), Potent Emotions |
The Concentrated Liquid Isolation emotion trades around 62 Divine Orbs and Concentrated Liquid Suffering around 23 Divine Orbs as of August 2026, making deep-Deliriousness farming extremely lucrative for builds that can survive the scaling.
Boss Encounters: Kosis, Omniphobia & Tangmazu
Kosis, the Unraveler
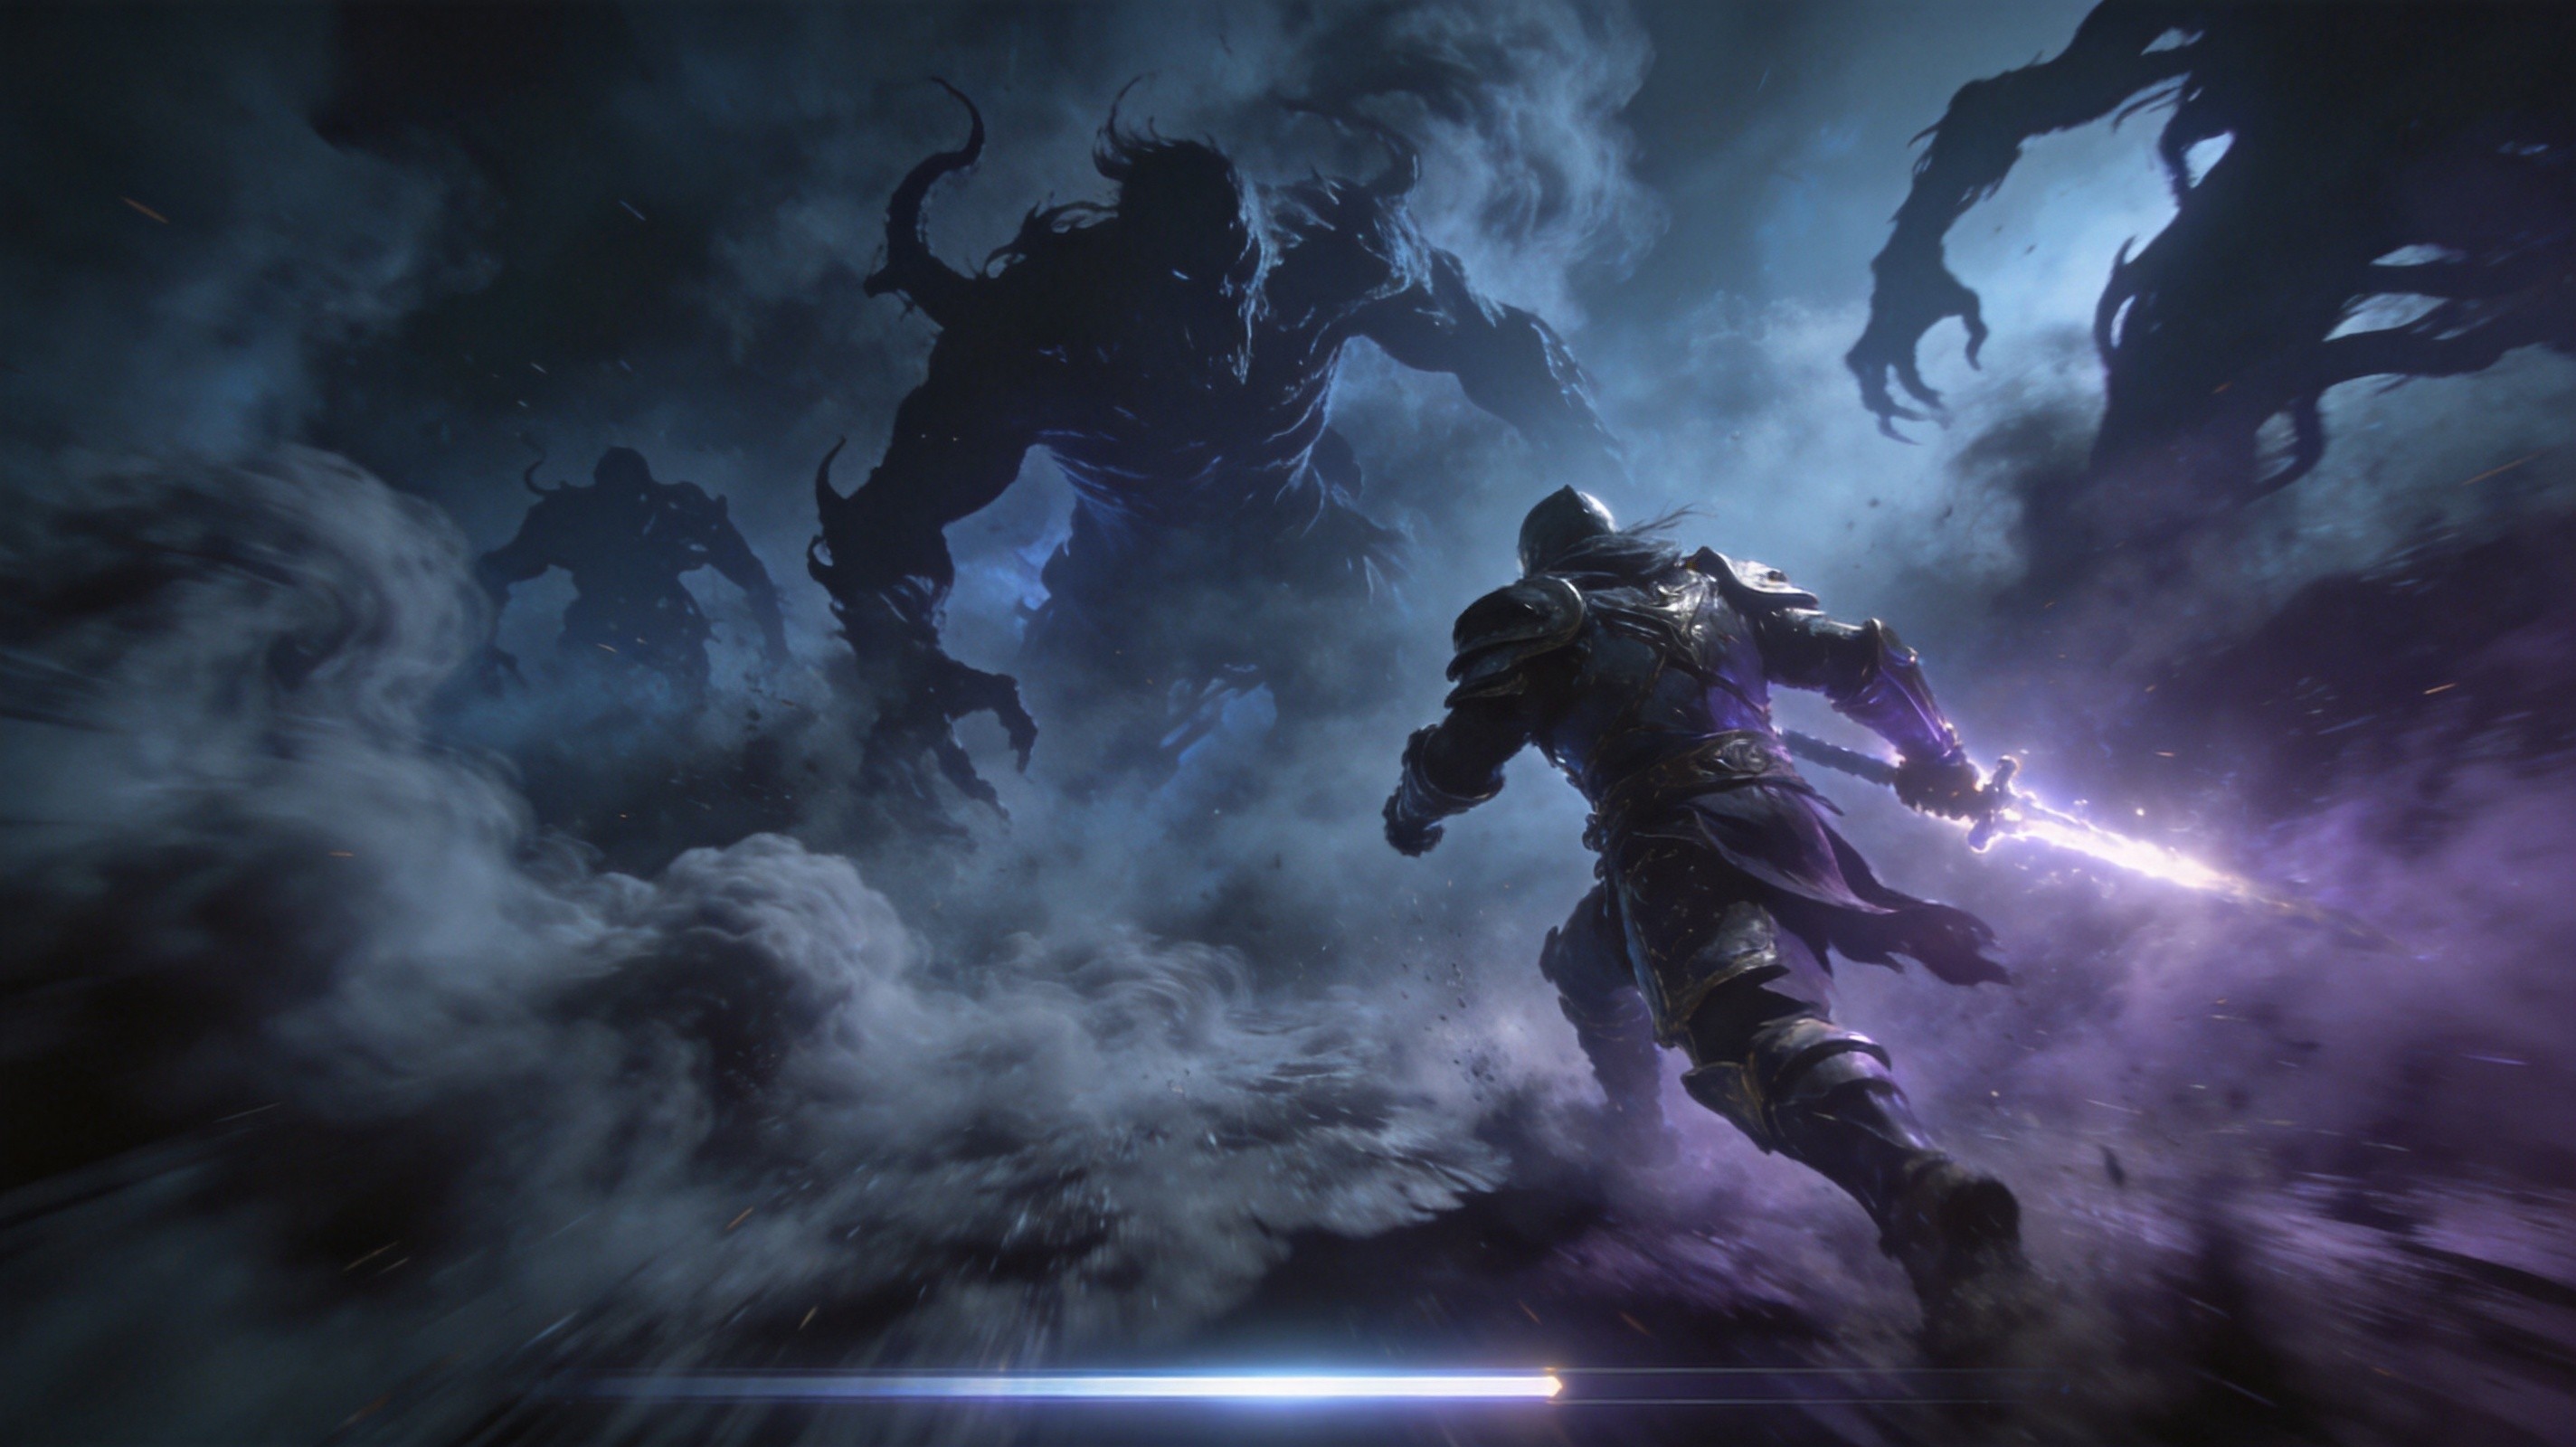
Kosis is a melee-focused boss that spawns from Gold Fractured Mirror Shards. His kit revolves around rapid attacks and a devastating charge that covers significant ground. The fight rewards players who can maintain distance while dealing consistent damage. At high Deliriousness (80%+), Kosis gains additional projectile abilities and his charge becomes nearly unavoidable without movement skills.
Strategy: Stack movement speed and keep strafing. Do not stand still for more than a second. Freeze or chill effects significantly ease the encounter.
Omniphobia, the Fear Manifest
Omniphobia is the caster counterpart to Kosis, spawning from the same Gold Shards. She deals heavy chaos and elemental damage from range, with area-denial abilities that punish static positioning. Her signature mechanic is a fear-inducing aura that reduces your effective defensive layers.
Strategy: Chaos resistance is essential. Bring instant-life flasks and maintain maximum distance. The fight rewards ranged builds with high projectile avoidance.
Tangmazu, the Raven Trickster
Tangmazu is the Delirium pinnacle boss, accessible only after completing the Simulacrum and obtaining the Raven’s Reflection key. With approximately 7 million HP across 2+ phases, Tangmazu represents the hardest Delirium encounter.
Phase 1 features rapid attack combinations and summon mechanics. Phase 2 introduces delirium-themed environmental hazards and an enrage timer. The boss drops exclusive loot including unique Delirium items and high-value currency.
Strategy: This fight demands a fully optimized endgame build. Bring maximum chaos and elemental resistances, strong sustain, and movement skills for dodging phase transitions. Expect to attempt this fight multiple times before your first kill.

Rewards: Liquid Emotions, Splinters & Uniques
Liquid Emotions
Liquid Emotions are the headline reward. They serve two purposes: instilling Notable Passive Skills onto amulets at the Decanter of Madness, and crafting modifiers onto jewels.
| Tier | Emotions | Relative Value |
|---|---|---|
| Diluted | Ire, Guilt, Greed | Low |
| Mid | Paranoia, Envy, Disgust, Despair | Low-Medium |
| Concentrated | Fear, Suffering, Isolation | High (Isolation ~62 Div) |
| Potent | Melancholy, Ferocity, Contempt | Very High (Unique-only drops) |
| Ancient | All variants (Ancient) | Very High (Time-Lost Jewel crafting) |
The Decanter of Madness at the Withered Willow is where you combine an amulet plus three Liquid Emotions to enchant the amulet with a specific Notable from the passive tree. Hover over a Notable on the passive tree and hold Alt to see which emotion combination it requires.
Simulacrum Splinters
Splinters drop from Tier 11+ Delirium encounters, combine in stacks of 300 to form a Simulacrum, and are tradable. At current prices, even selling raw Splinters provides steady income. The Simulacrum itself drops exclusive uniques including Assailum, Perfidy, Melting Maelstrom, Collapsing Horizon, and high-value cluster jewels like Voices, Split Personality, and Megalomaniac.

The Atlas Passive Tree: Priority Order
The Delirium Atlas Passive Tree transforms the mechanic from an occasional curiosity into a currency engine. Allocate nodes in this order:
1. “Is This About Me or You?” (MANDATORY FIRST)
Without this node, Simulacrum Splinters do not drop from level 75+ encounters. Nothing else matters until this is active. It cannot be allocated until you complete the first quest Simulacrum.
2. “You Can’t Just Wake Up From This One”
Extends the 4-second fog timeout, making it dramatically easier to stay within the fog on large maps. The single best quality-of-life node.
3. “They’re Coming To Get You”
Rare monsters spawn 25% more often, and killing a Rare pauses the fog timeout for 4 additional seconds. These effects compound powerfully — more Rares mean more pause windows, longer sustainable encounters, and better drops.
4. “You Can’t Scare Me Anymore”
Unlocks Potent Liquid Emotion drops from Unique monsters (5% each for Melancholy, Ferocity, Contempt). Only worth allocating once your build handles Simulacrum waves with Unique density.
5. “I See Your True Nature Now!”
Activates bonus Fractured Mirror Shards that spawn extra bosses or guarantee Grand Mirror events. Add this after the four core nodes are stable.
Keystone: Recurring Nightmares
Choose between guaranteed spread to +4 maps (consistent, beginner-friendly) or 50% chance of additional map + 25% to each connected map (high variance, potentially enormous fog regions). Start with the guaranteed option.

Farming Strategies
The Delirium Rush (Boss-Rush Strategy)
The most efficient low-investment farming method. Instead of clearing through the fog from the mirror:
- Enter the map and ignore the Delirium Mirror entirely.
- Rush to the boss checkpoint, skipping all trash mobs.
- Return to the mirror, click it, wait 10–15 seconds for the progress bar to fill.
- Teleport to the boss — all Delirium rewards have piled up there.
- Kill the boss, then end the Delirium counter.
- Collect the Splinter stack (10–60+ per map) and move on.
A fast-clearing build generates approximately 30–40 Divine Orbs per hour this way. Best tablet mods: increased Simulacrum Splinter stack size and increased unique boss chance.
Full Clear Strategy
For builds that can handle sustained combat at high Deliriousness, full clearing generates more total Liquid Emotion drops and more Splinter opportunities per map. This approach takes longer but maximizes per-map value when pushing 100%+ Deliriousness.
200% Delirium + Breach Stacking
The highest-tier strategy stacks 200% Deliriousness with a fully juiced Breach setup on city biome maps. Using three rare Breach Tablets with “Unstable Breaches spawn 3 additional Rare Monsters” plus a Wraeclast Besieged unique tablet, you can generate up to 14 extra Rare Monsters per Stabilized Breach — all under Delirium’s reward multiplier. Reported returns: ~22 raw Divine Orbs from 6 maps plus Simulacrums, reliquaries, and Liquid Emotions. This is build-gated and will destroy any character not equipped for deep Delirium.
Synergy With Other Mechanics
Most league mechanics pause the Delirium fog timer while active, meaning you can clear a Breach, start a Ritual, or open an Abyss without losing Delirium progress. The confirmed exceptions are Essences, Rogue Exiles, and the Runestone boss.
- Breach: The strongest synergy. Stacked Rare Monsters under Delirium multiplicative rewards create the highest loot-per-hour in the game.
- Expedition: Runic Modifiers combine with Delirium empowerment for denser, more rewarding fights.
- Abyss: High monster density fills the reward bar quickly while Delirium multiplies currency drops.
- Ritual: Monster count and difficulty scale Ritual tribute gains substantially.
Common Mistakes to Avoid
- Treating Delirium like a normal map. Slow, methodical clearing lets the fog outpace you. Delirium rewards speed.
- Forgetting to bank loot between Simulacrum waves. A new wave deletes everything on the ground. Pick up before continuing.
- Allocating Potent Emotion nodes too early. Only valuable once your build handles deep Simulacrum with Unique density.
- Pushing Merciless Simulacrum prematurely. Sell Splinters instead of dying repeatedly to content you are not equipped for.
- Ignoring the 4-second fog rule. If you stop moving for more than 4 seconds, the encounter is gone. Movement skills and speed are essential.
Final Thoughts
Delirium’s multi-layered structure means there is an engagement level for every build tier. New players can farm Splinters from T11+ mirrors and sell them for steady income. Mid-tier builds profit from the Delirium Rush strategy at 30–40 Divines per hour. Fully optimized characters push 200% Deliriousness with Breach stacking for the highest returns in the game — at the cost of the deadliest encounters.
The honest assessment of your build’s capabilities is the most important decision. Delirium punishes overconfidence more harshly than any other endgame system. Farm what you can clear consistently, sell what you cannot yet handle, and reinvest the profits into upgrades until deeper fog becomes comfortable.
Was this guide helpful?
Help us improve PoE2Path with your feedback.