PoE2 ExileCon 2026 Race Preview & SSF Strategy Guide
Complete strategy guide for ExileCon 2026 Race qualifiers — Tavakai SSF speedrun routes, Mercenary class analysis, death penalty management, and qualifier prep plan.
PoE2 ExileCon 2026 Race Preview & SSF Strategy Guide
The ExileCon 2026 PoE2 Race is the most consequential competitive event in the game’s short history. Every eligible player battles the same fixed-layout campaign under Solo Self-Found Runes of Aldur rules, racing to become the first to defeat Tavakai in Act 4. Four qualifiers on August 7, 14, 21, and 28 (all at 6:00 AM GMT+9) determine who flies to Auckland for the live finale — complete with accommodation, an Ultra VIP ticket, and the coveted Demigod’s Virtue Unique Helmet.
This guide breaks down everything you need to know: boss mechanics, class tier rankings, act-by-act speed routes, death penalty math, and a week-by-week qualifier prep plan. If you are serious about competing, this is your blueprint.
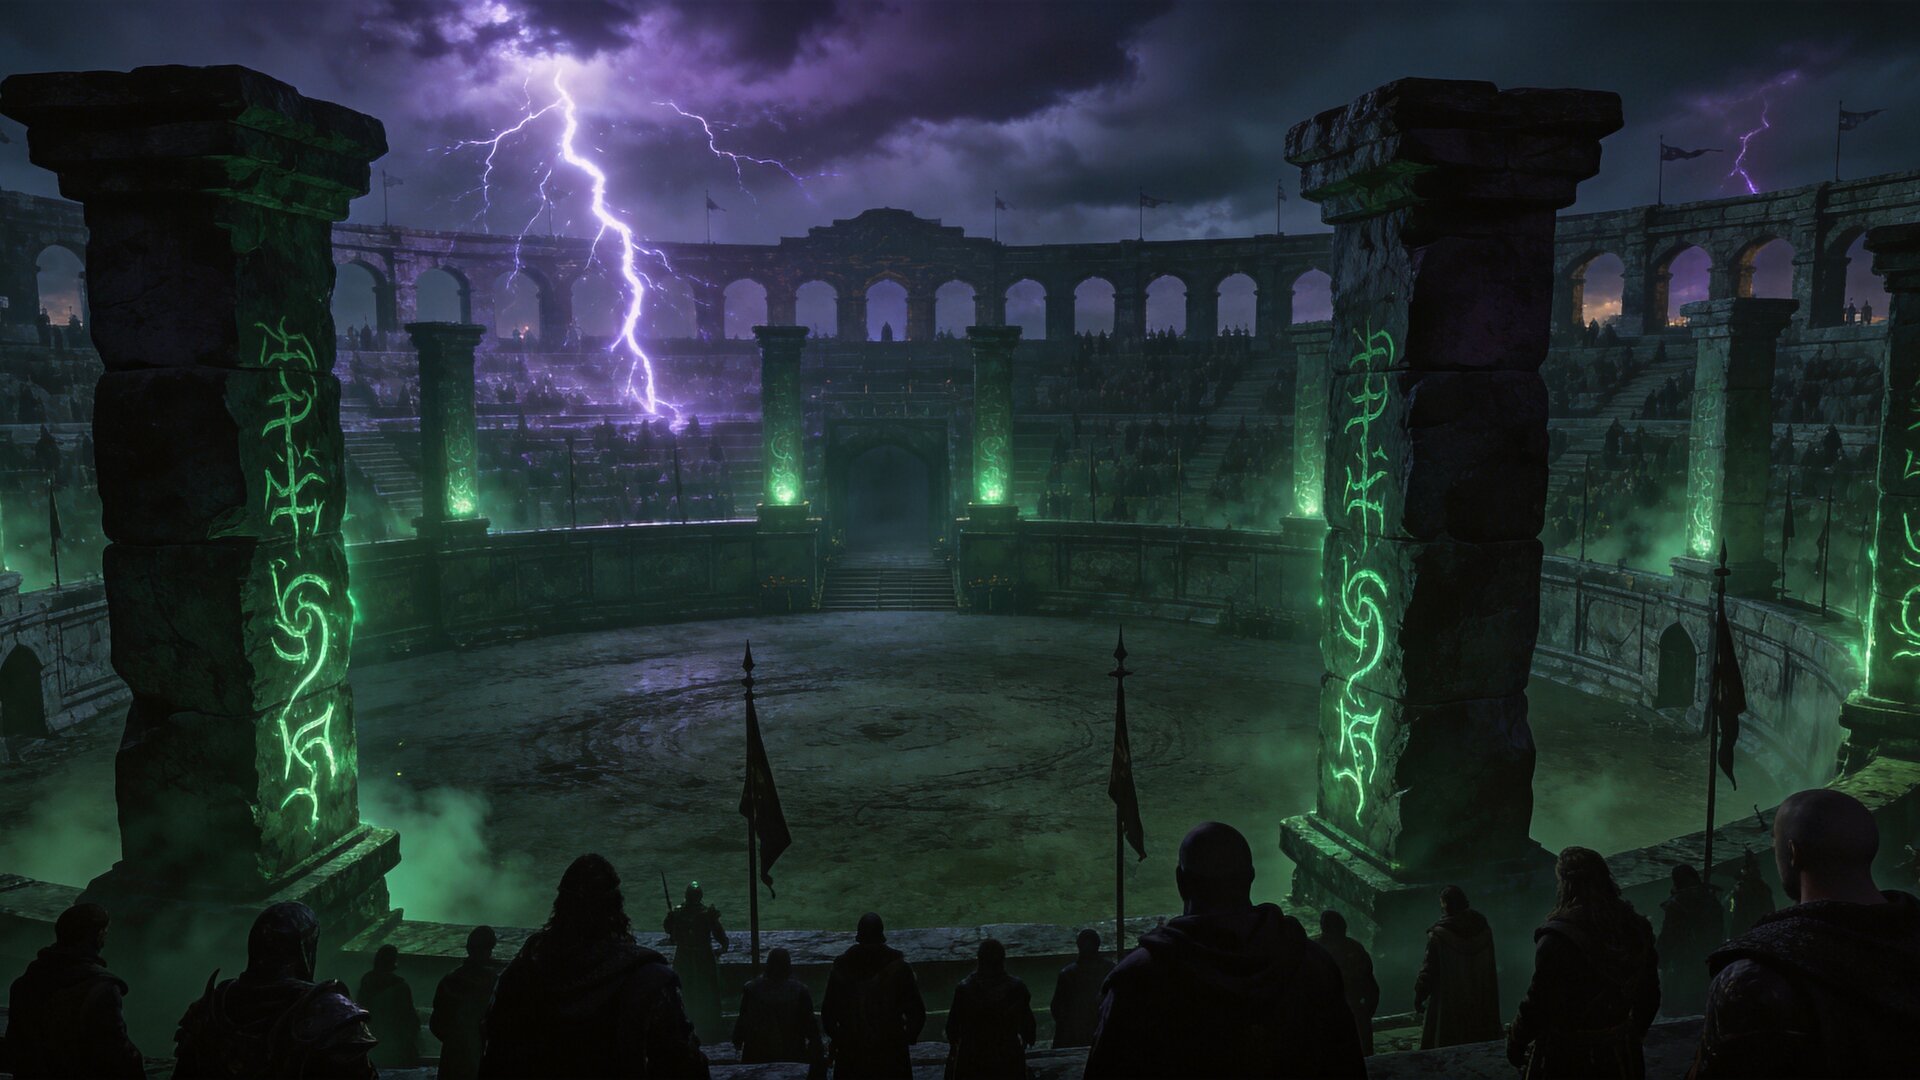
Race Format & Rules
The structure is straightforward but unforgiving. Four qualifier events run on consecutive Thursdays — August 7, 14, 21, and 28. Each qualifier is a standalone race: first player to kill Tavakai wins. The winner earns a flight to the ExileCon live finale in Auckland, New Zealand, where all four qualifier champions compete on PC with their own .build files and preferred peripherals.
Key rules to internalize:
- Solo Self-Found (SSF): No trading, no party play, no external items. Everything you use must come from what you find and craft during the run.
- Runes of Aldur league rules: The current league mechanic is active. Remnants, Runeforging, Runic Ward, and Kalguuran Skills are all available — and understanding them is a competitive advantage.
- Fixed layout: Every player sees the same zone layouts, chest positions, Remnant placements, and monster spawns. This eliminates map RNG entirely and rewards route memorization over luck.
- 2.5-minute death penalty: Upon death, your character enters a 2.5-minute stasis with no movement. You do not lose your character (this is not Hardcore), but the time cost is devastating.
- Act 4 finish line: The race ends when Tavakai dies. Not when you enter Act 4, not when you reach a checkpoint — when the final boss’s health bar hits zero.
The prize structure creates enormous incentive. This is not just bragging rights — it is a fully paid trip to ExileCon and the chance to compete on stage. Expect the field to be deep and the competition fierce.
Tavakai Boss Mechanics: The Final Gate
Tavakai, the Chieftain, is the longest boss encounter in the entire PoE2 campaign — a three-phase endurance test that rewards pattern recognition and sustain over raw burst. There is no confirmed elemental weakness, meaning you cannot game the fight with a specific damage type. The realistic preparation bar is level 65 with all major resistances capped at 75% and automated flask charge generation.
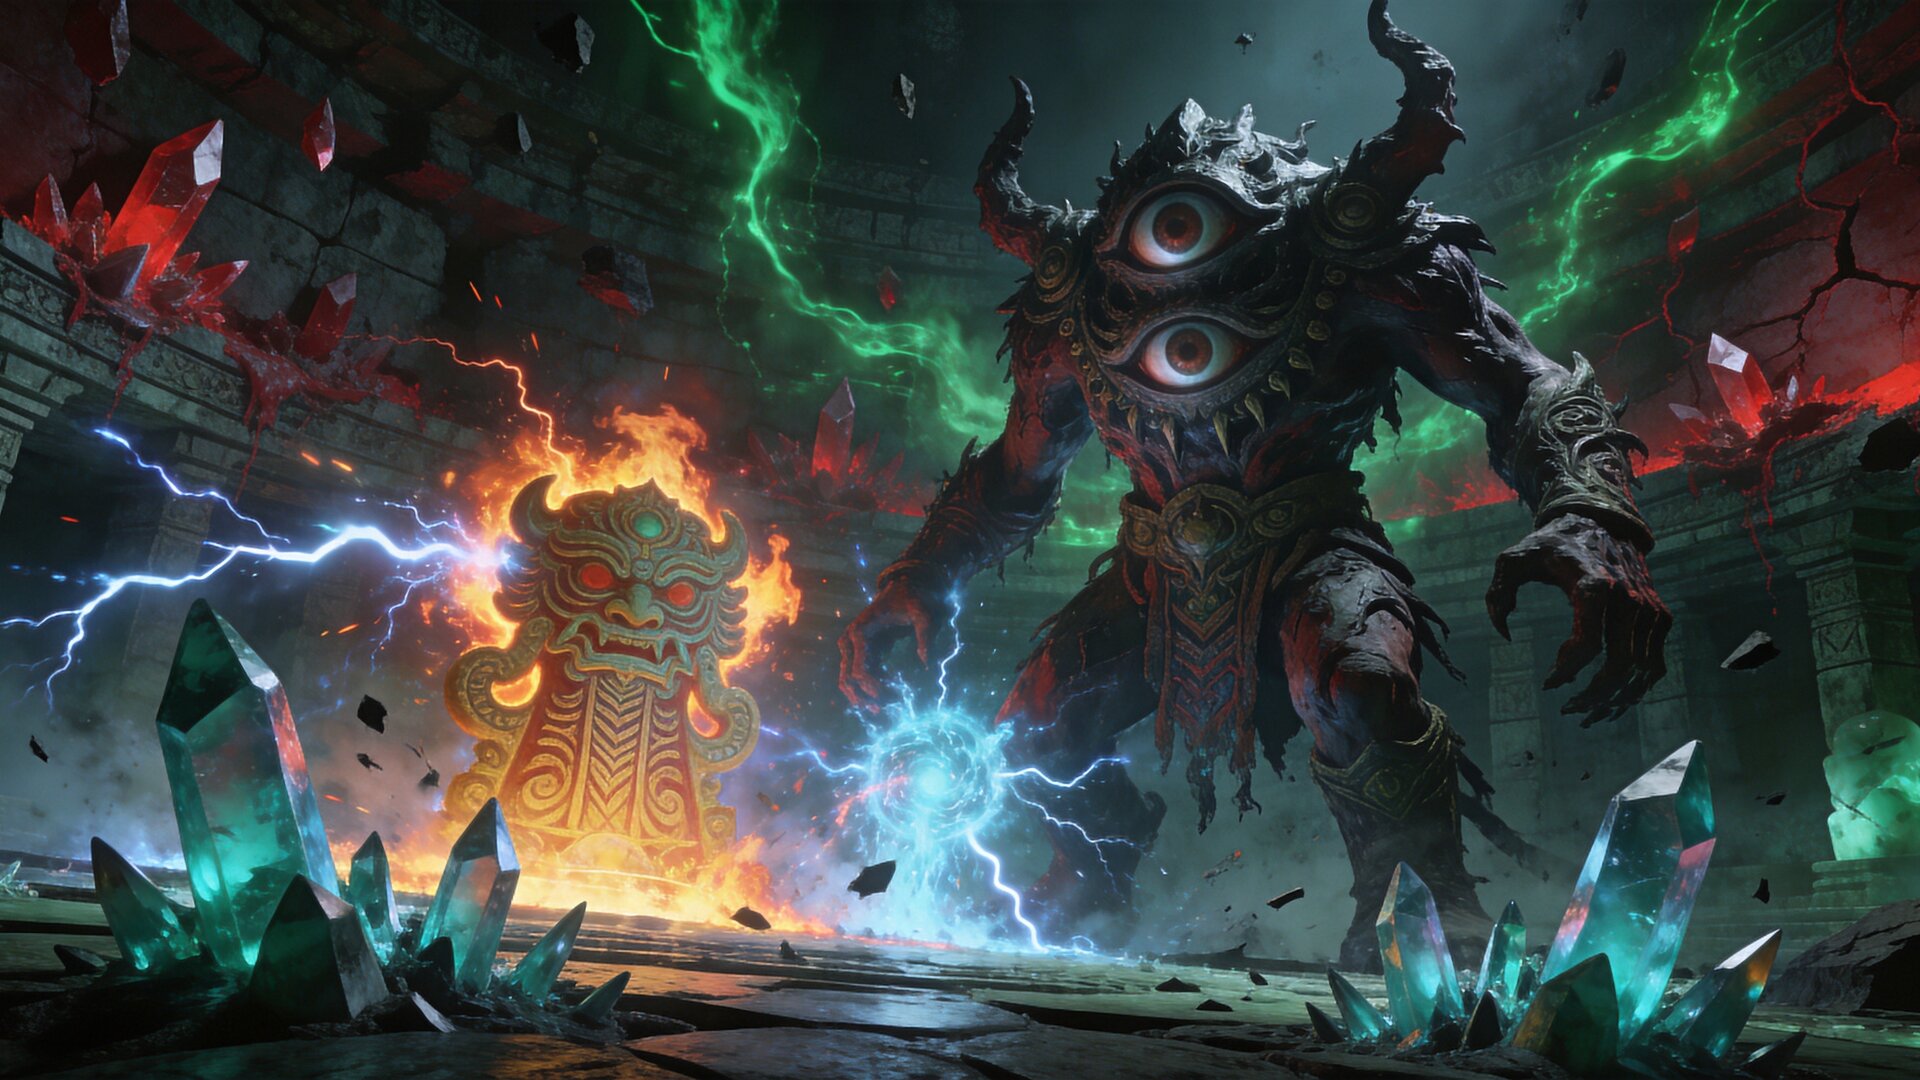
Phase 1 — Chieftain Form
The opening phase establishes the fight’s core rhythm: deal damage, dodge area effects, kill adds immediately. Jade statues erupt from the ground and harden into Warrior Spirits that charge you. These adds must die on contact — letting them stack creates unmanageable pressure during jade explosion sequences, particularly for melee builds.
Key mechanics to drill:
- Reel-In Hook: Drags you into melee range. Sidestep or use a movement skill to counter.
- Shatter: Fires shards from a floating sphere. Move clear of the sphere the instant it appears.
- Splintering Jade: Spikes erupt then explode outward. Back away quickly when spikes rise.
- Colossus Slam / Statue Rupture: Large AoEs with clear tells — recognizing dodge direction is trivial; the challenge is maintaining DPS uptime while dodging.
Phase 1 is about damage output. If you stay in range and fire while moving, this phase passes quickly. The real danger is dying to stacked adds while greedily DPSing — a mistake that costs 2.5 minutes.
Phase 2 — Fallen Form (The Race-Killer)
This is where most players die, and it is not because any single mechanic is fatal. It is because ancestor invocations overlap, creating positions where there is nowhere safe to stand while still attacking. Tavakai calls on seven different ancestor spirits:
| Ancestor | Hazard | Dodge Strategy |
|---|---|---|
| Rongokurai | Void serpents with slowing dark pools | Keep moving, avoid pool edges |
| Tasalio | Tracking water projectile streams | Sprint perpendicular to streams |
| Ngamahu | Volcanic spire with molten lava | Run from the volcano continuously |
| Tawhoa | Overgrowth flooding arena, only center clear | Hold central clearing |
| Aronhongui | Large moonbeam chilling a wide zone | Step out of telegraphed area |
| Valako | Lightning barrage in darkness | Keep moving continuously |
| Ramako | Sunfire orb leaving burning ground + fiery nova | Dodge trail and blast separately |
The winning strategy is counterintuitive: stop attacking when multiple invocations fire simultaneously. Find the momentarily clear patch of ground, move there, wait out the overlap, then resume DPS. Players who try to maintain damage through overlapping hazards almost always die — and in a race with a 2.5-minute death stasis, that trade is never worth it.
Phase 3 — Corrupted Form
Blood crystal spikes burst from the ground in chains, with a roar-triggered chain detonation that makes standing still lethal. The Rampage melee flurry at the end is well-telegraphed — wait for the full animation before re-engaging.
The single most important preparation for Phase 3 is automated flask charge generation. The fight is long enough that manually triggered flasks run out during Phase 2 or early Phase 3 for virtually every build. Losing sustain at that point is a death sentence.
Why Mercenary Dominates
The Mercenary’s dominance in PoE2 races is not close — it is a structural advantage built on clear speed and movement efficiency.
The Numbers Don’t Lie
In the Third Edict Race series (October 2025), the Mercenary won all three events. Player wholenewsociety posted times of 2:43:01 → 2:36:01 → 2:30:38, improving by over 12 minutes across the series. The next-fastest class overall — Warrior — peaked at 2:39:01, nearly 9 minutes behind the Mercenary’s best time.
Here is the full class spread from the Third Edict Race’s best performances:
| Class | Best Time | Player |
|---|---|---|
| Mercenary | 2:30:38 | wholenewsociety |
| Warrior | 2:39:01 | Angormus |
| Ranger | 2:50:53 | Kiom |
| Monk | 2:50:00 | BINBIN |
| Sorceress | 2:46:38 | threeknife |
| Witch | ~2:50:00 | Jezie |
| Huntress | 2:53:31 | Bunkka1337 |
A community developer (sirgog) offered the key insight: “Zone traversal is the biggest deal though, so it dominates overall.” Because zone traversal accounts for the majority of total time, movement speed and clear efficiency matter far more than single-target DPS — a structural advantage that heavily favors ranged AoE builds like the Mercenary.
Why 0.5 Changes Don’t Close the Gap
The 0.5 patch introduced several balance shifts, but none meaningfully nerf the Mercenary’s core strengths:
- Ice Shot freeze buildup nerfed — hurts Deadeye Ranger, not Mercenary
- Base armor/evasion buffed ~33% early game — helps all classes equally, does not close the gap
- Chronomancer reworked — could produce a surprise contender, but the leveling path is unproven
- Kalguuran Skills (no attribute requirements) — available to every class, so the relative advantage stays the same
Dark Horses to Watch
- Hollow Palm Monk (Martial Artist): 10 APS with Herald of Ice shatter chains for screen-wide clear. If the leveling path is fast enough, raw clear speed could compete.
- Minion Cull Warper (Witchhunter): Lightning Warp for mobility and clear in one button, 400%+ culling strike threshold. Potential for fastest map traversal.
- Lightning Spear Huntress (Spirit Walker): New ascendancy with great AoE and splitting projectiles. Huntress underperformed previously, but this is a completely different build archetype.
Act-by-Act Speed Leveling Route
Top players cluster around 2.5–3 hours for the full campaign. With the class spread compressed to roughly 25 minutes between first and last place, every second of routing efficiency matters.

Act 1: Target 25–35 Minutes
- Rush through Clearfell picking up only essential items
- Complete Farrow’s first Remnant encounter (~30 seconds, unlocks Runeforging)
- Skip optional areas; hit only required quest objectives
- Get your first movement skill and flask upgrade immediately when available
- Boss gates: Beira (trivial), Brambleghast, King in the Mists (read the ritual color), Count Geonor (bring bleed removal)
Act 2: Target 40–50 Minutes
- Push for your build-defining skill gem as early as possible
- Complete 2–3 runestone Remnants for Runeforging progression — Runic Ward is worth the time investment
- Skip most optional bosses unless they drop essential quest rewards
- Kabala is on the main path and cannot be skipped
- Boss gate: Jamanra the Abomination — Phase 2 sandstorm requires immediate beacon navigation
Act 3: Target 45–55 Minutes
This is where the time spread opens up. Efficient routing matters most here.
- Complete 2 runestones for Mystic Refuge vault unlock
- Mektul is a DPS check — verify your damage is adequate before entering
- Doryani requires orbital laser positioning practice
- Boss gates: Viper Napuatzi (most dangerous pre-Act 4 boss — chaos damage plus arena shrink), Doryani (orbital lasers)
Act 4: Target 40–50 Minutes
The non-linear island structure means route order matters enormously.
- Collect all 4 Torn Map Pieces for Plunderer’s Point
- Island exploration order can save or cost minutes — memorize the optimal sequence
- Skip optional bosses: Great White One, The Prisoner, Scourge of the Skies (unless required for your route)
- Final gate: Tavakai (see Phase breakdown above)
Death Penalty Risk Management
The 2.5-minute no-movement death penalty is the defining constraint of this race. With winning times around 2 hours 30 minutes, a single death costs roughly 1.7% of total run time — often the difference between first place and missing the podium entirely.

The Math Behind One Death
A 2.5-minute stasis is the direct cost. The indirect cost is worse:
- Losing your position in the zone and re-traversing
- Potential flask charge depletion mid-fight
- Momentum and rhythm disruption
In practice, one death probably costs 3–4 minutes of real race time when you account for recovery. Two deaths and you are mathematically out of contention unless the leaders also die.
Risk Budgeting: Where to Push, Where to Play Safe
The optimal strategy is not “never take risks” — that is too slow. It is “allocate your death risk to places where speed gains are highest.”
Push aggressively here:
- Act 1–2 trash pulls (deaths are rare with clean play, faster clear saves cumulative minutes)
- Easy boss fights like Beira and Brambleghast (low death chance, pushing DPS saves 10–20 seconds per fight)
- Movement skill usage across gaps (faster traversal, minimal risk)
Play safe here — no exceptions:
- Tavakai Phase 2: One death during overlapping ancestor invocations can cost the entire race. Stop attacking, find safe ground, wait it out.
- Viper Napuatzi: Chaos damage, arena shrinkage, meteor shower. This boss kills more racers than any other pre-Act 4 encounter.
- Doryani orbital lasers: Position correctly and move with rotation. Do not greed damage.
The golden rule: A death costs 150+ seconds of guaranteed time. Never trade 150 seconds for 10 seconds of extra damage.
The “One Death = Practice Run” Mindset
Top racers adopt a specific mental framework: once you die, treat the run as a practice session. Keep going, finish as fast as possible for learning purposes, but stop taking risks. One death already cost you the realistic chance of winning — compounding errors with reckless aggression only makes it worse.
Fixed Layout Advantages & Route Memorization
A fixed layout means every player encounters the exact same zone geometry, chest positions, Remnant placements, and monster spawns. Luck is eliminated from the layout equation. The winner is not the person who got a good seed — it is the person who knows the seed best.

This fundamentally shifts preparation from “practice general routing principles” to “memorize every turn, every chest position, every Remnant recipe.” In PoE1’s historical fixed-seed races, top players practiced the seed extensively, refining their path by seconds. The same pattern applies here.
What to Memorize
- Optimal path through each zone — shortest route from entrance to exit
- Chest and strongbox positions — which are on the way, which require a detour
- Remnant locations and available recipes — which are worth stopping for
- Checkpoint placements — where you respawn after death (critical with the 2.5-minute penalty)
The Practice Window
Four qualifiers spaced one week apart create a unique practice opportunity. If each qualifier uses a different seed (standard for race series), each week offers a fresh layout to learn. If they share the same seed — as PoE1’s Season Two fixed-seed races sometimes did — then times should get progressively faster as players optimize.
The optimal approach: treat Qualifier 1 as a discovery run, then spend the week refining. By Qualifier 4, your route should be surgical.
Remnant Farming Strategy in Runes of Aldur
The Runes of Aldur league mechanic is not background flavor for this race — it actively changes how competitive players approach the campaign. Remnants appear in fixed positions within each zone, and with a fixed layout, every player finds the same Remnants with the same available recipes.
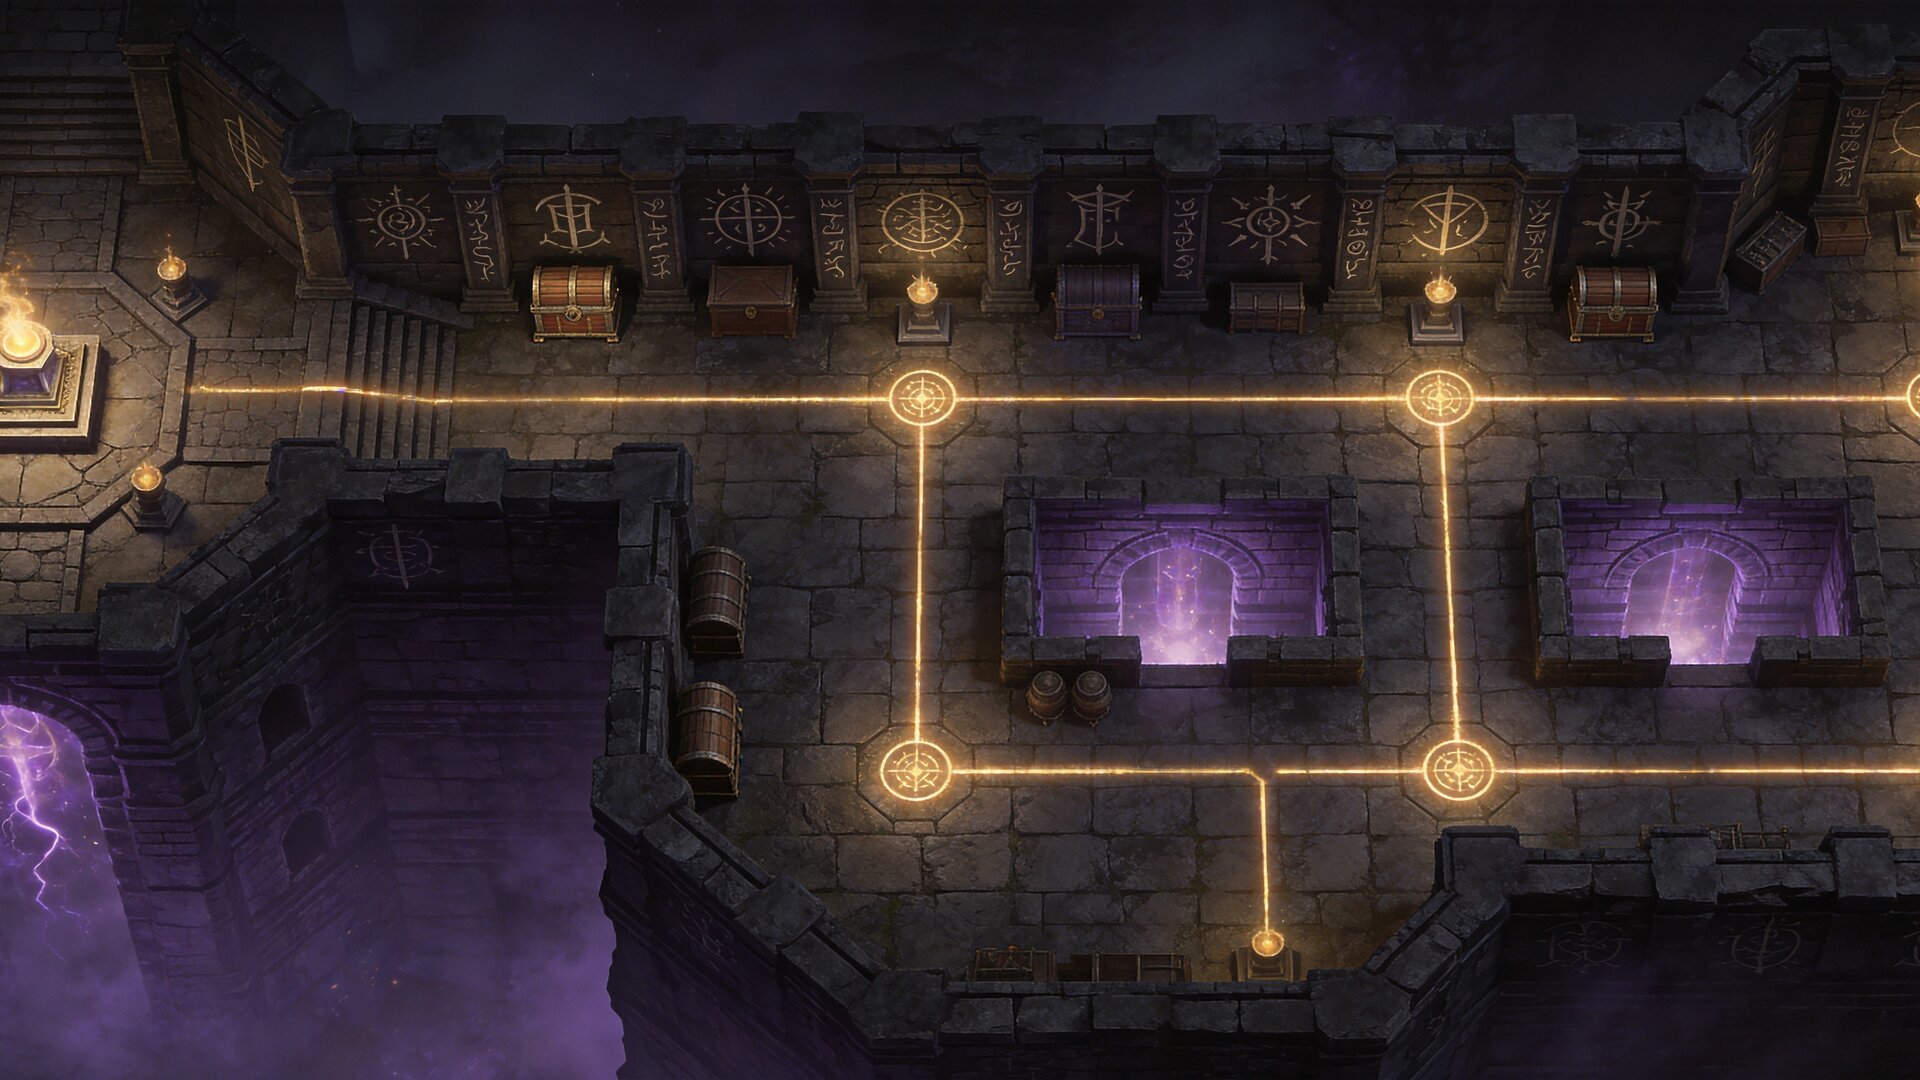
Why Remnants Are Strategic Decision Points
In a normal league, Remnants are optional content. In a race, they become calculated time-vs-power trades:
- Remnant positions are consistent — plan exactly which ones to hit
- Recipes are deterministic per Remnant — know your reward before engaging
- Kalguuran Skills have no attribute requirements — any class can pick up game-changing abilities
- Mythical runes at level 15+ provide massive early power spikes
Act-by-Act Remnant Priority
| Act | Slots | Time Cost | Priority | Verdict |
|---|---|---|---|---|
| 1 | 2–3 | 20–40 sec each | High | Always worth it — quick fights, unlocks Runeforging, Runic Ward is free defense |
| 2 | 3–5 | 30–60 sec each | High | Worth it for Runic Alloys and Kalguuran skills |
| 3 | 4–6 | 45–90 sec each | Medium | Borderline — Mystic Refuge vault takes time; skip if build is already strong |
| 4 | 3–8+ | Highly variable | Low | Skip for race purposes — encounters take too long, rewards are endgame upgrades |
Runic Ward: Free Defense That Wins Races
Runeforging adds Runic Ward to armor below item level 55 with zero downside — you lose nothing and gain an extra life buffer that regenerates independently. This is essentially a free “second health bar” against one-shots, especially critical during Act 1 and Act 2 where defenses are thin. Crafting Runic Ward on chest armor costs very little Verisium and can be done as early as Act 1.
Kalguuran Skills: Build Wildcards
The 23 new Kalguuran Skills all share one property: no attribute requirements and no gem color. A pure-strength Warrior could pick up movement or defensive utility skills without investing in intelligence. For serious racers, knowing which Remnants drop which Kalguuran Skills — and whether they are worth the detour — could be the difference between winning and losing.
PC vs Console Considerations
Qualifier events are open to both platforms, but the live finale at ExileCon is PC-only. This platform split has significant competitive implications.
Documented PC Advantages
The PC advantage in PoE2 races is well-documented by the community:
- Instant skill allocation — click passive nodes in milliseconds vs. slower cursor-based UI on console
- Faster inventory management — mouse-based item manipulation is significantly quicker
- Map navigation without stopping — PC players check the map while moving; console players often stop
- More precise aiming — mouse aiming for projectiles and AoE outperforms controller auto-target
- Higher framerates, lower input latency — better hardware means smoother dodging
- Faster load times — PC SSDs generally outperform console drives; zone transitions add up over a 2.5-hour run
Console players also face auto-targeting issues (locking onto wrong enemies, failing to switch targets) and slower menu navigation across passive tree, vendors, stash, and crafting. Over a full race, these small delays compound into minutes.
Practical Advice
If you have access to both platforms: practice and compete on PC. If you win on console, you must transition to mouse and keyboard for the finale in Auckland — make sure you can perform competitively with that input method before investing heavily in practice. Winners can bring their own peripherals to the finale.
Qualifier Prep Plan: Week by Week
July 31 – August 6 (Pre-Qualifier 1)
- Lock in 1–2 classes (Mercenary is the safe default; experiment if you have strong preferences)
- Run the full Acts 1–4 campaign 3–5 times to establish baseline times
- Practice each major boss until you beat them consistently without deaths
- Plan your Remnant route — which to hit, which to skip
- Internalize gear checkpoints for each act transition
Gear Checkpoints by Act
| Act | Target Level | Non-Negotiable | Nice-to-Have |
|---|---|---|---|
| 1 end | ~18–20 | Decent weapon, 2–3 partial resists, life flask | Movement speed boots, 2-link main skill |
| 2 end | ~33–35 | 60%+ all elemental resists, upgraded weapon, 3–4 link | Runic Ward on chest, first Kalguuran skill |
| 3 end | ~50–55 | 75% all elemental resists, 4–5 link, strong weapon | 20%+ chaos resist, flask charge generation |
| 4 pre-Tavakai | ~65+ | 75% all resists, automated flasks, 5–6 link, max life | Runic Ward on multiple pieces, 30%+ movement speed |
Qualifier 1 (August 7)
Treat as both competition and discovery run. Record your VOD. Identify the three biggest time sinks and three biggest risk points. Note where deaths happened and how to prevent them.
Between Qualifiers (Weekly)
- Refine your route — shave seconds from each zone
- Optimize Remnant selections for best speed-to-power ratio
- Practice death recovery at each act to understand the real time cost
- Drill weak boss fights until they are automatic
- Test small build variants to see if they save time
Qualifiers 2–3 (August 14, 21)
Apply everything from the previous week. Compare your time to Qualifier 1 — the gap should show measurable improvement. If you already won a qualifier, use remaining events for practice. If you have not won yet, diagnose the bottleneck: route efficiency, build power, deaths, or boss execution.
Qualifier 4 (August 28)
The last chance. Bring your fully optimized route and best execution. This is the final opportunity before ExileCon — treat it as your most serious attempt.
Final Recommendations
The Predicted Winner Profile
Class: Mercenary (Grenadier or Gunslinger ascendancy) Why: Won all three previous official races by 9+ minutes over the next class. The 0.5 balance changes did not nerf its core strengths (clear speed, mobility, ranged AoE). Kalguuran Skills help all classes equally rather than closing the gap.
Biggest Dark Horse: Hollow Palm Monk (Martial Artist) Why: Absurd attack speed (10 APS), screen-wide clear via Herald of Ice shatter chains, and strong community reception. If a top racer cracks the leveling path, clear speed could match the Mercenary.
Critical Success Factors (Ranked)
- Route memorization and clean execution — fixed layout means practice directly translates to speed
- Zero deaths — one death costs 2.5+ minutes and effectively eliminates you from contention
- Efficient Remnant usage — short, high-reward Remnants early; skip long, low-value ones
- Boss fight consistency — Tavakai Phase 2 kills more racers than anything else
- Build choice — class matters, but execution within a class matters more
Pre-Race Checklist
- Lock in your class and build
- Run full campaign 5+ times for route familiarity
- Practice Tavakai until you beat it 10/10 times without dying
- Map out your Remnant route (hit list and skip list)
- Verify flask setup includes automated charge generation
- Confirm gear plan for each act checkpoint
- Link your PoE account to Twitch for eligibility
- Get sleep before each 6 AM qualifier
The path to ExileCon starts August 7. The format rewards preparation over luck, execution over gear, and discipline over aggression. Memorize the routes, manage the death penalty, and do not gamble 150 seconds for 10 seconds of DPS.
Good luck, Exiles. See you in Auckland.
Was this guide helpful?
Help us improve PoE2Path with your feedback.