PoE2 ExileCon 2026 Qualifier Guide — SSF Racing Strategy & Tavakai Boss Breakdown
PoE2 ExileCon 2026 qualifier guide: SSF race format, Tavakai three-phase boss, Act 1-4 speedrun route, death penalty strategy and top racing builds.
PoE2 ExileCon 2026 Qualifier Guide — SSF Racing Strategy & Tavakai Boss Breakdown
The ExileCon 2026 Path of Exile 2 qualifiers kick off on August 6 at 2PM PDT — four weekly races that will determine who competes for the championship title live on stage in Auckland. Each race is a Solo Self-Found Runes of Aldur sprint through a fixed-layout campaign, and the first player to kill the Act 4 boss Tavakai wins flights to New Zealand, an Ultra VIP ExileCon ticket, and a Demigod’s Virtue unique helmet.
This guide covers everything you need to prepare: the race format and entry rules, a full three-phase Tavakai boss breakdown, the optimal act-by-act speedrun route, death penalty math, and the five best racing builds ranked by speed and survivability.
Race Format & Entry Rules
The Format
Each qualifier follows the same structure: a Solo Self-Found Runes of Aldur environment with a fixed map layout. You race from Act 1 through Act 4, and the first player to defeat Tavakai wins.
| Qualifier | Date | Time (PDT) |
|---|---|---|
| Qualifier One | August 6, 2026 | 2:00 PM |
| Qualifier Two | August 13, 2026 | 2:00 PM |
| Qualifier Three | August 20, 2026 | 2:00 PM |
| Qualifier Four | August 27, 2026 | 2:00 PM |
All events are broadcast live on twitch.tv/pathofexile with commentary from ZiggyD and RaizQT. Co-streaming is permitted.
Entry Requirements
Participation is free and open to all players on PC and console. Two requirements are non-negotiable:
-
Twitch account linking is mandatory. Link your Path of Exile account to Twitch before the event and stream your entire run on the linked account. If GGG cannot verify any portion of your run via stream, you are ineligible to win.
-
16:9 aspect ratio enforcement. GGG will enforce a strict 16:9 aspect ratio. Any player found modifying game files to circumvent this faces disqualification and an account ban.
To enter, click the “Join” button on the Character Select screen, create a character, and wait for the race to start — your character remains stationary until the official start time.
What “Fixed Layout” Means
This is the most important format detail for preparation. Fixed layout means the procedural map generation is removed — every player runs the exact same map layouts. The implications are significant:
- Route memorization matters more than luck. You can practice the exact path through every zone.
- Mob placement and chest locations are deterministic. Learn where dangerous packs sit and where valuable chests spawn.
- Practice is cumulative. Every run teaches you exactly what the race will look like.
- Muscle memory beats adaptability. The meta rewards consistency, not RNG management.
Tavakai Boss — Three-Phase Breakdown
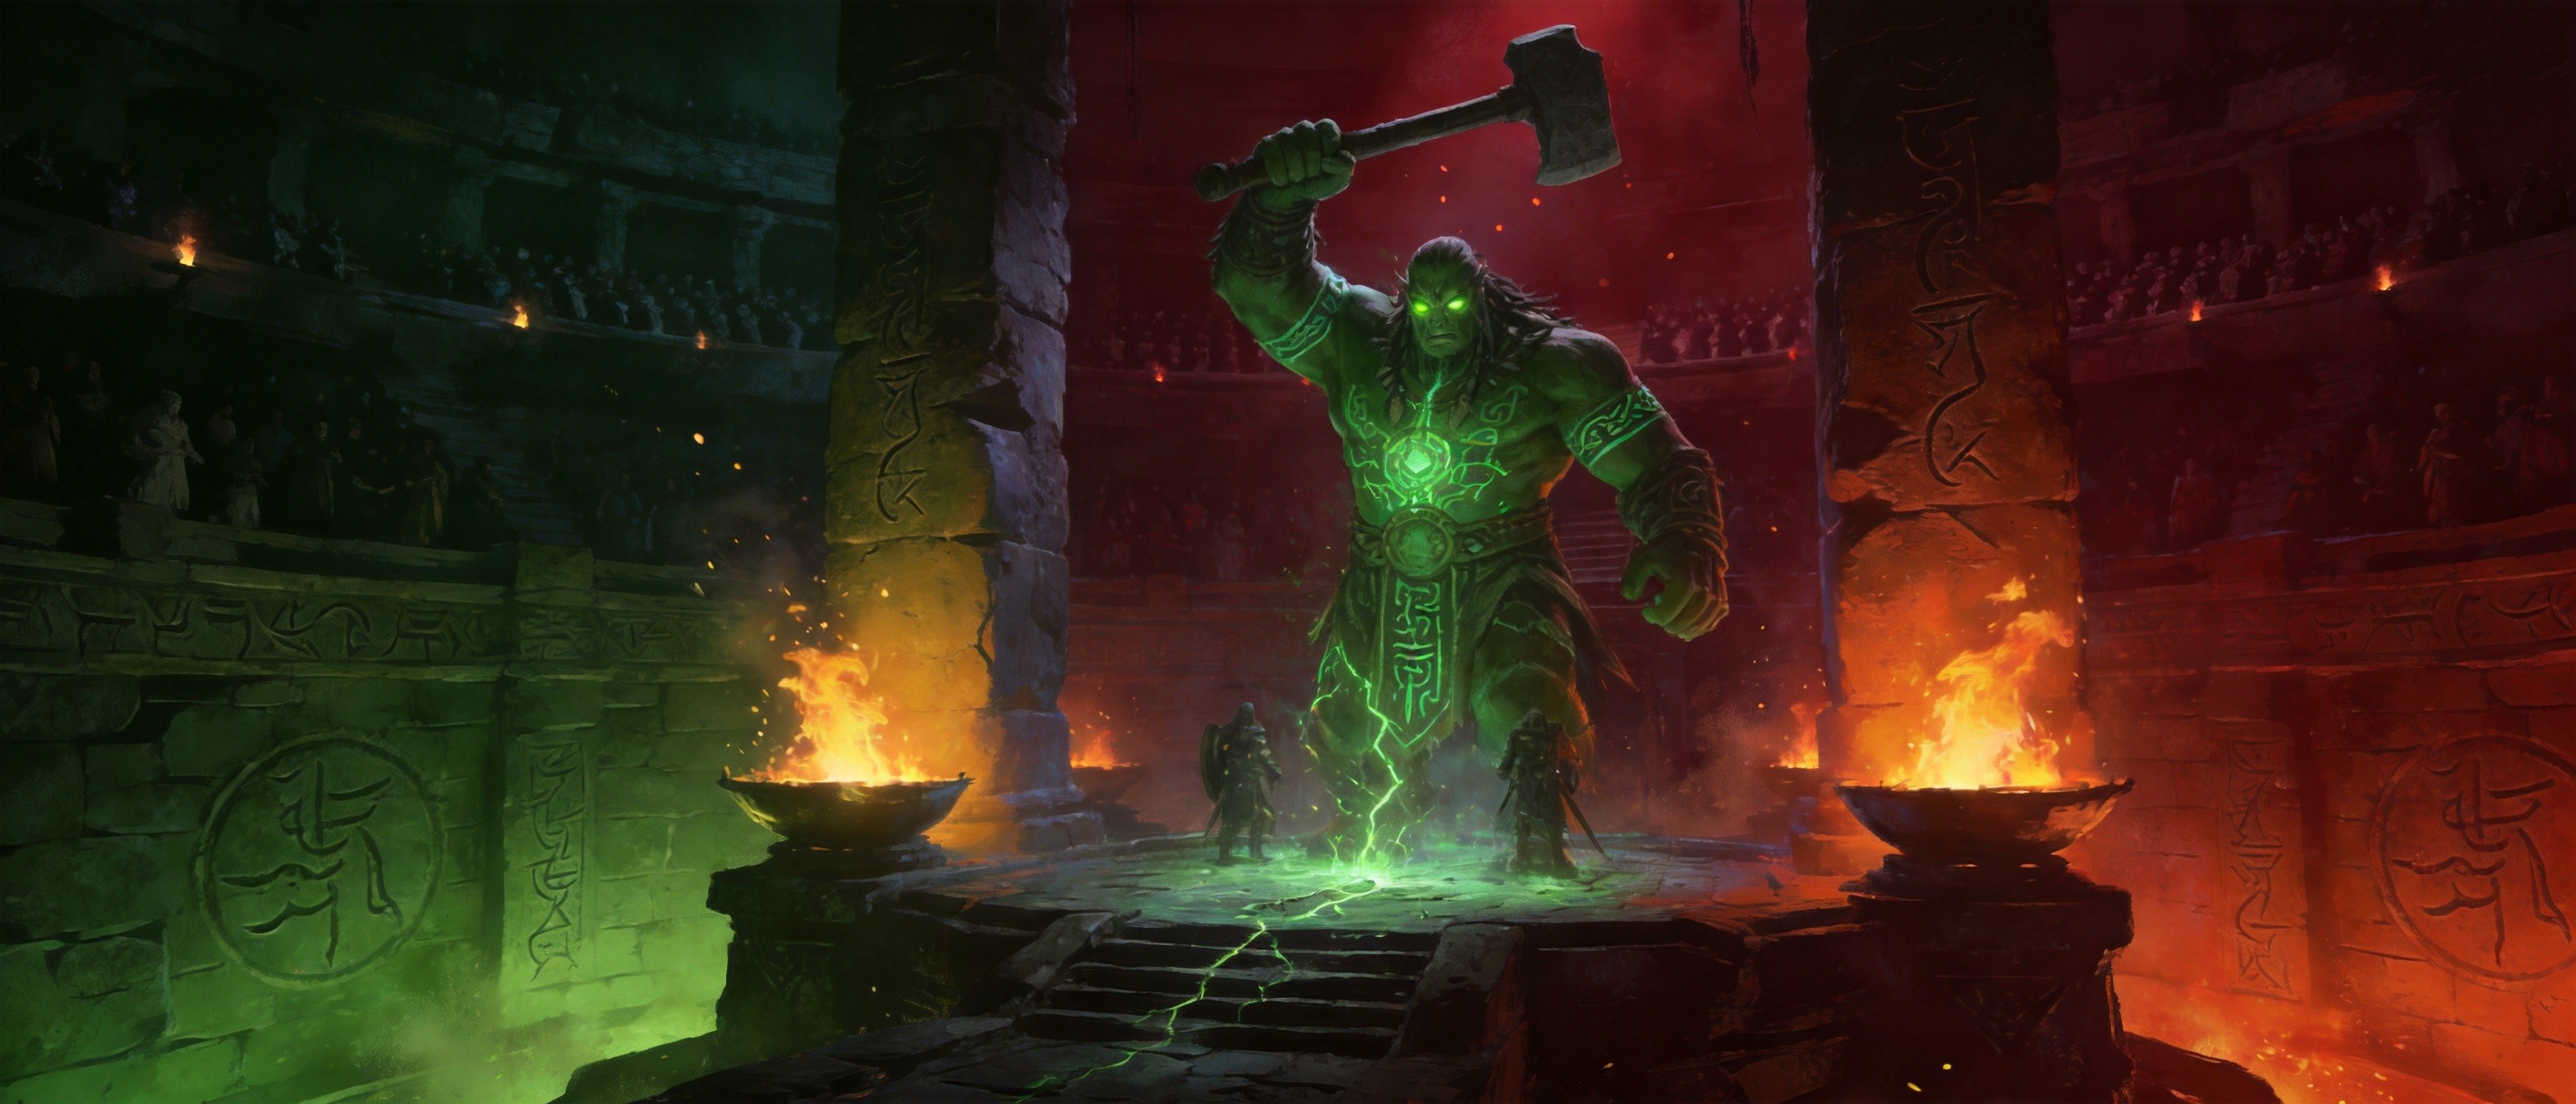
Tavakai, the Chieftain, is the final boss of Act 4 and the finish line for each qualifier. Found in the Heart of the Tribe area after sailing through Ngakanu, this is a three-phase encounter that tests sustained execution and pattern recognition more than raw burst damage. It is the longest boss fight in the campaign by duration.
Phase 1: Chieftain
Phase 1 introduces the foundational mechanics that persist throughout the fight:
- Jade Statues and Shatter. Tavakai hurls a levitating stone sphere into the air and strikes it with his axe, sending razor-sharp shards across the arena. He also creates statue markers that detonate after he leaps away. Position laterally relative to the statue.
- Reel-in Hook. Tavakai pulls you into melee range with a chain pull. If you get pulled mid-shatter sequence, you eat the full shard volley. Stay behind him, not in front.
- Warrior Spirit Adds. Jade statues come to life as Warrior Spirits. Kill these adds immediately — if they stack up during jade explosion sequences, the pressure becomes unmanageable.
- Emerald Sundering. A wide cone of jade spikes in an arc. Stay to his flanks or sidestep.
Phase 2: Fallen — The Danger Zone
Phase 2 is the most complex and most dangerous phase. Tavakai calls upon multiple ancestors, each with a distinct elemental hazard:
| Ancestor | Hazard | Dodge Strategy |
|---|---|---|
| Rongokurai | Void serpents circling the arena | Avoid serpent paths; slows make other mechanics deadlier |
| Tasalio | Tracking water projectiles from above | Keep sprinting, weave across the arena |
| Ngamahu | Volcanic spire erupting molten lava | Run away when the volcano forms; keep moving |
| Tawhoa | Arena floods with overgrowth | Stay inside the central clearing |
| Aronhongui | Large moonbeam crashing down | Heavily telegraphed — step out of the zone |
| Valako | Lightning barrage with darkness | Keep moving; darkness reduces visibility |
The critical Phase 2 rule: stop attacking when multiple invocations overlap. Trying to maintain DPS through stacked hazards is the most common Phase 2 death. Identify which areas are momentarily clear, move there, then resume attacking. The damage you lose from repositioning is trivial compared to the 2.5-minute stun from dying.
Phase 2 also features eight statues in a wide circular arena, five of which activate. Their powers remain active through Phase 3 — you carry these hazards into the final phase.
Phase 3: Consumed
Tavakai transforms into a larger, more monstrous form covered in jagged blood spikes. Key mechanics:
- Bloodspikes and Chain Detonation. Crystal eruptions triggered by Tavakai’s roar. Dash away from the spikes before he roars.
- Scarlet Spiral. Blood spikes erupt in a spiraling pattern. Dodge outward or between gaps.
- Rampage. A rapid series of strikes ending in a powerful slam. Keep moving during the flurry and use the longer windups in Phase 3 to dash in, drop your hardest-hitting skills, then roll out.
Preparation Checklist
Before entering the Heart of the Tribe, confirm you have:
- 75%+ in all major resistances (fire, cold, lightning)
- Automated flask charge generation (on-hit or on-kill crafts) — manually triggered flasks will run out before Phase 3 ends
- Movement speed boots — the fight demands constant repositioning
- AoE capability for Warrior Spirits in Phase 1
Optimal Speedrun Route — Act 1 Through Act 4
In a fixed-layout SSF race, route optimization is the difference between placing and winning. The guiding principle: passive points and Spirit come first — they have the highest time-value ratio of any optional content.
Act 1: The Frozen North
Non-negotiable stops:
- Kill Crowbell first. Drops +2 passive points — the highest passive-per-minute return in Act 1. The fight takes about 8 minutes and is never worth skipping.
- Do Freythorn for +30 Spirit. Takes roughly five minutes. This powers your persistent skills and auras immediately.
- Grab Una’s Lute. Found in Ogham Farmlands — +2 more passive points.
Before Count Ogham, hit 30-40% cold resistance. His second phase adds ice projectile fans, and going in under-geared is the most common Act 1 death.
Act 2: The Desert Province
Non-negotiable stops:
- Go to Keth immediately. The serpent queen drops +2 passive points — the highest-value first stop in Act 2.
- Do the Ascendancy Trial at level 28, not 22. Six extra levels give access to level 8-10 support gems that drastically reduce trial difficulty.
- Get fire resistance before Rudja. Below 20% fire resistance turns a manageable boss into an attrition battle.
Act 3: The Wetlands
Non-negotiable stops:
- Complete Venom Crypts first. Awards a permanent buff choice you cannot retroactively claim if skipped. This is the highest-stakes single decision in Act 3.
- All three passive point quests are mandatory: Kabala (+2), Dekhara letter quest (+2), and Silverfist (+2). Missing all three is equivalent to leaving six passive tree nodes permanently empty.
- Skip Molten Vault if your DPS is low. If boss phases take more than 60 seconds each, you’re losing more time than the rewards justify.
Act 4: The Island Chain
The recommended island priority: passive point islands first, then Spirit/life reward islands, then content-only islands. Key stops include Eye of Hinekora (+2 skill points from the three ancestor tests) and Journey’s End (+2 skill points from the Totem quest).
Upgrade your movement speed boots at levels 15, 33, and 46 for optimal campaign speed. Movement speed is the single most impactful stat for total campaign time.
Death Penalty — The Math That Defines the Race
The 2.5-minute stun death penalty is the defining strategic constraint of these qualifiers. Unlike Hardcore (permadeath) or Softcore (inconvenience), this penalty creates a unique risk-reward calculus: death is not run-ending, but it is race-losing at the top level.
The Numbers
The fastest verified campaign run to Tavakai is 2 hours 17 minutes 58 seconds by Angormus on a Warrior Titan Boneshatter build. A single death costs 2.5 minutes:
- In a 2.5-hour run: ~1.7% of total time
- In a 4-hour run: ~1.0% of total time
- In a 6-hour run: ~0.7% of total time
These percentages understate the impact. In a close race, the gap between 1st and 2nd is measured in seconds or single-digit minutes — not the 2.5 minutes a death costs.
Risk-Reward Framework
Every decision should pass through this filter: Does the time I expect to save exceed the expected death cost multiplied by the probability of dying?
If pushing a dangerous mob pack saves 5 seconds but has a 10% chance of killing you, the expected cost is 15 seconds — it’s not worth it. But if skipping a 5-minute side area saves 5 minutes with only a 5% chance of dying later from missing passive points, the expected cost is 7.5 seconds — it might be worth it.
Play aggressively when: You’re in early Acts with low mob damage, death probability is under 1%, or you’re significantly behind and need to gamble.
Play conservatively when: You’re near Act 4/Tavakai, in burst-damage zones, under-leveled, or ahead of the competition.
Best SSF Racing Builds Ranked
1. Warrior / Boneshatter Titan — The Record Holder
Estimated time: 2h 20m (record: 2h 17m 58s)
The Warrior Titan Boneshatter build holds the fastest campaign record. Its core mechanic is the Rolling Slam → Boneshatter animation cancel — hitting Boneshatter after the first hit of Rolling Slam cancels the slow second animation, delivering a devastating AoE slam faster than normal. Shield Charge provides traversal mobility.
Why it’s fast: Animation-cancel tech, high mobility, and Warrior’s natural tankiness enable aggressive play through packs that would kill squishier builds.
Why it’s risky: Melee range means constant exposure to AoE effects. The death penalty hits melee builds hardest because they die more frequently.
2. Witch ED/C + Bonestorm (Infernalist → Lich) — The Reliability King
Estimated time: ~4h 30m
Essence Drain + Contagion for full-screen clear from level 6 — cast on a pack, keep moving, enemies die behind you. Bonestorm for single-target boss deletion, firing up to 20 Bone Spikes that stack Impale for massive burst.
Why it’s great for SSF: Zero unique items required, smooth power curve, ranged safety, and Demon Form’s massive dash distance transformation.
Why it’s not faster: Weak early game (levels 1-5 with only Entangle), ES gear harder to find early, and weapon set swapping adds mechanical overhead.
3. Martial Artist (Monk) — 0.5 S-Tier Newcomer
Estimated time: ~4-5h
The Martial Artist’s Way of the Stonefist turns gloves into devastating weapons. The Whirlwind + Thunderclap combo creates a self-propelled bulldozer playstyle with strong AoE clear and movement speed. Note: the 0.5.1 patch nerfed Slam damage by 50%.
4. Spirit Walker (Huntress) — Minion Safety
Estimated time: ~5-6h
Minion-based playstyle with beast-taming companions. You stay safe while minions deal damage. Can tame boss companions like Mighty Silverfist. Very safe but slower for campaign speedruns.
5. Cyclone Amazon — Popular Meta
Estimated time: ~5h
Cyclone + Ice Arrow physical-to-cold conversion build with freeze and shatter chains. Low gear requirement (just a high-speed spear and movement speed boots) but campaign speed is less documented in race contexts.
| Build | Est. Time | SSF Rating | Survival | Key Risk |
|---|---|---|---|---|
| Warrior Boneshatter | 2h 20m | Good | Medium | Melee deaths |
| Witch ED/C + Bonestorm | 4h 30m | Excellent | High | Weak levels 1-5 |
| Martial Artist | 4-5h | Good | High | 0.5.1 slam nerf |
| Spirit Walker | 5-6h | Excellent | Very High | Slower clear |
| Cyclone Amazon | ~5h | Good | Medium-High | Gear-dependent |
Pre-Race Preparation Checklist
Practice
- Do 2-3 full campaign runs at comfortable pace, focusing on zone layouts and quest order
- Practice each act independently until you can complete it without a guide
- Do full race-pace runs and track your time per act to identify bottlenecks
- Practice the Tavakai fight specifically — do it 5-10 times until Phase 2 invocations are muscle memory
Settings
- Confirm 16:9 aspect ratio compliance
- Optimize your loot filter for racing: movement speed boots, life/resist gear, weapons, flasks, currency — nothing else
- Ensure movement skill, main damage, and flasks are on easily reachable keybinds
Twitch
- Link your PoE account to Twitch days before the event
- Do a test broadcast to confirm quality
- Ensure your stream covers the entire event with no gaps
Key Takeaways
The ExileCon 2026 qualifiers reward preparation over luck. With fixed layouts, every practice run makes you faster. With a 2.5-minute death penalty, every conservative decision in Act 4 protects your position. And with Tavakai’s three-phase fight as the finish line, boss mastery is non-negotiable.
The Warrior Boneshatter holds the speed record but demands melee comfort. The Witch ED/C build is slower but safer — and in a race where one death can cost you the win, reliability matters. Choose the build that matches your playstyle, put in the practice runs, and make sure your Twitch setup is ready before race day.
Four qualifiers. Four chances. The first one starts tomorrow.
Was this guide helpful?
Help us improve PoE2Path with your feedback.