Path of Exile 2 Support Gem Synergies Guide — Build the Perfect 5-Socket Setup
Best PoE2 support gem combos for Physical, Fire, Cold, Lightning and Chaos builds: 5-socket setups, anti-synergy warnings and Lineage priorities.
Path of Exile 2 Support Gem Synergies Guide — Build the Perfect 5-Socket Setup
The Path of Exile 2 support gem system is the mechanical backbone of every build in Wraeclast. With 194+ regular support gems and 40+ Lineage Support Gems — and a hard cap of 5 support sockets per active skill — choosing the right combination is the single highest-impact decision an exile can make. The strongest builds are not those stacked with the highest-number damage gems, but those engineered so every support amplifies every other support’s effect — creating multiplicative chains where 2+2 equals 6 or more.
The single most important rule every new player violates: always read the “cannot” clauses. Brutality removes elemental damage. Elemental Focus prevents ailments. Controlled Destruction nullifies crits. These are not minor penalties — they can completely negate half your gem slots. This guide breaks down the best support combinations for every damage type, the anti-synergies that destroy your DPS, and the synergy-first framework that separates T15 farmers from struggle builds.
The 5-Socket Constraint
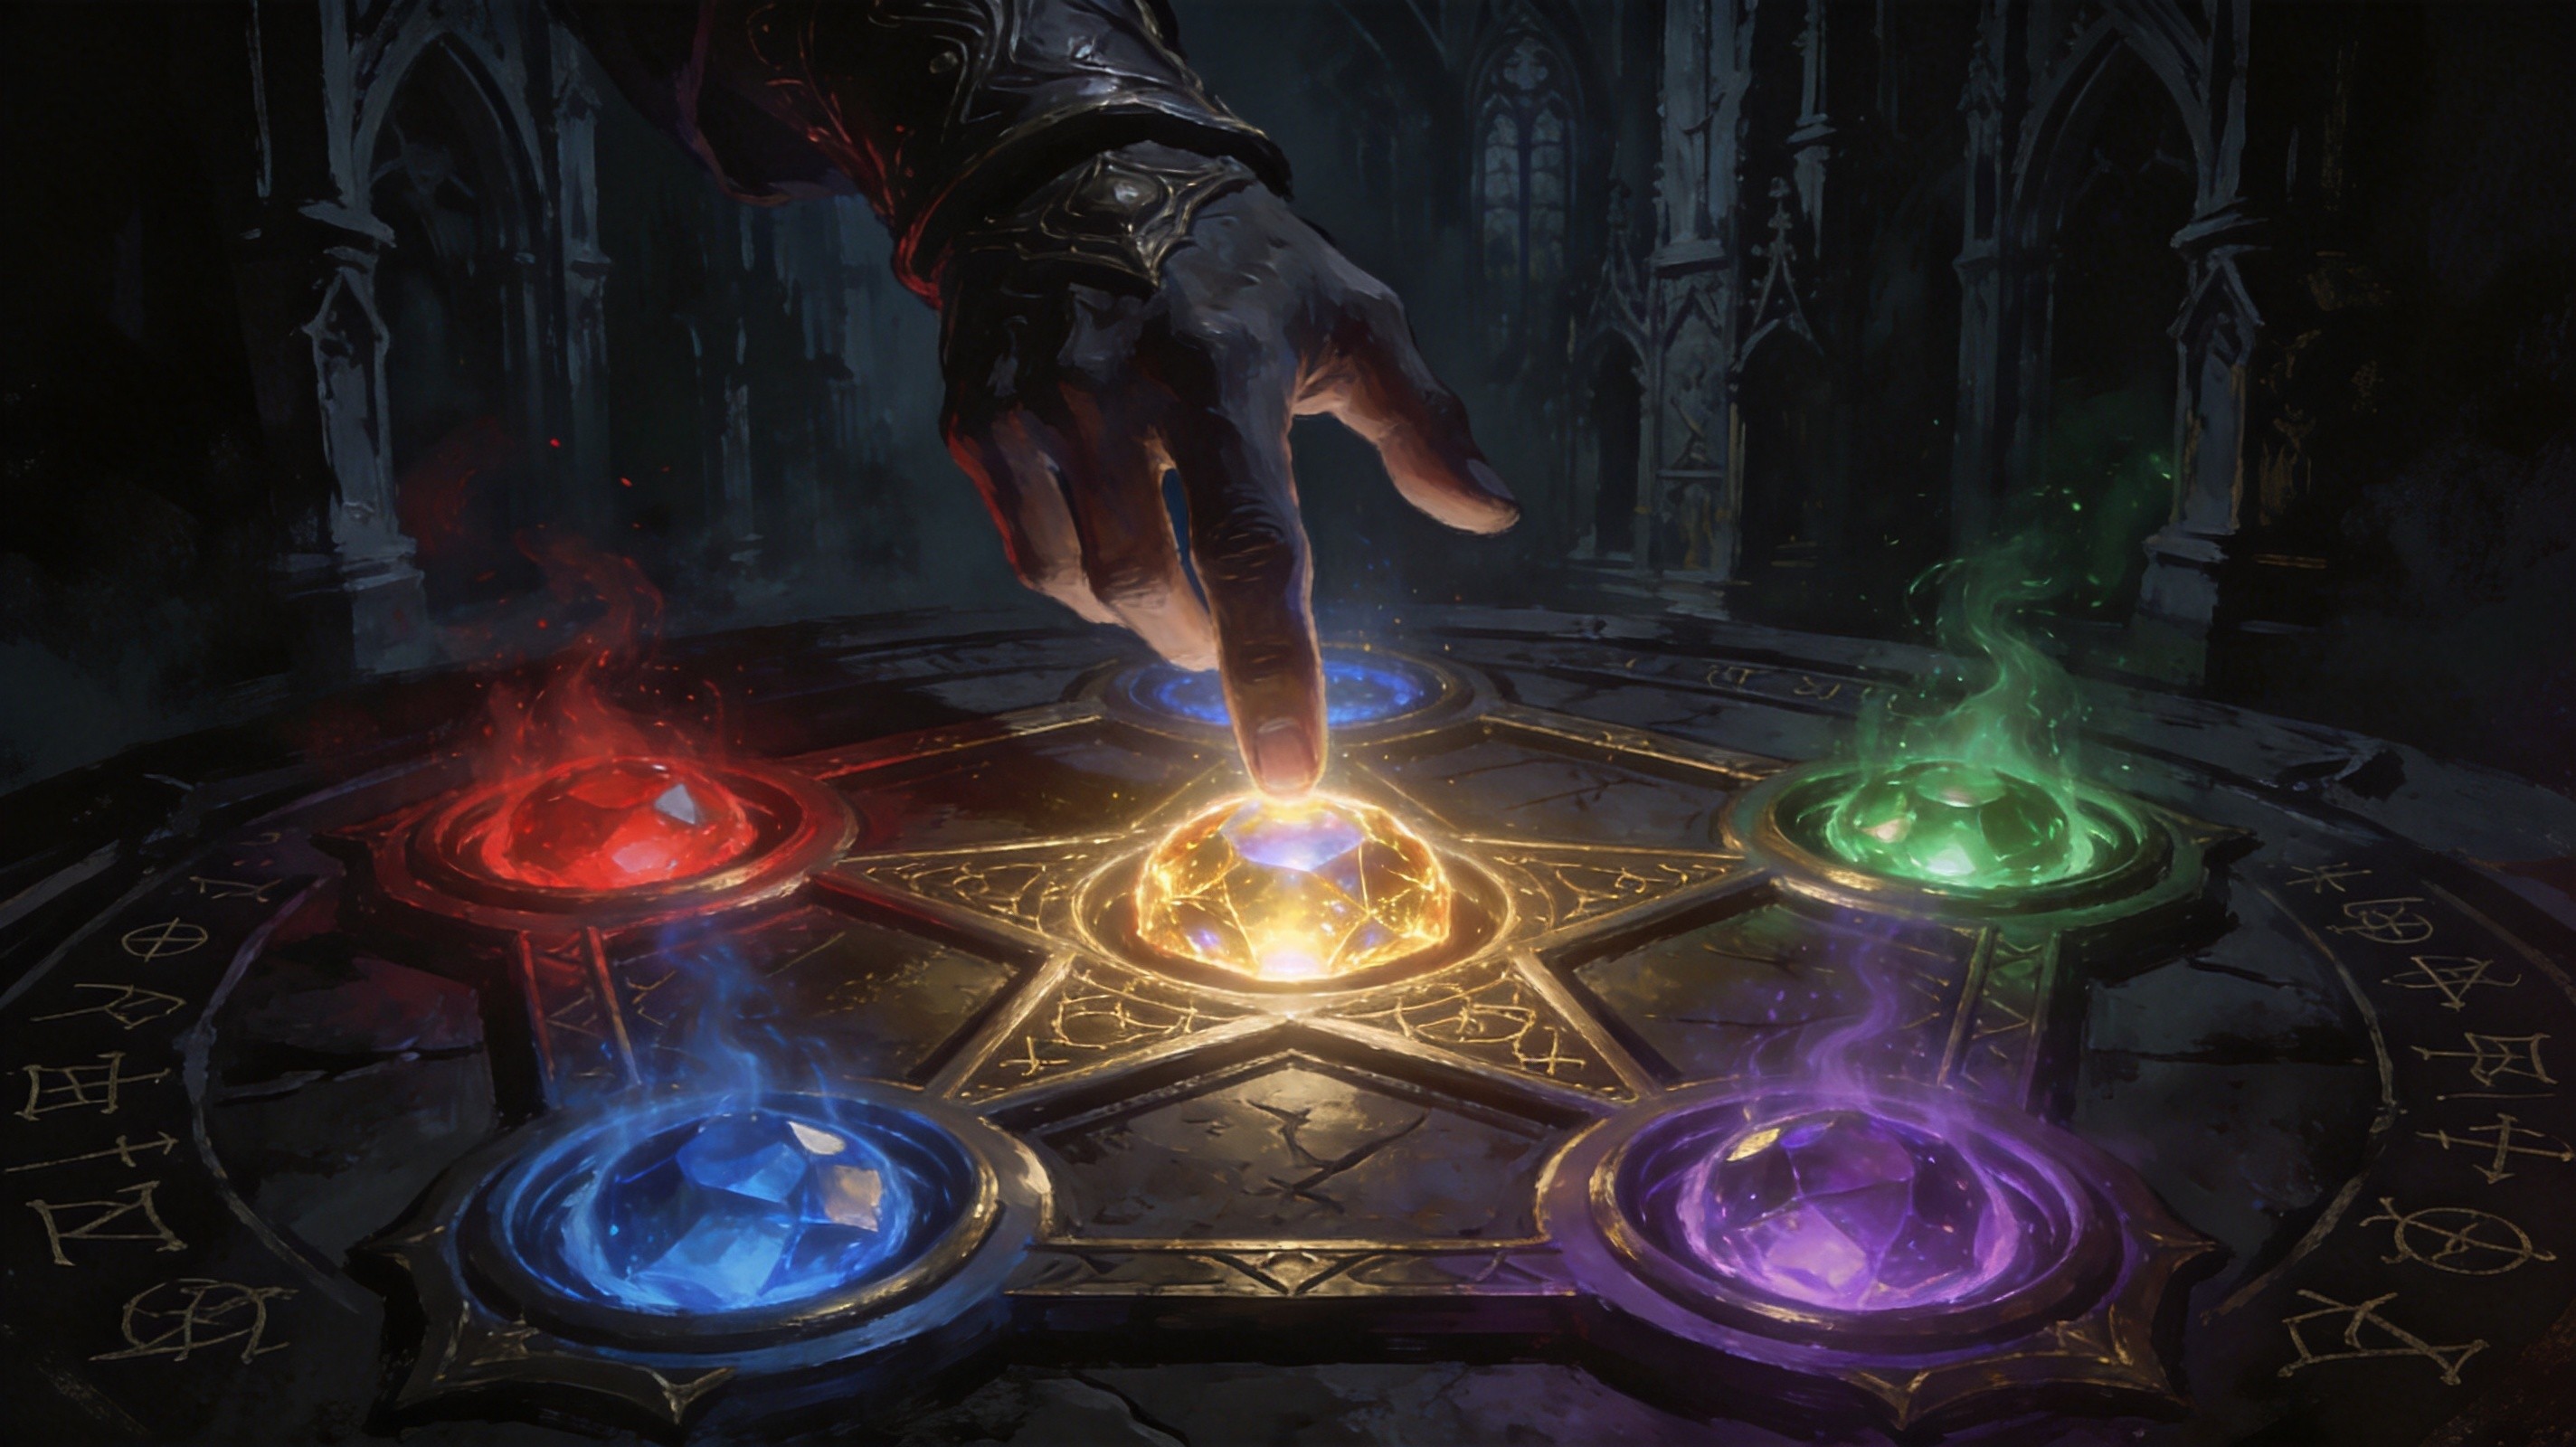
In PoE2, each active skill has a dedicated set of support gem slots in the Skills menu — independent of your equipment. You can socket a maximum of 5 support gems per active skill. With over 230 total support gems available, every single socket is a precious resource.
The most successful builds follow a consistent allocation pattern:
- 2–3 damage multipliers — Your core damage engines
- 1 penetration / defense bypass — Essential for endgame resistances
- 1 clear-speed / AoE modifier — For mapping viability
- 0–1 utility / special — Speed, Lineage gems, or quality-of-life
The exact mix shifts based on content (mapping vs. bossing) and build archetype. But the principle holds: you’re always making trade-offs.
Support Gem Categories at a Glance
| Category | Role | Key Examples |
|---|---|---|
| Damage Multipliers | Direct “more” damage with conditions | Brutality, Elemental Focus, Controlled Destruction |
| Penetration | Bypass enemy resistances | Cold/Fire/Lightning Penetration, Armour Break |
| Ailment / DoT | Apply or enhance status effects | Envenom, Lacerate, Eternal Flame, Bursting Plague |
| Speed | Increase attack/cast throughput | Faster Attacks, Rapid Casting |
| Area / Projectile | Modify AoE or projectile behaviour | Chain, Concentrated Effect, Magnified Area, Pierce |
| Payoff / Trigger | Consume conditions for burst | Biting Frost, Armour Explosion, Elemental Discharge |
| Seal (0.5.0) | Charge-up burst mechanic | Unleash, Expand, Salvo, Freezing Salvo |
| Lineage | Unique build-defining supports | Dialla’s Desire, Rakiata’s Flow, Sione’s Temper |
Understanding which category each gem belongs to is the first step toward building coherent 5-socket loadouts.
Best Support Combinations by Damage Type
Physical Damage Builds
Physical damage revolves around the Armour Break mechanic — a PoE2-exclusive system where physical damage chips away at enemy armour, eventually fully breaking it for massive damage bonuses.
| Slot | Support Gem | Role |
|---|---|---|
| 1 | Brutality | 35% more Physical Damage — the biggest physical multiplier |
| 2 | Armour Break III | Breaks armour + enables Endurance Charges |
| 3 | Armour Explosion | Fire AoE explosion on full armour break |
| 4 | Close Combat II (melee) / Piercing (projectile) | Point-blank damage or projectile chain-clear |
| 5 | Atalui’s Bloodletting (Lineage) | Mana→life cost + 2% extra phys per 10 life cost |
Key synergy chain: Armour Break → Full Armour Break → Armour Explosion → AoE Fire Damage → Chain/Pierce for propagation. This turns pure single-target physical damage into screen-wide clear.
Physical DoT (Bleed) variation: Replace Armour Explosion with Lacerate III + Bleed IV. Add Admixture for the 20% bleed/poison cross-scaling synergy if you’re running a hybrid.

Fire Damage Builds
Fire builds revolve around Ignite, explosions, and area coverage.
| Slot | Support Gem | Role |
|---|---|---|
| 1 | Elemental Focus | 25% more Elemental Damage |
| 2 | Fire Penetration | Essential for endgame fire resistances |
| 3 | Concentrated Effect / Magnified Area | Single-target or clear — swap based on content |
| 4 | Eternal Flame (ignite) / Burning Damage | Ignite duration or burning DoT scaling |
| 5 | Arbiter’s Ignition (Lineage) | 20% chance for Flame Archon on ignite |
Critical anti-synergy: Elemental Focus + Ignite/Burning Damage. Elemental Focus says “supported skills cannot inflict Elemental Ailments” — that means no Ignite. If you’re building around ignite damage, remove Elemental Focus immediately.
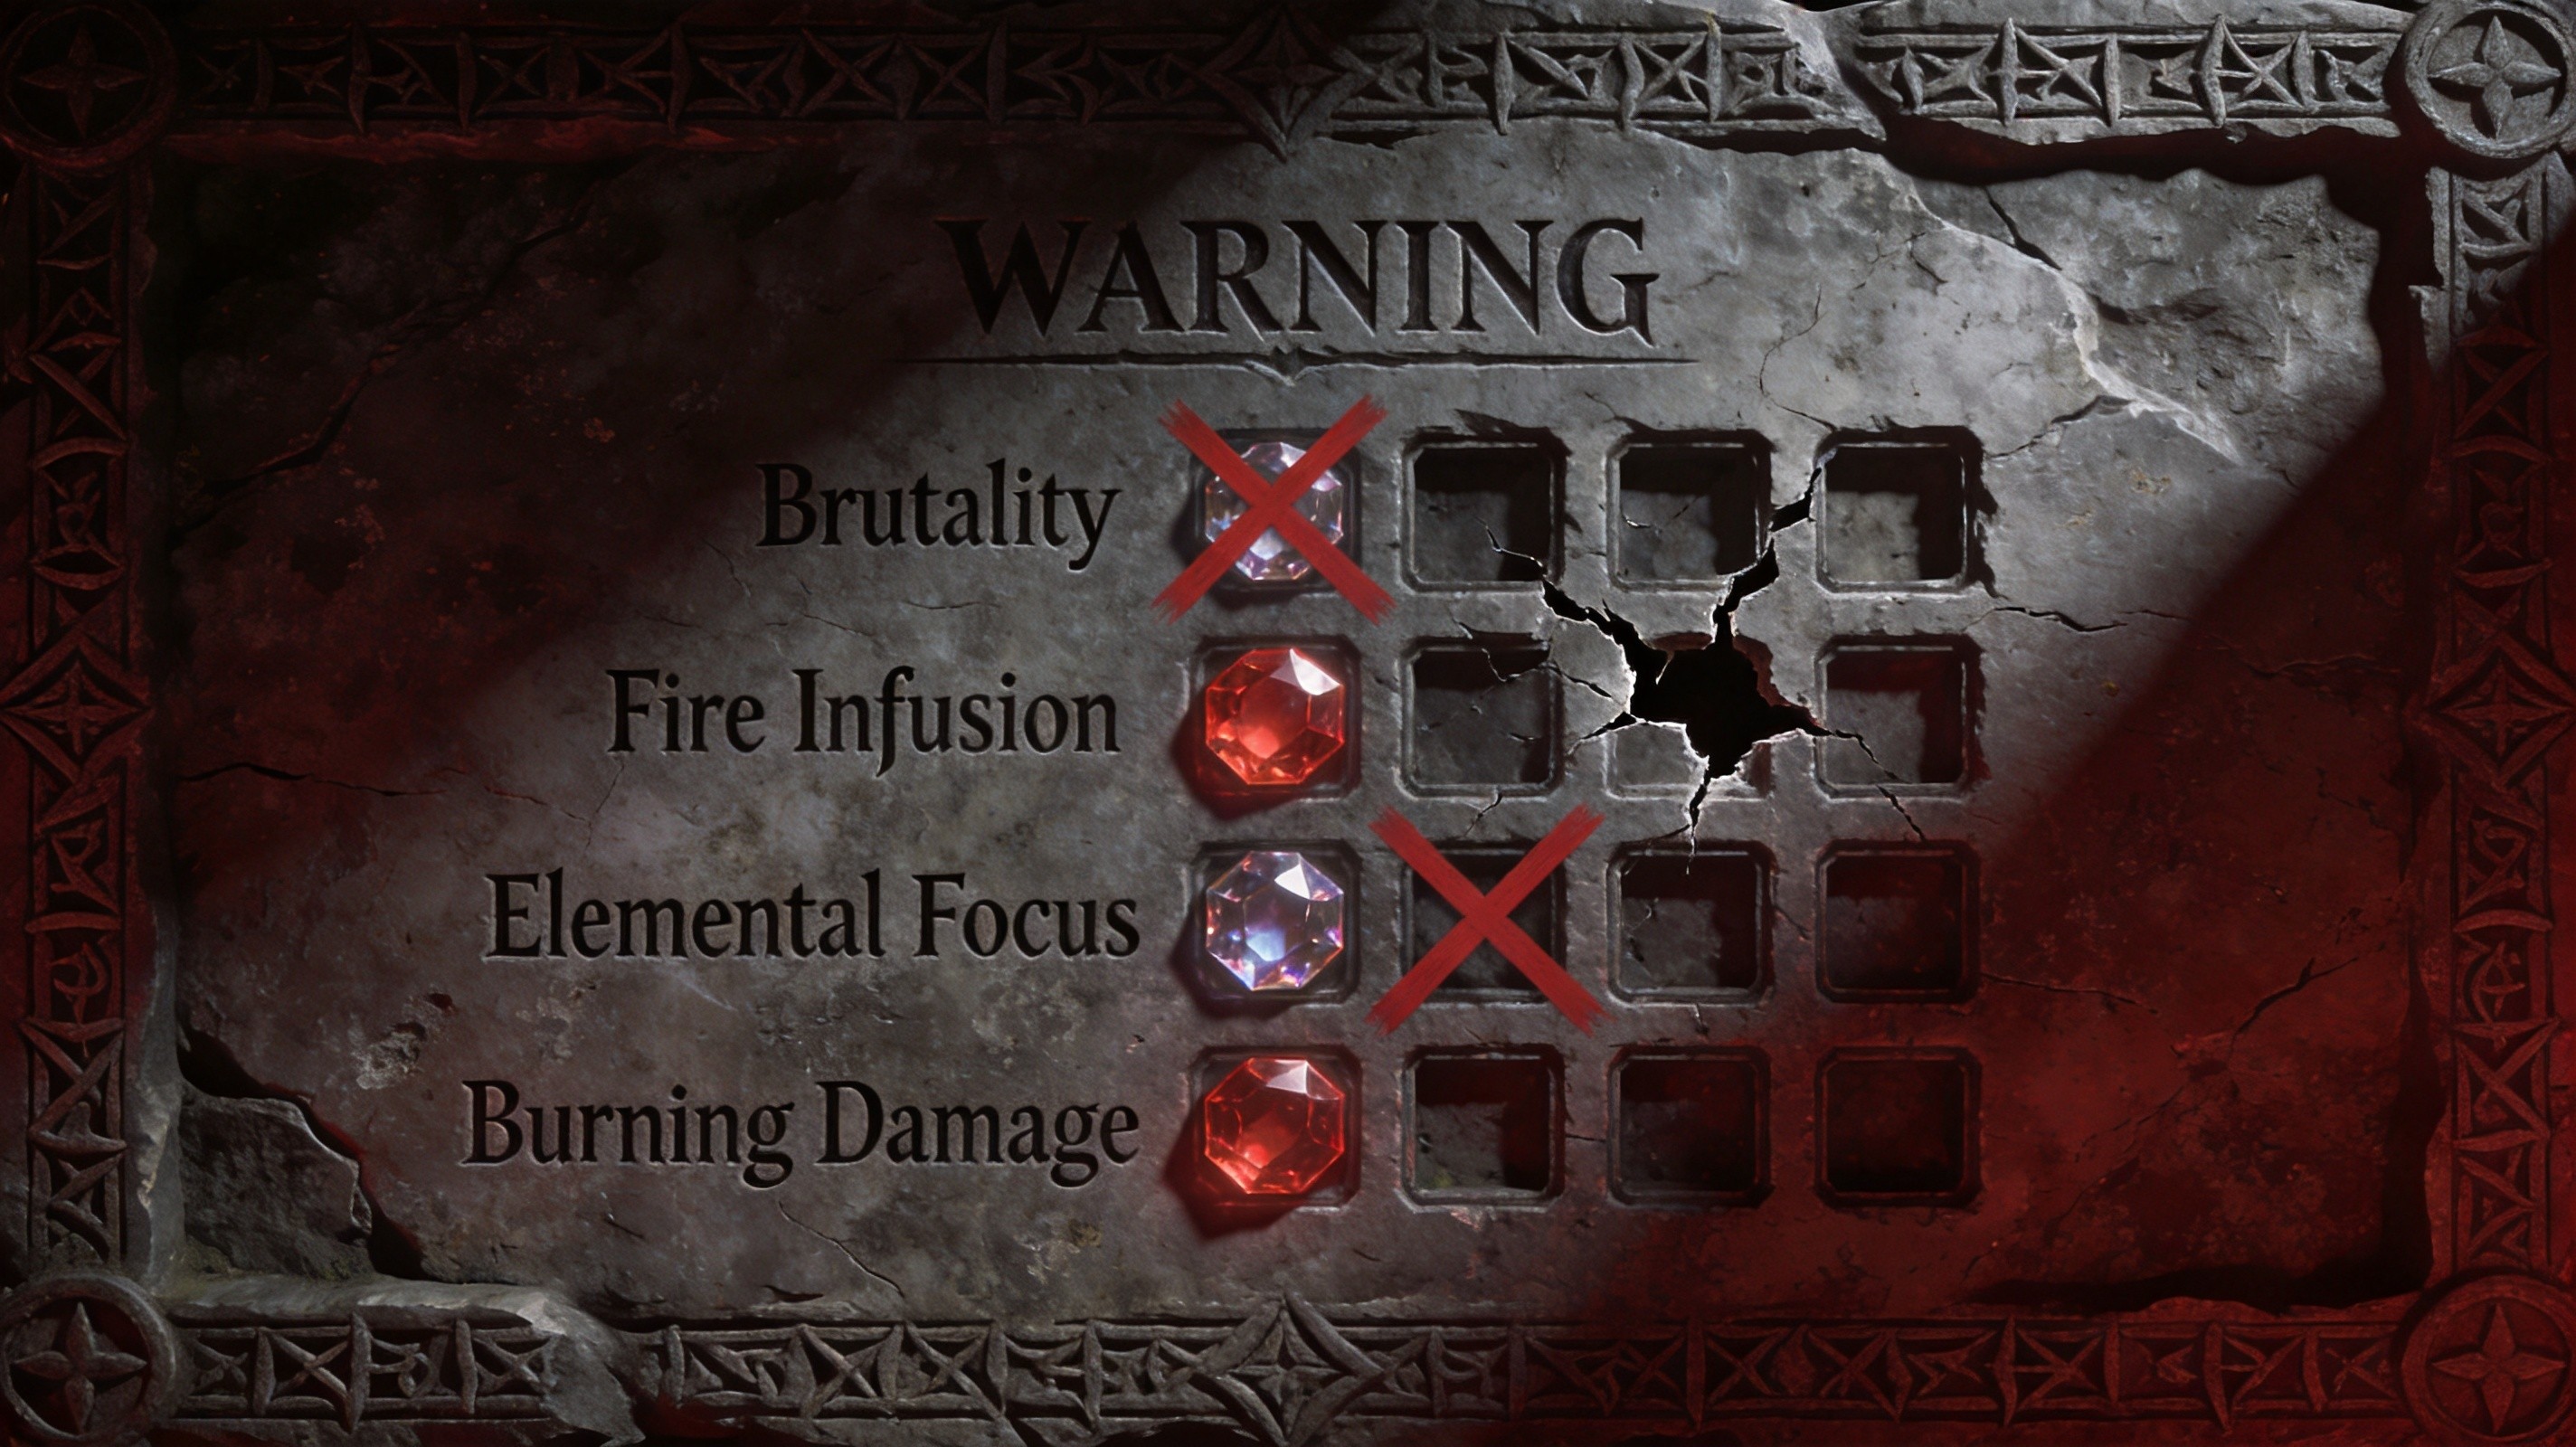
Fire conversion warning: Physical → Fire Infusion (25% extra fire, -50% cold/lightning) is anti-synergistic with Brutality — it removes all elemental damage. Don’t combine them.
Cold Damage Builds
Cold builds are defined by Freeze and Chill — crowd control effects that also serve as damage multipliers through the payoff system.
| Slot | Support Gem | Role |
|---|---|---|
| 1 | Pinpoint Critical | Core crit multiplier |
| 2 | Cold Penetration | 30% cold resistance penetration at Tier 2 |
| 3 | Biting Frost II | Consumes freeze for 40% more damage |
| 4 | Rapid Casting II (spells) / Faster Attacks | Speed + freeze application rate |
| 5 | Sione’s Temper (Lineage) | +8 extra projectiles per charge for projectile spells |
The Freeze Payoff Loop: Apply Freeze → Biting Frost consumes Freeze for 40% more damage → consumed Freeze applies Chill → enemy stays slowed → easier to keep applying Freeze. This self-reinforcing loop is what makes cold burst builds so explosive.
Anti-synergy: Elemental Focus + Biting Frost. Elemental Focus prevents freeze and chill, which means Biting Frost has nothing to consume. The 40% damage payoff never triggers.

Lightning Damage Builds
Lightning builds are the kings of screen-wide clear and chain-based AoE.
| Slot | Support Gem | Role |
|---|---|---|
| 1 | Lightning Penetration / Rakiata’s Flow (Lineage) | Resistance bypass — tri-element if multi-element |
| 2 | Chain III | Bounces between enemies for massive clear |
| 3 | Conduction | 100% increased Shock chance |
| 4 | Eonyr’s Thunder (Lineage) | Electrocution buildup + Voltaic Fulmination |
| 5 | Rising Tempest | 12% more elemental per different element recently used |
Lightning’s unique synergy: Chain + Pierce + return projectiles creates situations where every shot hits every enemy on screen multiple times. Combined with tri-element cycling via Rising Tempest and Rakiata’s Flow, you achieve maximum elemental bonuses while overcoming all resistances.
Chaos / Poison DoT Builds
Chaos builds thrive on bypassing elemental resistances and stacking multiple DoT effects.
| Slot | Support Gem | Role |
|---|---|---|
| 1 | Envenom | 60% chance to Poison on Hit |
| 2 | Admixture | 20% more Bleed vs. poisoned + 20% more Poison vs. bleeding |
| 3 | Bursting Plague | Poisoned enemies explode for accumulated Plague DPS |
| 4 | Swift Affliction / Deadly Affliction | DoT rate or magnitude scaling |
| 5 | Arakaali’s Lust (Lineage) | 6% more hit damage per poison on enemy, up to 30% |
The Admixture Feedback Loop: Bleeding increases poison damage. Poison increases bleeding damage. Both DoTs tick simultaneously, and each one boosts the other. This multiplicative cross-scaling makes bleed+poison hybrids devastatingly powerful.
Anti-synergy: Brutality + Chaos Damage. Brutality says “Supported Skills deal no Chaos Damage.” If you’re running any chaos/poison effect, Brutality zeros out your entire chaos damage for a mere 35% physical boost.
The Synergy-First Framework
Don’t ask “what are the strongest gems?” Ask “what chain of effects can I create where each gem enables the next?”
Step 1: Identify your core mechanic — crits? Freeze payoff? Armour break explosions? Poison stacking?
Step 2: Find the payoff support — the highest-multiplier conditional support you can consistently trigger.
Step 3: Build the enable chain backward — if you need freeze, add freeze chance and buildup supports. Each gem should make the next one more effective.
Step 4: Fill remaining sockets with universal multipliers — penetration, speed, and flat damage that compound with everything else.
Mapping vs. Bossing Swaps
One of the most impactful optimizations is maintaining two separate support gem setups and swapping between them:
| Role | Mapping Setup | Bossing Setup |
|---|---|---|
| AoE | Magnified Area, Chain, Pierce | Concentrated Effect, Pinpoint Critical |
| Damage | Spread across clear tools | Stacked pure damage multipliers |
| Speed | Faster Attacks/Casting (high clear value) | Penetration, Crit Multiplier (single-target priority) |
| Special | Bursting Plague, Armour Explosion | Biting Frost, payoff triggers |
Even swapping 2–3 gems between content types is a massive DPS increase for very little effort.
6 Common Anti-Synergy Mistakes
1. Brutality + Elemental/Chaos Damage
Brutality removes all elemental and chaos damage. If you have Fire Infusion or any added elemental damage, Brutality wipes it out completely.
2. Elemental Focus + Ailment Scaling
Elemental Focus prevents all elemental ailments. Running it alongside Burning Damage, Biting Frost, or Conduction makes those supports dead weight.
3. Controlled Destruction + Crit Supports
Controlled Destruction adds 30% more spell damage but removes all critical strikes. Every crit-based support becomes useless.
4. Mismatched Tags
A “Melee, Strike” support won’t work on a projectile spell. Always check tags — if the gem doesn’t appear in the skill’s support list, it’s incompatible.
5. Ignoring Cost Multipliers
Brutality (120%), Envenom (120%), Close Combat (140%) — stacking multiple high-cost multipliers leaves you mana-starved. Always check total cost multiplier against your mana pool.
6. The “More Is Better” Fallacy
Filling all 5 sockets with damage multipliers assumes stacking is always optimal. A 5th damage gem might add 20% more — but replacing it with a penetration gem could add 40–60% effective damage against high-resist enemies.
S-Tier Lineage Gems
Lineage Support Gems are build-defining items that drop from specific bosses:
- Dialla’s Desire — +1 skill level and +5% quality. Universally powerful for every build.
- Rakiata’s Flow — Tri-element penetration. Essential for elemental builds.
- Sione’s Temper — Extra projectiles for spell builds. Transforms projectile spells.
- Atalui’s Bloodletting — Mana→life cost conversion with physical scaling. Core of life-based builds.
The strategic question every endgame build must answer: which Lineage gem do you build around?
Leveling Roadmap
Act 1–2 (Levels 1–25): Establish your core damage type and clear mechanism. Tier 1 basics — Brutality or Elemental Focus for damage, Chain or Melee Splash for clear, Faster Attacks for throughput.
Act 3–4 (Levels 25–50): Upgrade to Tier II. Add condition-based supports (Biting Frost, Burning Damage). Start acquiring your first Lineage gems.
Levels 50–65: Expand to Tier III. Finalize your 5-socket core. Begin farming for build-defining Lineage gems.
Endgame (65+): Perfect synergies. Maximize gem quality. Maintain mapping and bossing setups. Fine-tune mana/Spirit budgets.
Patch 0.5.0 Meta Shifts
Seal System Unification: Unleash, Expand, Salvo, and Freezing Salvo now use the same Seal mechanic. Salvo gains 1 Seal per second (up from 2), max 6 Seals (up from 3). Builds up twice as fast for more responsive mapping.
Kalguuran Supports: Runic Ward-based supports add a new resource-management layer. Fist of Kalguur grants 20% of damage as extra Physical when Runically boosted.
33 New Support Gems: Including 24 new Lineage gems — every major damage archetype got at least one new build-defining option.
Quick Checklist Before Finalizing
- Do all gems have matching tags?
- Any conflicting “cannot” clauses?
- Can you sustain the mana cost?
- Do you have at least one defense bypass?
- Is there a clear synergy chain?
- Have you considered mapping vs. bossing swaps?
Support gems are not individual upgrades to stack — they are pieces of a machine. Read the fine print, understand the interactions, and build around synergy, not raw numbers.
All data based on patch 0.5.x. For gem socketing mechanics, check our Gem Socketing Guide and Interlinear Guide.
Was this guide helpful?
Help us improve PoE2Path with your feedback.