PoE2 Ocean Bosses Guide: Medved, Vorana, Uhtred & Olroth
Master all four Runes of Aldur ocean bosses in PoE 2 — Medved, Vorana, Uhtred and Olroth — plus the full Triskelion unlock chain to The Aberration fight.
PoE2 Ocean Bosses Guide: Medved, Vorana, Uhtred & Olroth
The Runes of Aldur endgame hides its best loot behind four faction-leader bosses scattered across the ocean layer of the Atlas — and behind them, a consumable-key pinnacle boss called The Aberration. The catch: none of them are marked on your map, the unlock chain spans eight steps, and the final key is consumed on every single attempt. This guide maps the entire route, from your first Uncharted Waters icon to a repeatable Starlit Ore farm, with per-boss mechanics, death causes, and the defensive checklists that actually matter in 0.5.4e.
If you are still working through baseline endgame progression, pair this with our endgame bosses overview and endgame roadmap — this guide picks up where those leave off.
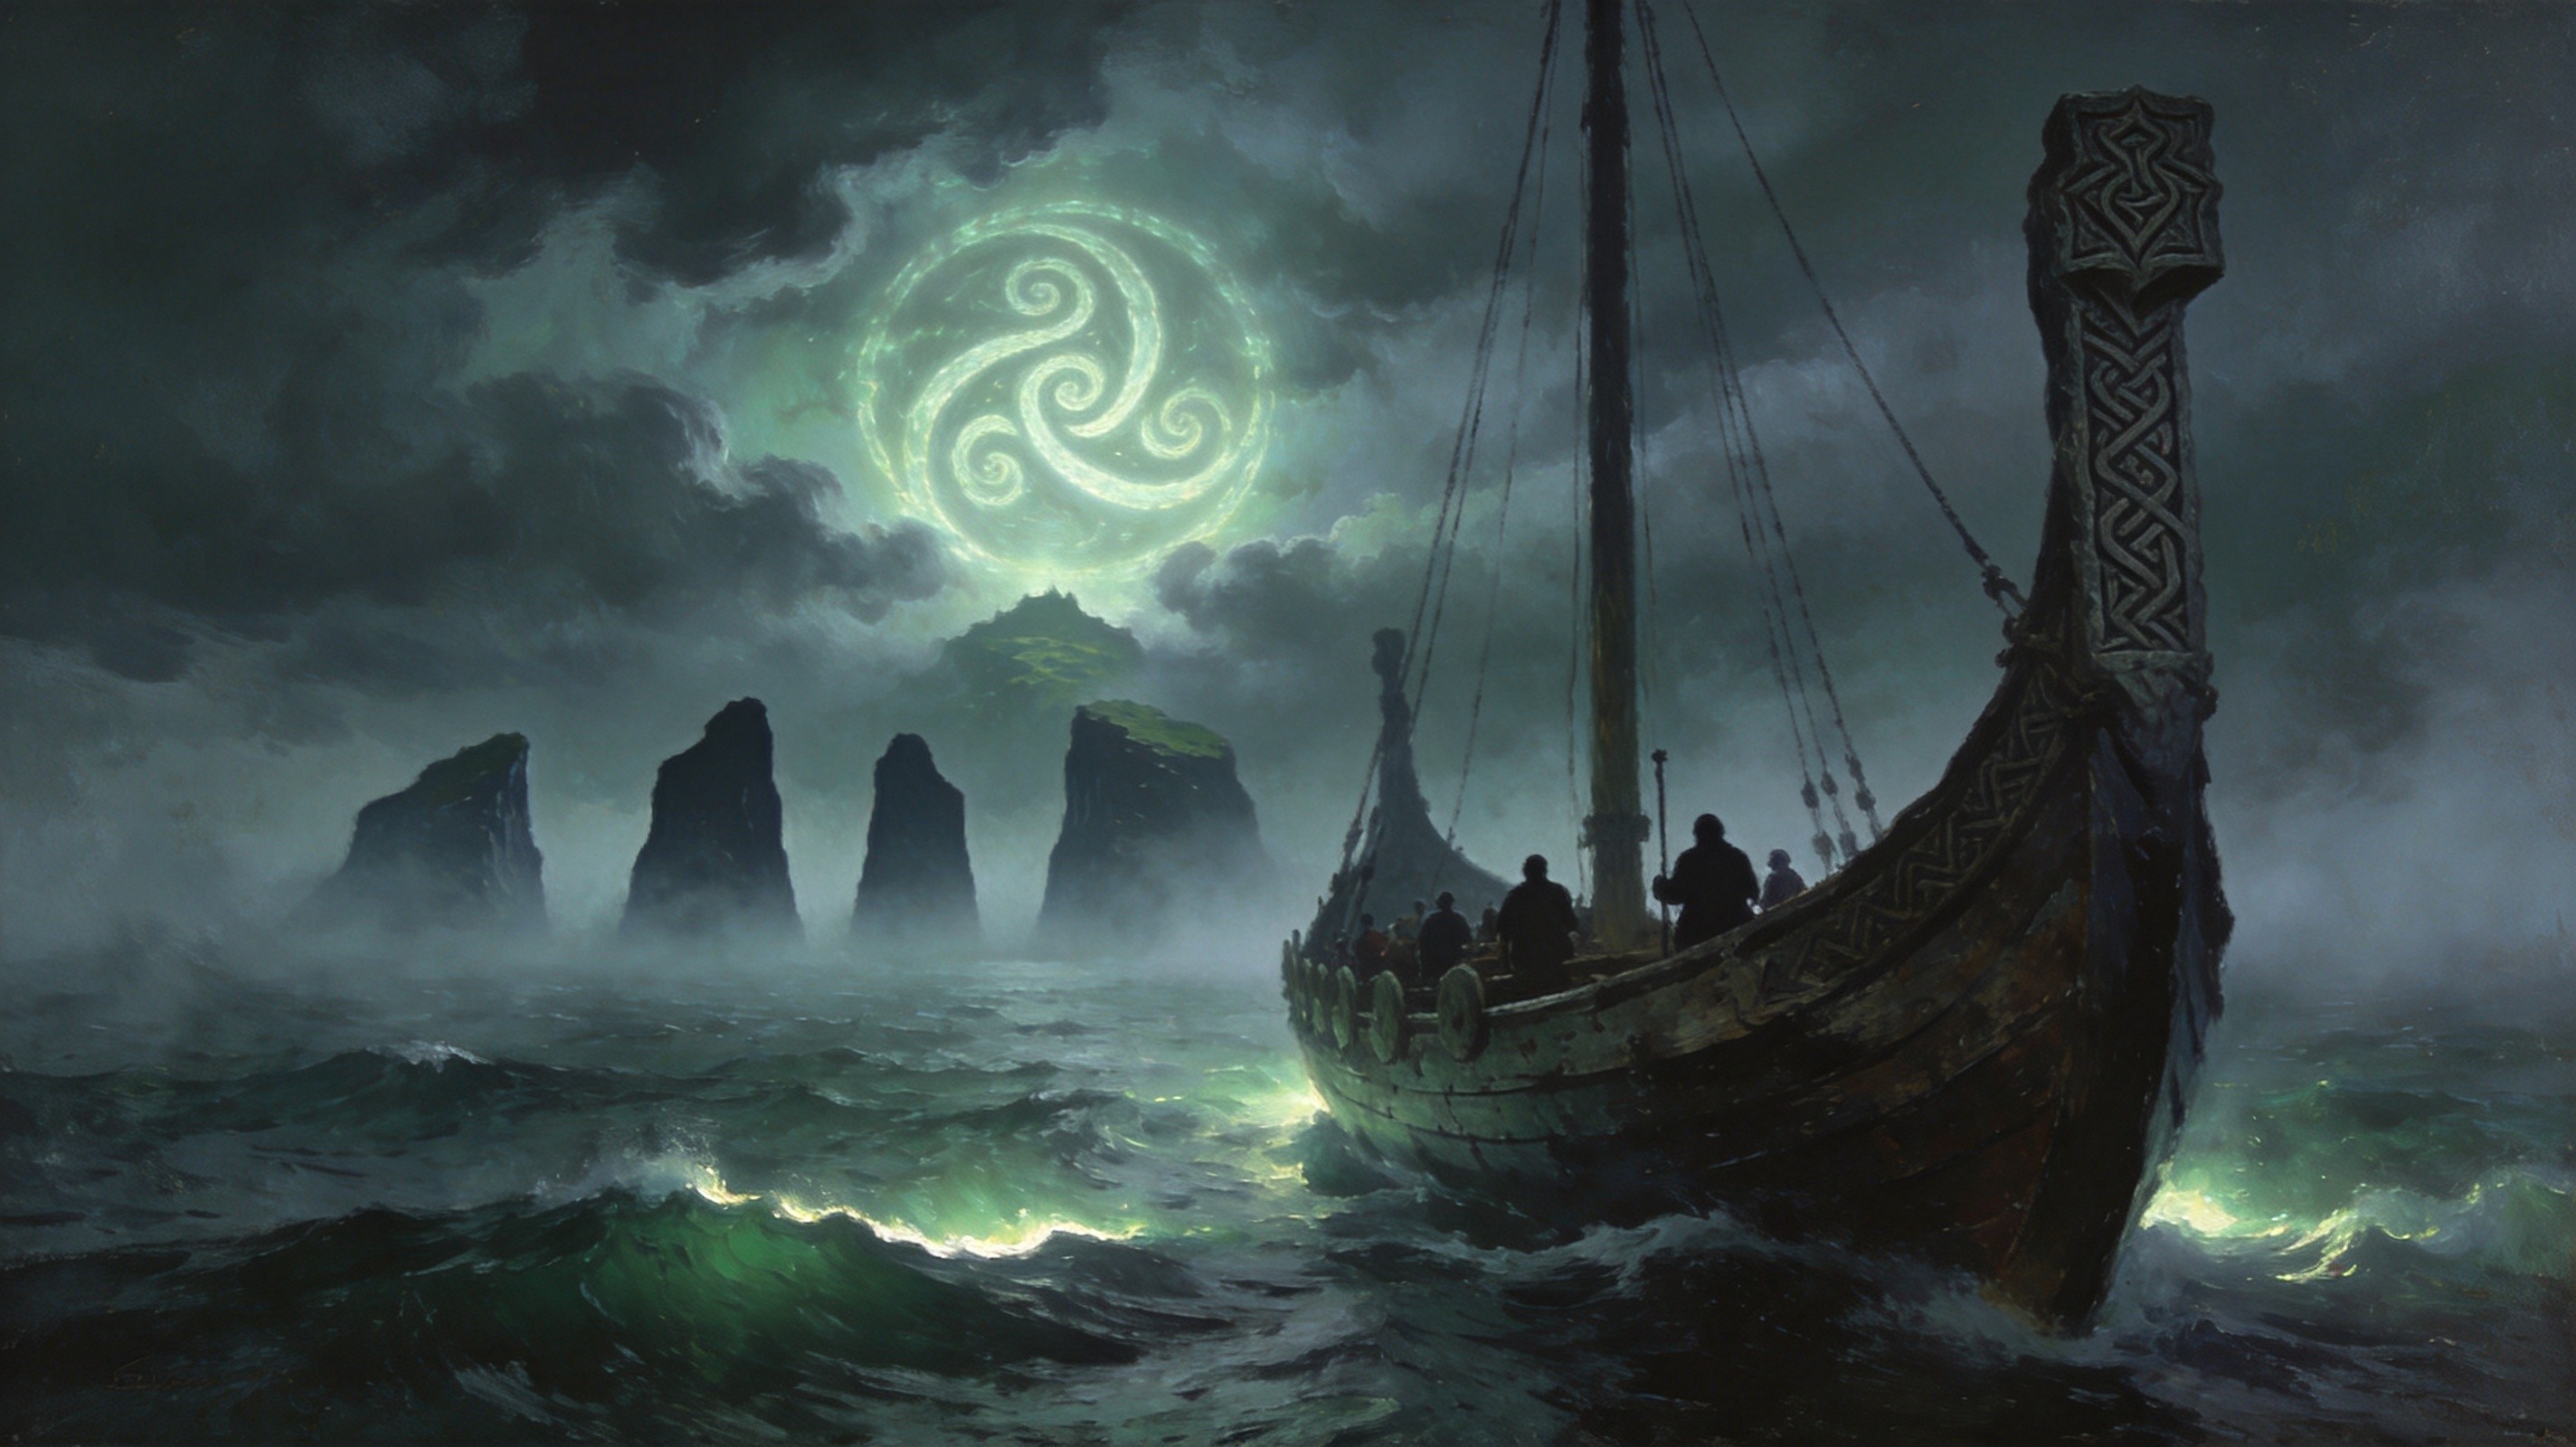
How Ocean Islands Work in Runes of Aldur
The 0.5 endgame added an ocean layer to the Atlas. Scattered across it you will find Uncharted Waters icons; hovering one opens a summary pop-up listing several Rumours, and those Rumours tell you exactly which exclusive encounters that island chain can reveal.
The four boss Rumours you are hunting:
| Rumour text | Island | Boss |
|---|---|---|
| ”End of the circle…” | Sprawling Jungle | Medved, the Fallen Seer |
| ”The last to fall…” | Mournful Cliffside | Vorana, Last to Fall |
| ”Stardrinker…” | Secluded Temple | Uhtred, the Stardrinker |
| ”Origin of the fall…” | Obscure Island | Olroth, Origin of the Fall |
Other Rumours point to unique maps instead, so reading them before spending a Logbook is free efficiency.
Expedition Logbooks are the entry tickets. Using a Logbook at the ocean interface reveals an island chain; boss islands are tagged as Grand Expedition sub-areas. Inside, you plant chains of explosives — large expeditions run 15+ charges — to detonate remnants, open boss caves, and harvest Verisium. Golden-border rune tiles chain your detonations further.
Waystone gating is strict: Medved and Vorana islands require Tier 11+ waystones; Uhtred and Olroth require Tier 14+. If you are unclear on waystone progression, our waystone system guide covers it. And note that Grand Expeditions carry revive limits similar to waystone areas — every death burns a limited resource.
Finally, the targeting layer: Saga items. Activating a boss’s Saga (Medved’s/Vorana’s/Uhtred’s/Olroth’s) before using a Logbook guarantees that boss’s encounter in the revealed Ocean biome. Saga Omens reroll the active Rumours on Uncharted Waters. These two items convert boss farming from RNG into a deterministic loop — more on them in the farming section.
The Grand Expedition Questline: Your Route to All Four Bosses
Your first playthrough of the ocean content is a gated questline. Meet Dannig in Farrow, unlock the Ruins of Kingsmarch, and meet Makoru — then the chain runs in strict order:
- Run Makoru’s Logbook (T11+) → defeat Medved → he drops Vorana’s Logbook
- Run Vorana’s Logbook (T11+) → defeat Vorana → she drops Uhtred’s Logbook
- Run Uhtred’s Logbook (T14+) → defeat Uhtred → he drops Olroth’s Logbook
- Run Olroth’s Logbook (T14+) → defeat Olroth on Obscure Island → obtain the Shattered Triskelion
Each quest kill also grants a Runic Book of Knowledge (+2 Expedition Atlas passive points) on first completion at each difficulty tier, feeding the Expedition Atlas tree added in 0.5.4. Do not skip these — the Expedition tree is what turns Grand Expeditions from side content into the league’s most profitable farm.
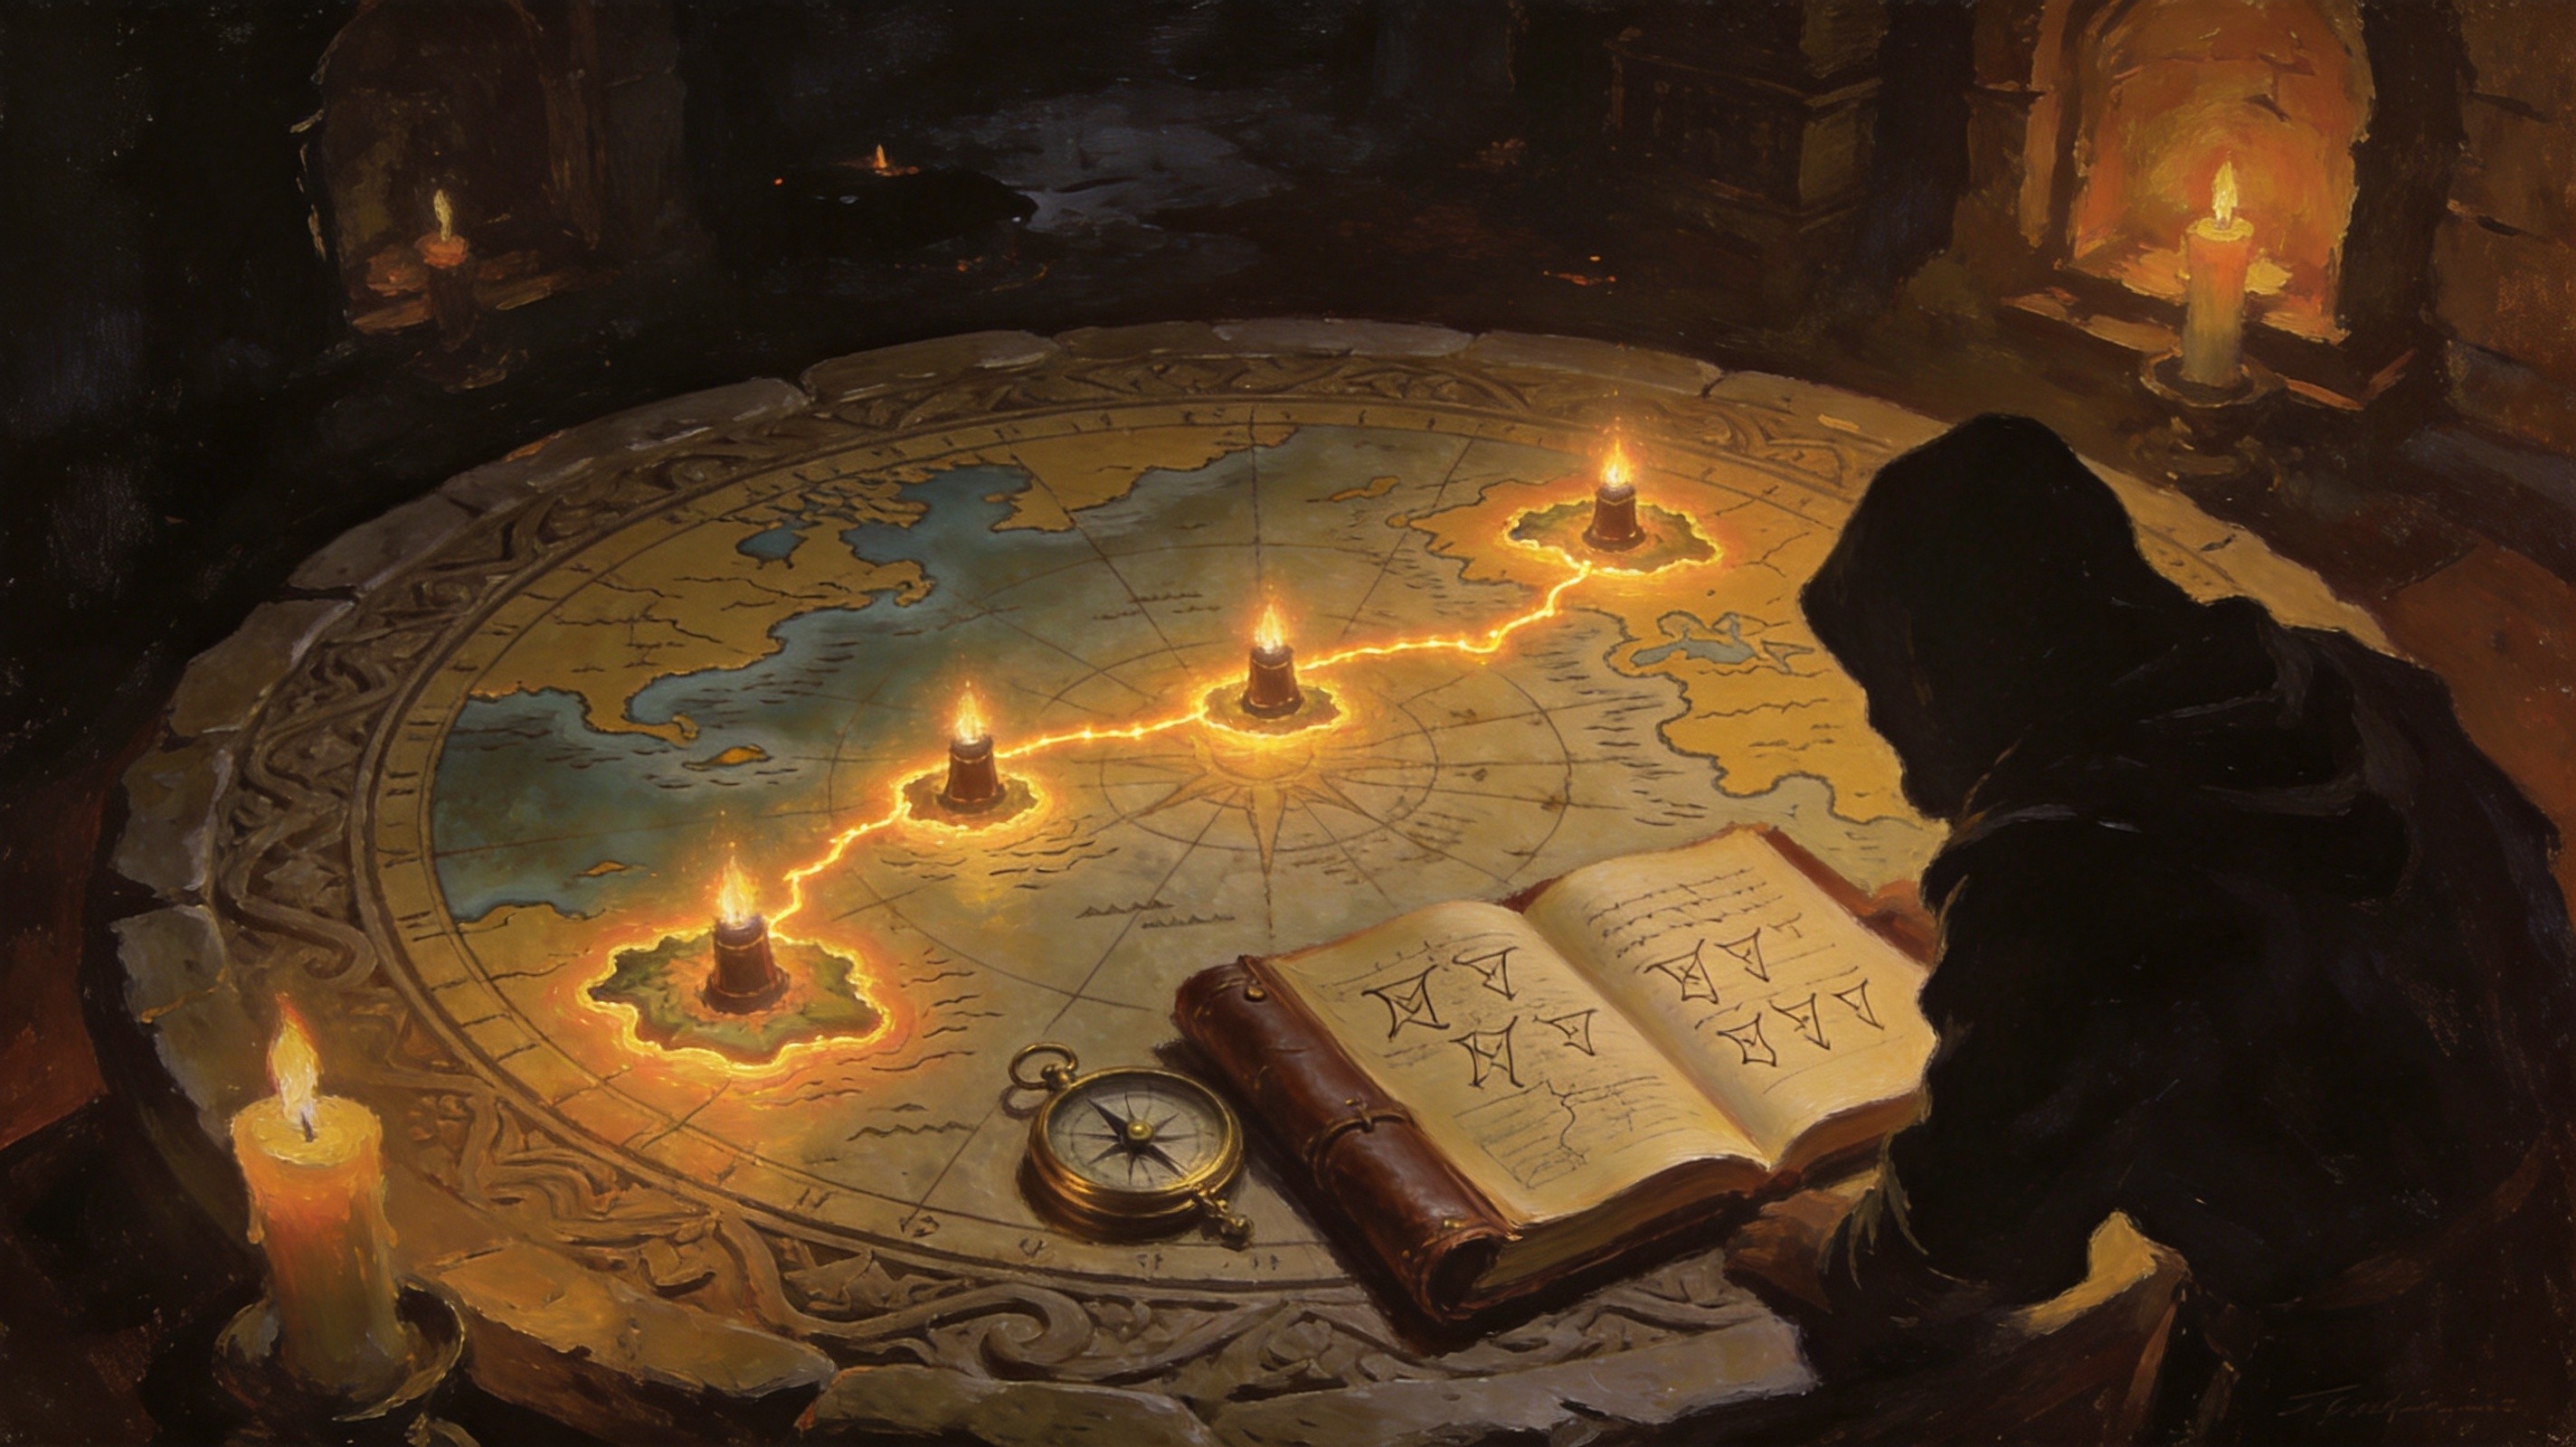
Medved, the Fallen Seer — Sprawling Jungle Boss Guide
Medved leads the Druids of the Broken Circle, and his death voiceline cursing Olroth quietly foreshadows the whole chain. As the first questline target, he is the ocean bosses’ skill check rather than a wall.
Core mechanics: Medved fights almost entirely through his front. His datamined kit includes an axe throw that applies Maim, a rock throw, single and double ground slams, a rolling geyser attack, and a telegraphed “Witness the end of night!” sky beam — plus a self-heal that punishes slow kills.
How to not die: stay behind the boss. Aside from the slams, nearly everything he fires projects forward; a rear position neutralizes most of his kit. The most common deaths come from greedily standing in front during his beam wind-up, and from letting his heal stretch the fight until mistakes accumulate. Community phase-by-phase documentation for Medved remains thin — treat unfamiliar animations with respect on your first kill.
Drops: Medved’s Crest of the Circle, Verisium/Exceptional Verisium, a chance at the Vorana’s Siege Lineage Gem, and the progression-critical Vorana’s Logbook.
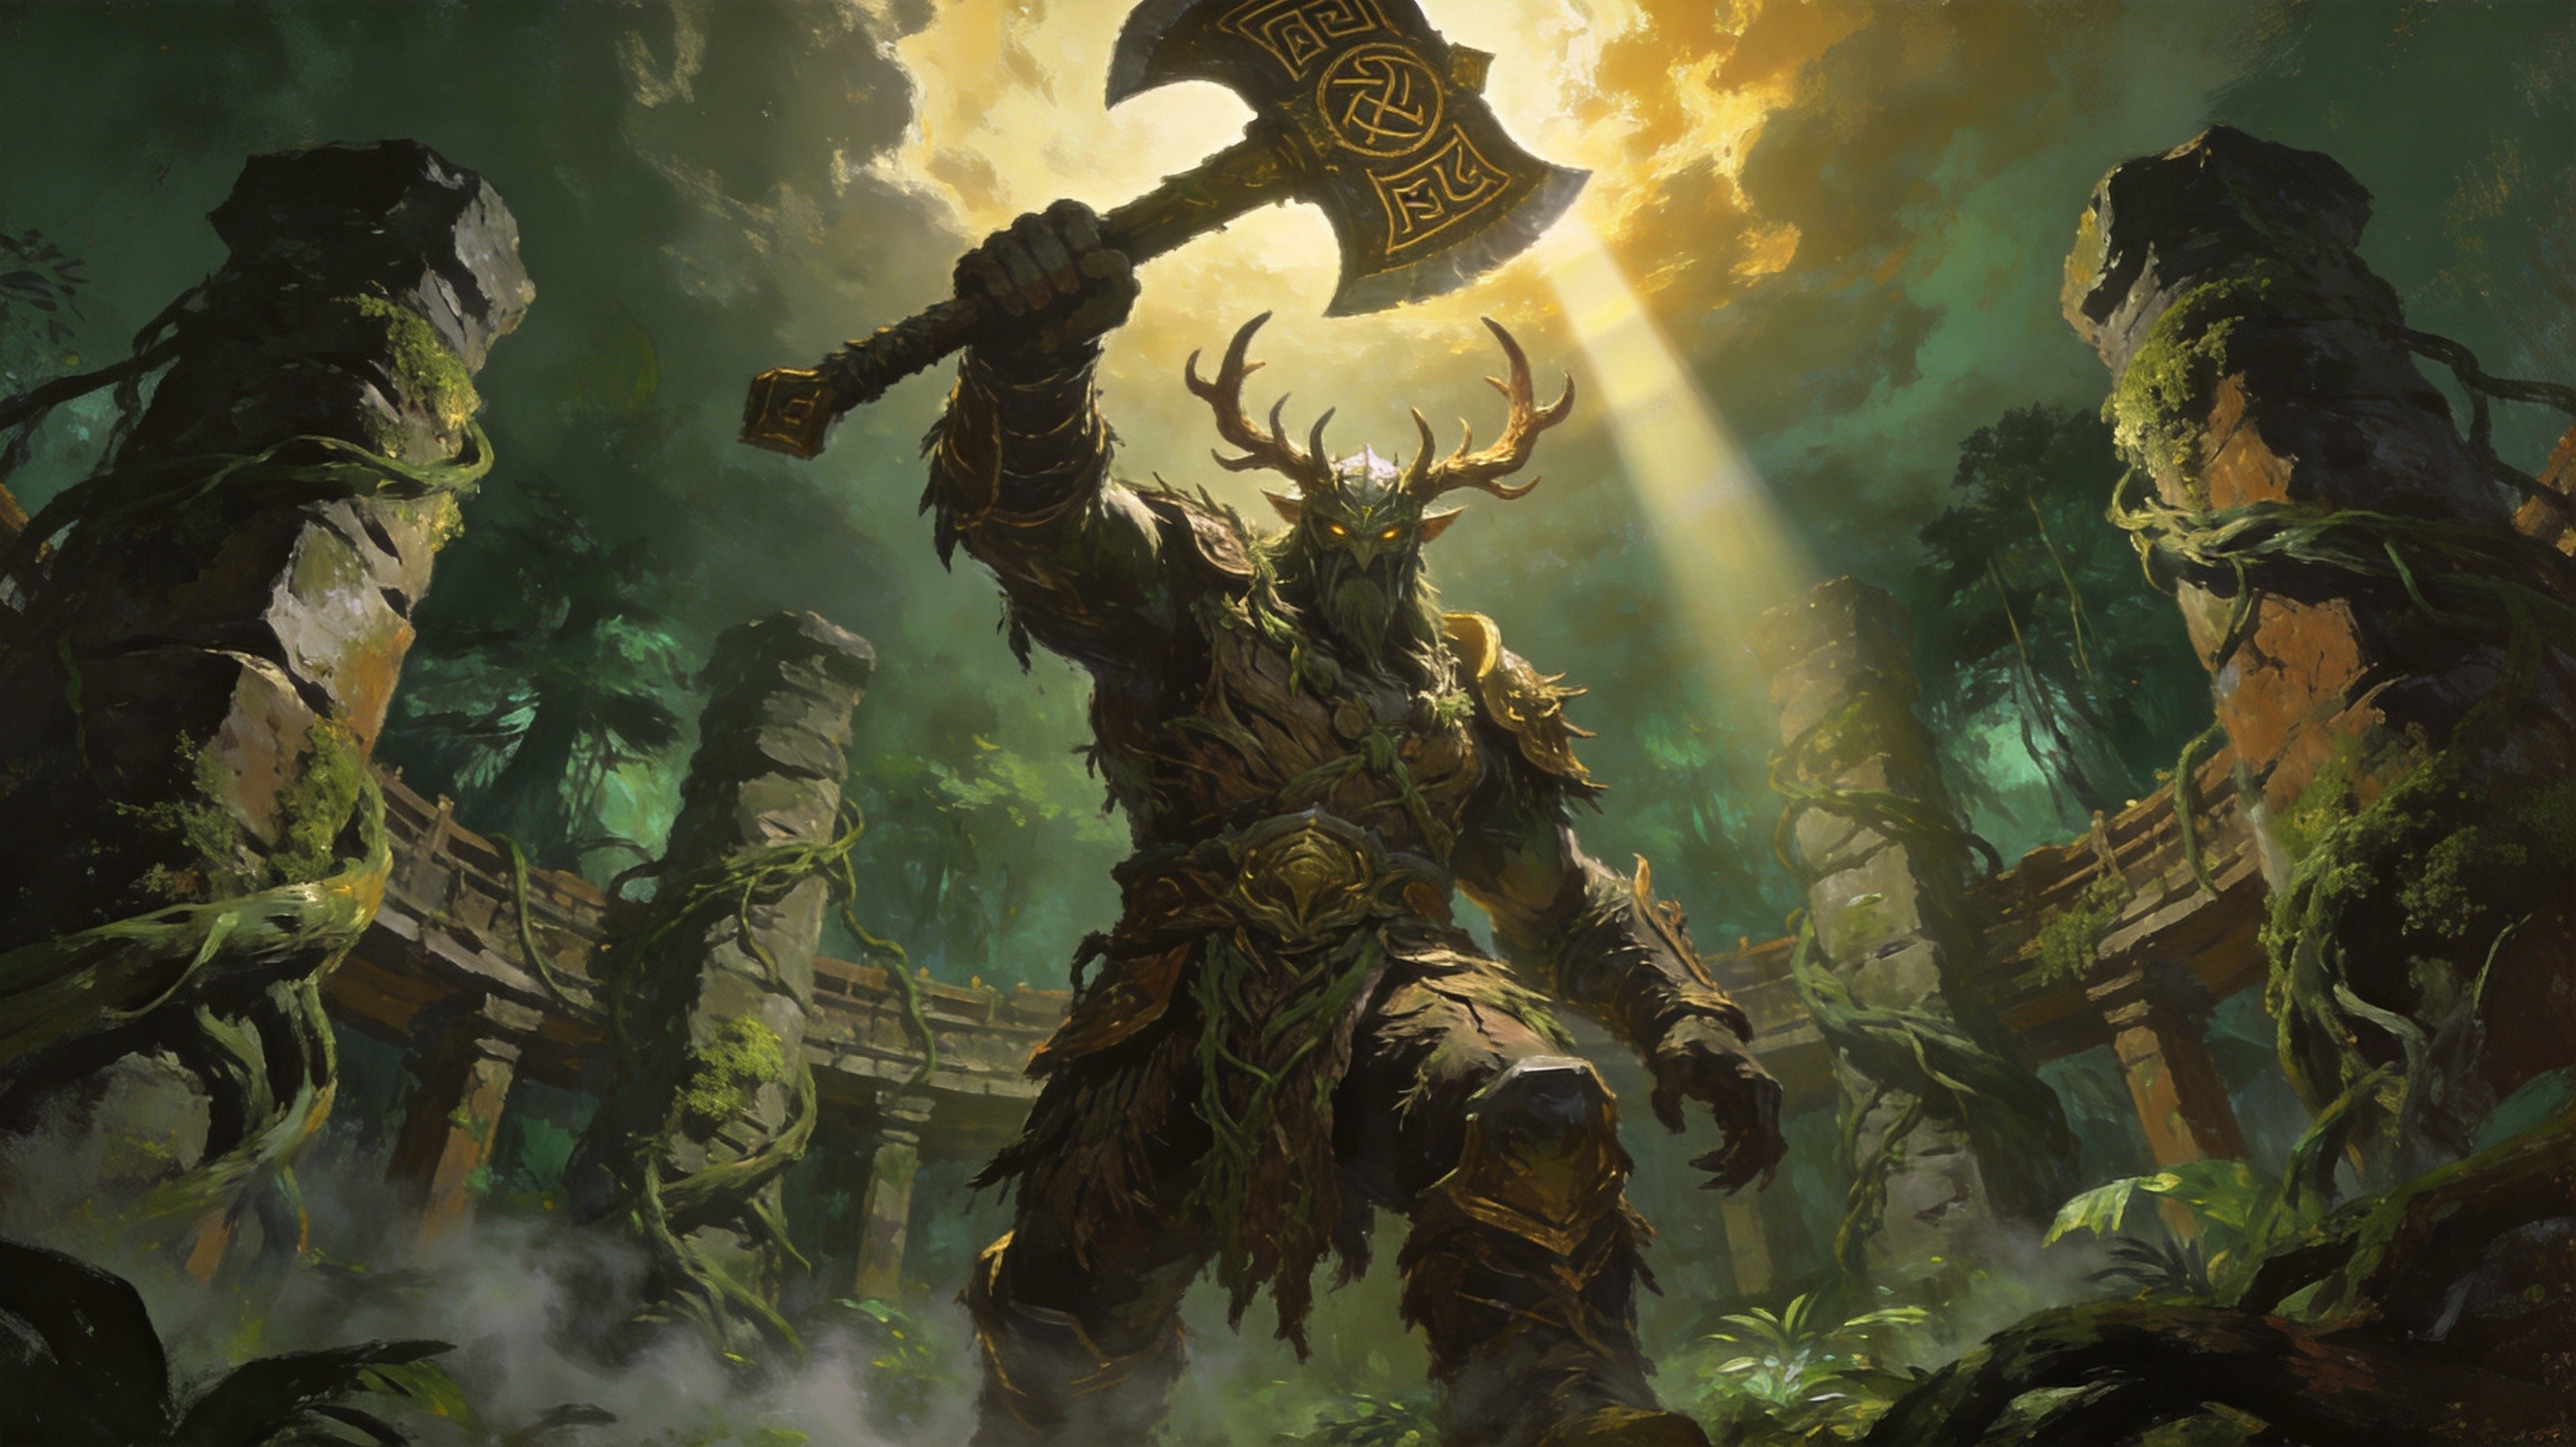
Vorana, Last to Fall — Mournful Cliffside Boss Guide
Vorana runs the Black Scythe Mercenaries and answers to the NPC Tujen. Her fight is widely considered the mechanical spike of the four — because of one mechanic.
The Black Reaping (dark fog): lethal dark fog floods the arena, and stepping outside the safe zone kills in roughly 1–2 seconds of DoT. Every other mechanic exists to push you out of position.
The rest of her kit:
- Double Scythe Slash / Lacerate — a massive frontal cross-slash. The fog forces close range, so you cannot retreat; circle to her back instead.
- Unblockable Cyclone (“Death Wind!”) — she spins and pursues you. This cannot be blocked; a red flash telegraphs it (an earlier build had a bug hiding the flash, since fixed). When you see red, run — do not try to face-tank it.
- Dash combo with knockback — designed to shove you toward the fog edge.
- Ambush phase — Vorana vanishes into the mist and strikes from ambush. Watch your minimap for her indicator.
Balance note: 0.5.4 reduced Vorana’s Cold Resistances — cold builds have a measurably easier time here now.
Drops: Vorana’s Crest of the Scythe, Vorana’s Preparation (unique Iron Flask), Heroic Tragedy (Timeless Jewel), and large amounts of Exotic Coins for Tujen’s shop.
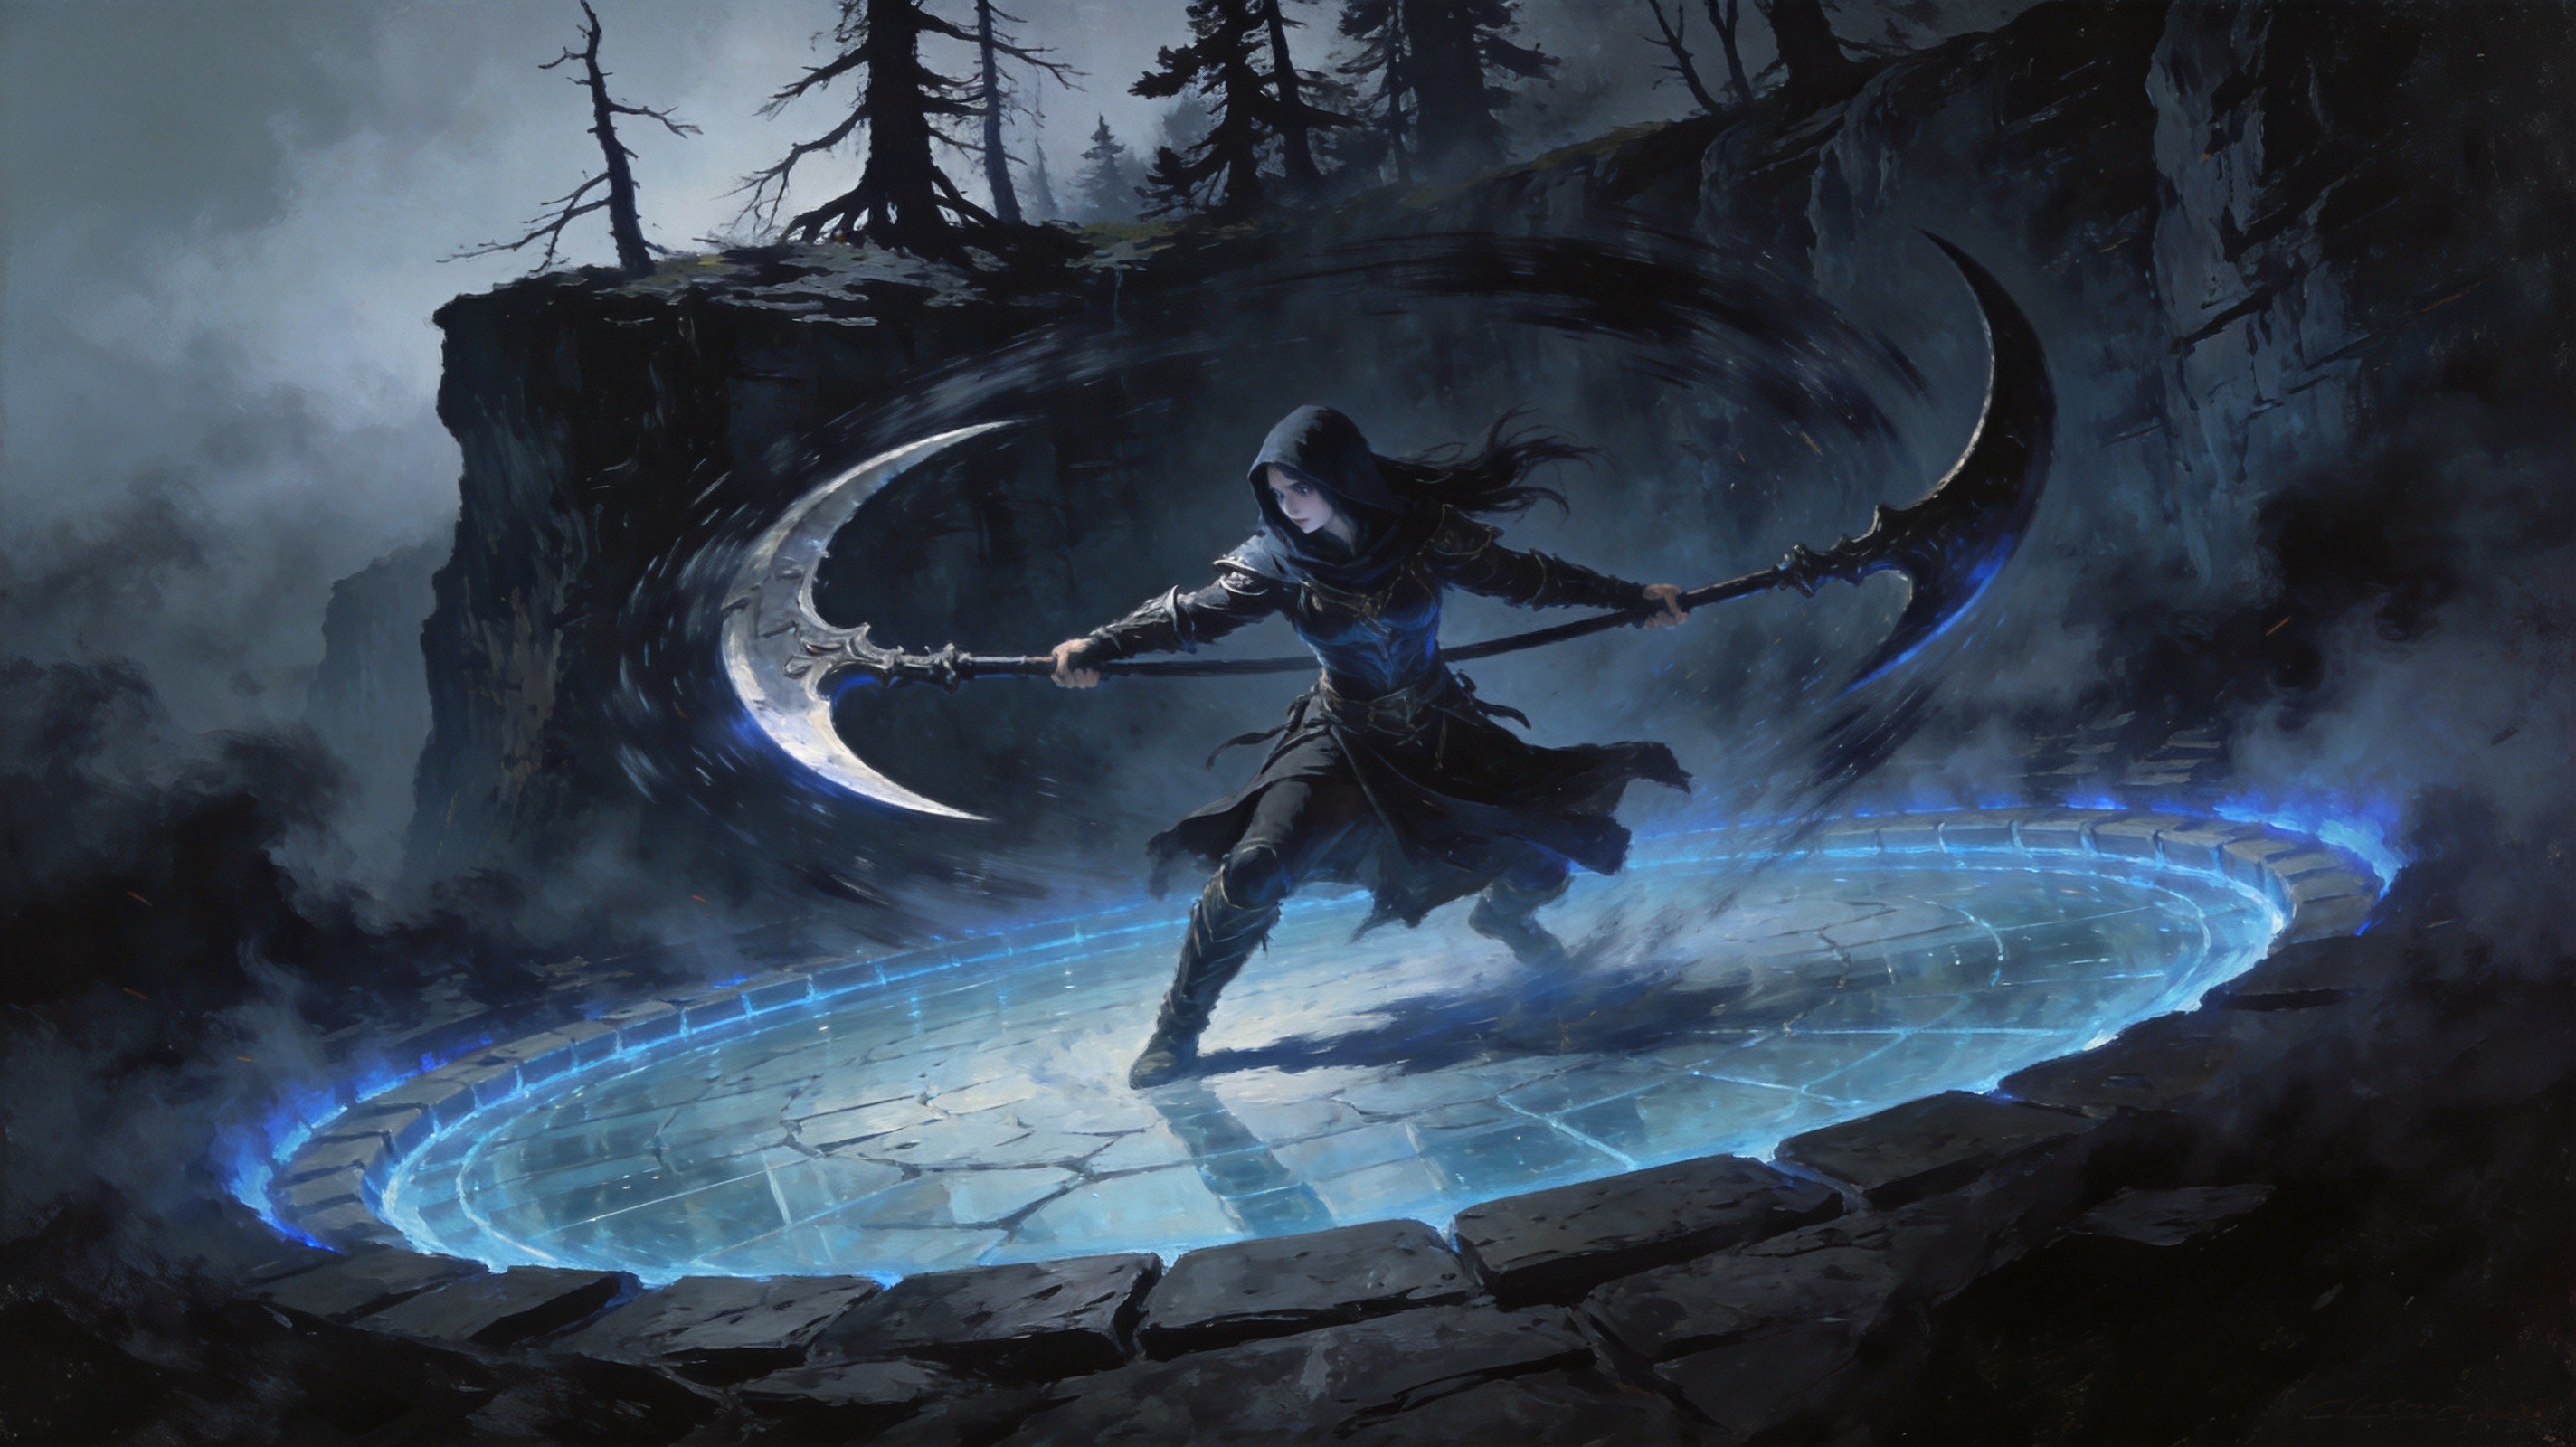
Uhtred, the Stardrinker — Secluded Temple Boss Guide
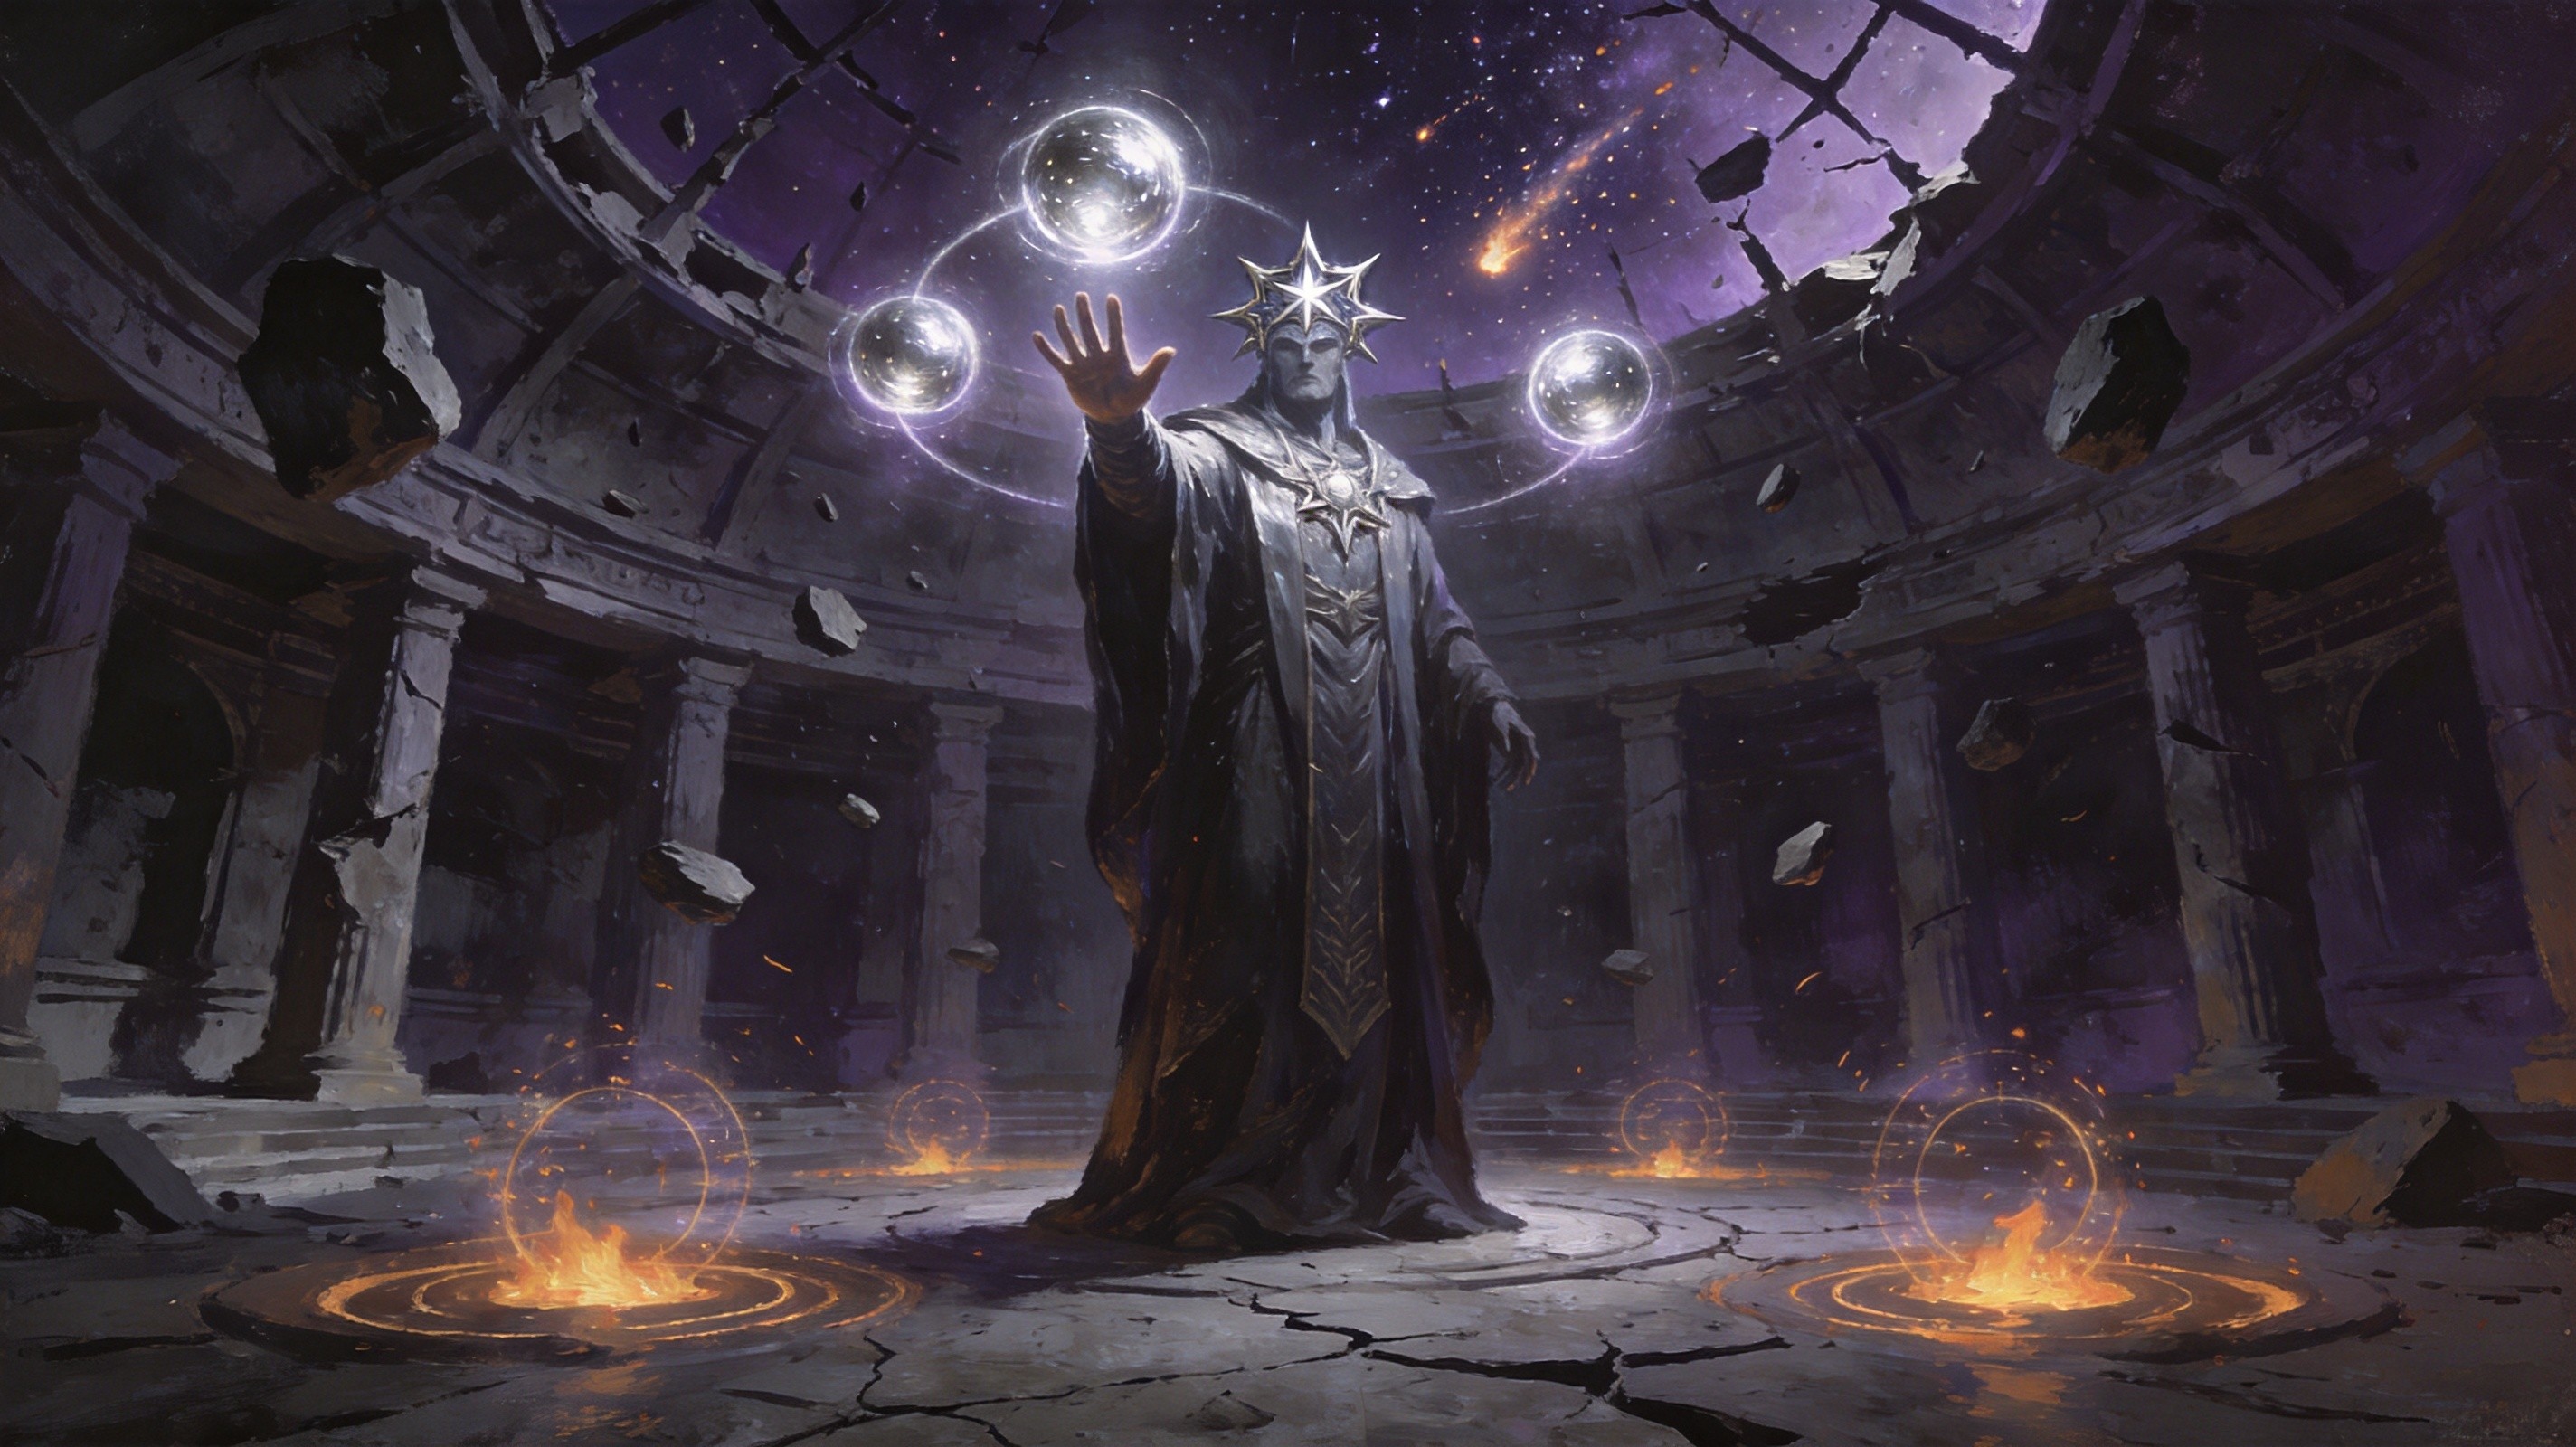
Uhtred is an ancient Kalguuran entity said to have summoned the Verisium meteors millennia ago. He gates the second half of the chain behind the T14 requirement, and his fight is the most movement-demanding of the four.
Core mechanics: nearly everything Uhtred casts paints visible silver ground indicators — his four-orb attack, a tracking spin beam, summoned orb pools, storm calls, mirror eruptions, and conjured rune volatiles. The rule is simple: keep moving. Overlapping indicator zones and the tracking beam are the two reliable killers. He is cold-themed, and 0.5.4 reduced his Cold Resistances alongside Vorana’s. When he dies, a meteor impact animation closes the fight. As with Medved, granular phase documentation is limited — play the indicators, not memorized patterns.
The hidden reason to farm him — Depleted Mana Rune: Uhtred rarely drops a Depleted Mana Rune quest item (once per character). Charge it by reaching 10,000 maximum Mana, right-click to convert it into an Infused Mana Rune, then hand it to Dannig to receive Runeseeker’s Call — a unique Runic Fork wand with 5 hidden Augment Sockets that only accepts Runes and grants 75% increased effect of socketed Runes. This wand is the foundation of the mana-stacking Shaman archetype. The drop rate is genuinely contentious — official forum reports range from a 15th-kill drop to 50+ kills dry — so treat it as a long-term chase, not a checklist item.
Drops: Uhtred’s Crest of the Chalice, Verisium/Exceptional Verisium, Uhtred’s Chalice (unique Transcendent Mana Flask), and an exclusive high-end Lineage gem pool.
Olroth, Origin of the Fall — Obscure Island Boss Guide
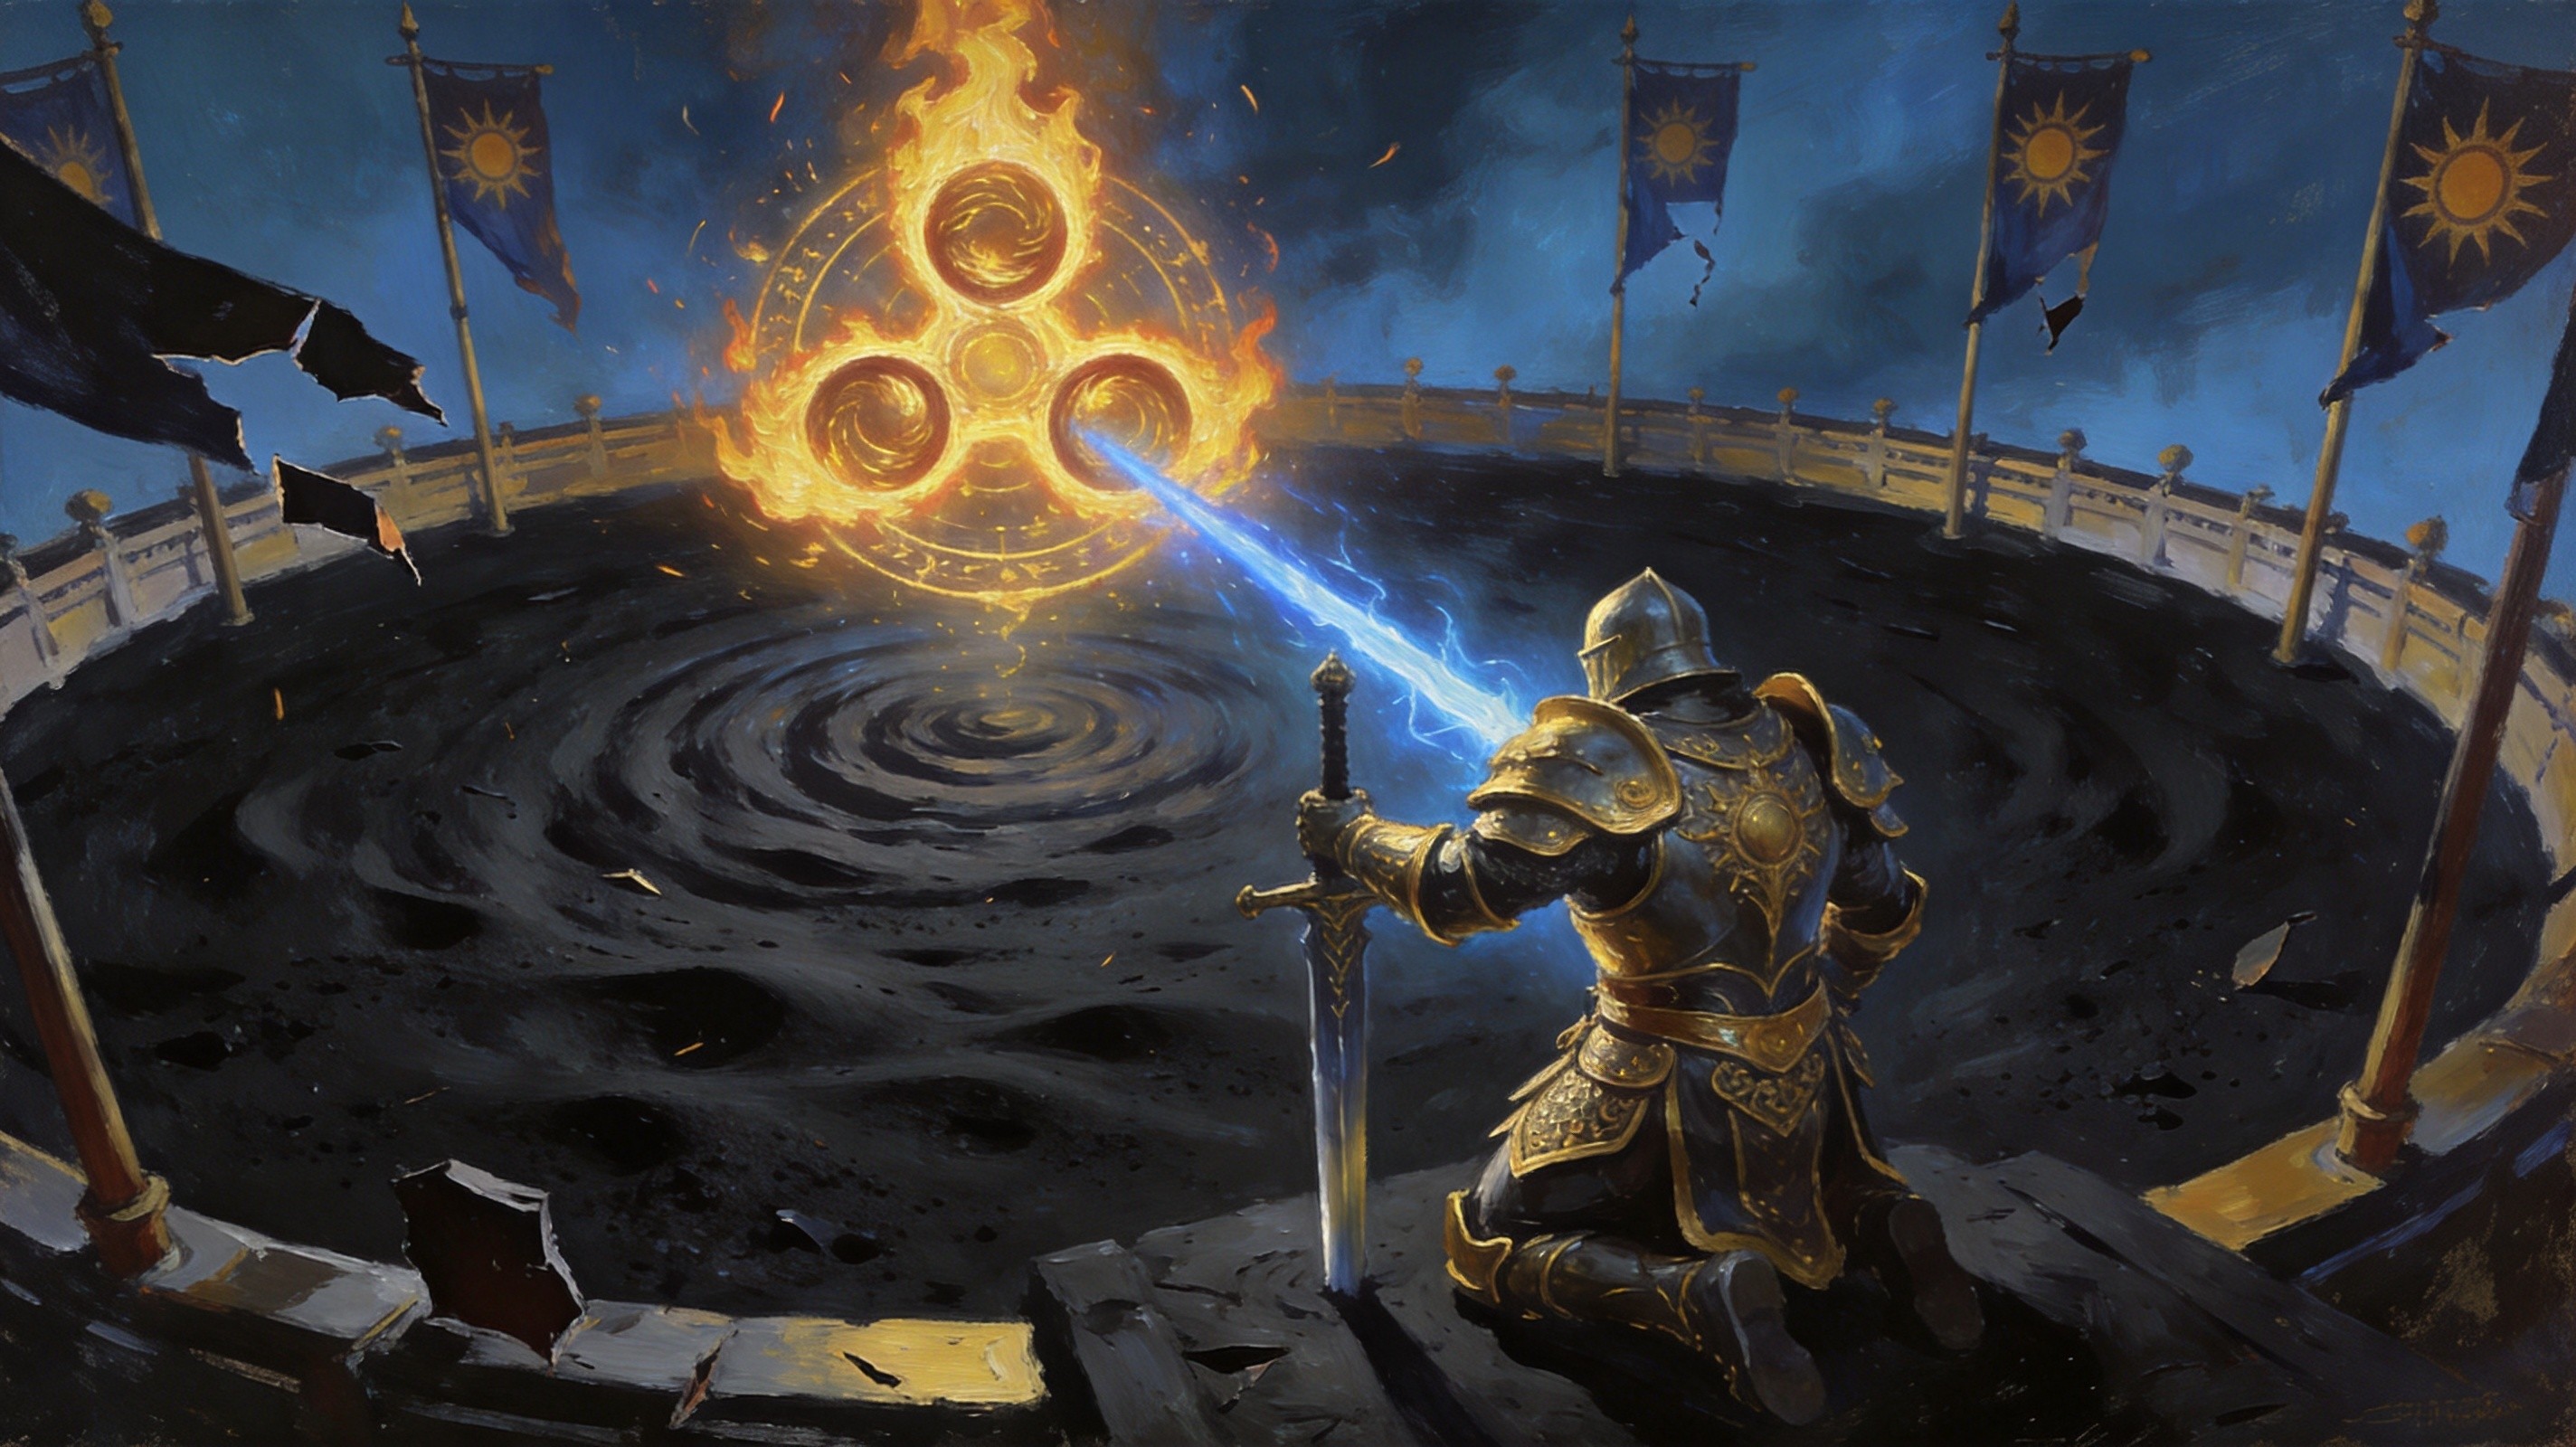
Olroth, leader of the Knights of the Sun, guards the Triskelion Flame artifact — and killing him is your only route to the pinnacle boss. The pre-0.5 access route via Runic Splinters and the Realmgate is deprecated — today you reach him through Olroth’s Logbook (T14+, level 80+ monsters), the “Origin of the fall…” Rumour, or Olroth’s Saga.
The fight — physical + cold, two lives:
- Sword Slam — a slow slam that leaves pulsing cold explosions. The 7th pulse is the deadly one; do not re-enter the zone early.
- Sword Throw — boomerang paths with a returning cold burst that often chains into a Freeze. Never stand on the return line.
- Charged Attack — a dash best crossed late, not early.
- The Triskelion Flame artifact rotates around the arena all fight. On the “Starfire!” voice line it fires a powerful laser that leaves lingering Cold DoT ground; on “Purify” an effect contracts then detonates in a large spiral. Track the artifact’s position every time you hear the callout.
- Second life: after the first kill, the Triskelion revives Olroth at ~70% HP, keeping the sword kit and adding a tracking cold beam.
Preparation checklist: freeze/chill removal is non-negotiable, cold resistance should be capped, and physical mitigation carries you through the sword kit. Fight at melee range behind him, and stay off chilled ground — the Starfire DoT slow into a follow-up is the single most common death sequence. If you need the underlying defense theory, our boss damage types guide breaks down phys/cold mitigation priorities.
Drops: Olroth’s Crest of the Sun, Olroth’s Resolve (unique Ultimate Life Flask), Svalinn (unique Tower Shield), Olrovasara, Keeper of the Arc, Heroic Tragedy, three Uhtred Lineage Supports, a Reliquary Key, Runic Books of Knowledge per difficulty first-clear — and the Shattered Triskelion.
Pinnacle Unlock Chain: Shattered Triskelion → The Triskelion Reforged → Verisium Crater
Here is the full eight-step chain from zero to The Aberration:
- Meet Dannig in Farrow, unlock the Ruins of Kingsmarch, meet Makoru
- Makoru’s Logbook (T11+) → kill Medved → get Vorana’s Logbook
- Vorana’s Logbook (T11+) → kill Vorana → get Uhtred’s Logbook
- Uhtred’s Logbook (T14+) → kill Uhtred → get Olroth’s Logbook
- Olroth’s Logbook (T14+) → kill Olroth → get the Shattered Triskelion
- Bring the Shattered Triskelion to Dannig and reforge it at the Verisium Anvil into The Triskelion Reforged (the key item)
- Speak to Makoru and sail to the Verisium Crater
- Clear the monster waves, socket The Triskelion Reforged into the receptacle to dispel the meteor’s barrier — and face The Aberration
Two economic facts define the whole loop. First, The Triskelion Reforged is consumed on every attempt — each Aberration try costs a fresh Olroth kill. Second, sources conflict on whether the Shattered Triskelion is a guaranteed drop: treat it as not guaranteed and budget multiple Olroth runs per Aberration attempt. This is why the community calls the key, not the fight, the real pinnacle boss. For general pinnacle preparation theory, see our pinnacle boss strategy guide.
The Aberration Boss Guide: Phases, Meteor Rain & Starlit Ore Farming
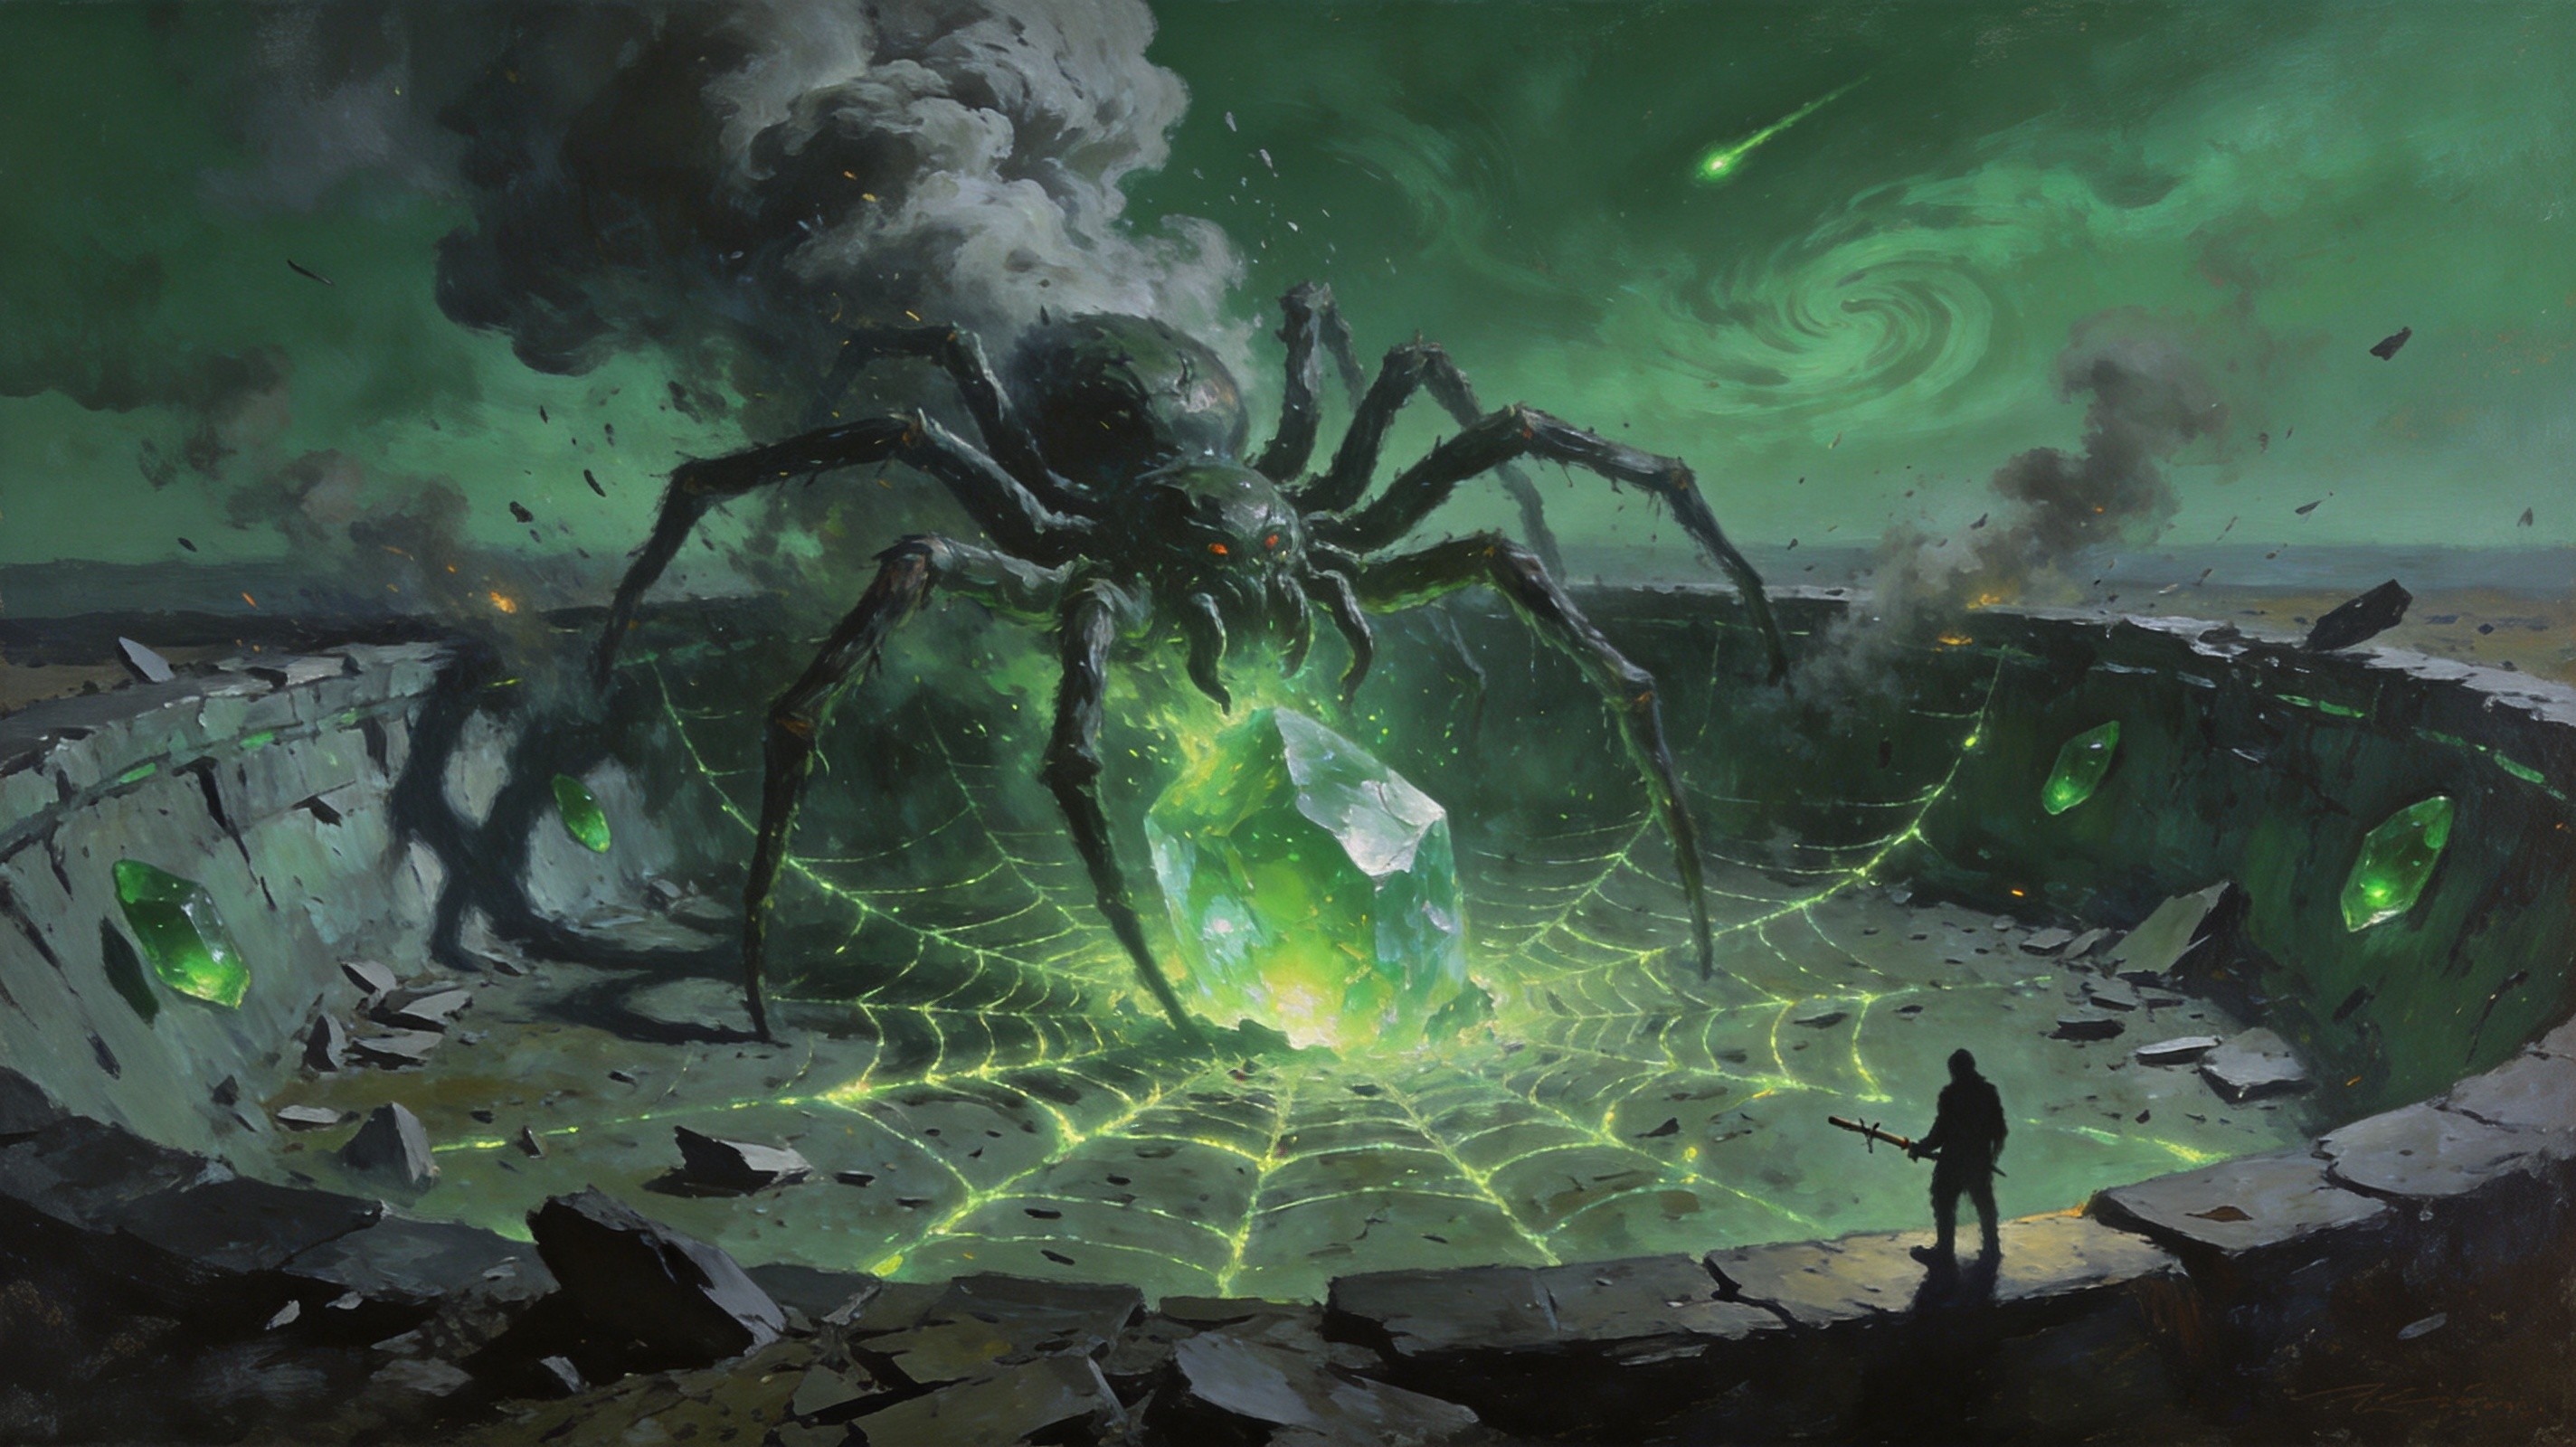
The Aberration is a massive spider-like entity waiting at the Verisium Crater — and the fight itself is rated among the quickest pinnacle encounters once you learn its patterns.
Phase 1 (burrowed): the boss is stationary, attacking with huge front-leg swings of surprising range — never stand directly in front — plus comet/mortar fire and projectile waves. Deal damage in the clean windows between waves.
Phase 2 (at 75% HP): the Aberration fully heals, emerges from the ground, and gains mobility, adding wide melee swings. Budget your flasks and cooldowns for a fight that effectively restarts here.
Web phase: arena-wide web patterns cover the ground. Community-tested advice: circle the outer edge rather than fighting through the middle.
Quality-of-life note: as of 0.5.4, the arena Meteor Rain now stops when the Aberration dies — looting is safe immediately after the kill.
Why you farm it — the drops:
- Starlit Ore (base, Venerable, Warding, Veridical, and Revered variants) — forge these at the Verisium Anvil to gamble on Runes of Aldur uniques. Since 0.5.4 they create item level 84 uniques, making this loop the exclusive source of the league’s chase items.
- Twisted Empyrean — a unique two-handed mace tied to this encounter.
- Roughly 10% chance at a special Lineage-tier gem and ~5% at rare socket currency, plus a guaranteed corrupted rare tablet.
Best Builds & Gear Prep for the Ocean Bosses (0.5.4e)
Current meta tier lists (mobalytics/maxroll, 0.5.4 era) put Deadeye, Spirit Walker, Martial Artist, Tactician, Titan, Oracle, Pathfinder, Infernalist and Gemling at the top — any of these clears the chain comfortably. Our Runes of Aldur season builds guide covers the strongest options in detail. More important than tier position is matching your build to each arena:
| Boss | Build trait that matters most | Defensive must-have |
|---|---|---|
| Medved | Any — positional discipline | Standard capped resists |
| Vorana | Close-range circling builds | DoT recovery for fog ticks; mobility |
| Uhtred | High-mobility builds | Cold resist; movement speed |
| Olroth | Burst + phys mitigation | Freeze/chill immunity, capped cold |
| The Aberration | Burst to shorten web phase | Phys mitigation; flask discipline |
For a broader difficulty context, our boss mechanics tier list places these fights against the rest of the endgame roster.
Farming Routes & Efficiency: Sagas, Liquid Verisium, Crests, Challenges
The post-0.5.4 optimized loop, per community consensus:
- Atlas Master: pick Jado (Order of the Djinn) for the 10% Verisium reroll passive.
- Key notable: allocate “Feeling Lucky?” so Farrow sells Liquid Verisium — instant remnant rerolls that rescue weak expeditions.
- Saga targeting: boss Sagas guarantee specific boss encounters. Aldur’s Saga — the only non-boss Saga — massively buffs Grand Expeditions (up to 8 nodes from one Logbook when a 7-slot Verisium Remnant is involved). When the unique map Mirror of the Fallen Skies appears (~1 in 25 Logbooks, community estimate), take Aldur’s Saga as the reward. Saga Omens reroll Rumours to fish for boss islands.
- The boss-rush loop: Olroth (Rumour/Saga) → Shattered Triskelion → reforge → Aberration → Starlit Ore → anvil gambling. Repeat.
- Side economies: Vorana’s Exotic Coins feed Tujen’s shop; the four Kalguuran Crests are used at the Verisium Anvil to transform unique items — and “Any Kalguuran Crest” is required for The Artisan challenge.
Two challenge-system clarifications worth printing on a sticky note: The Vanquisher requires Vessel of Kulemak (full strength), The Bodach, and Tangmazu — the ocean bosses and The Aberration are not part of it. And The Cartographer progress is fed by the 0.5.4 Expedition Atlas tree, which your questline first-kills (Runic Books of Knowledge) directly advance.
One last efficiency note: Logbooks drop from questline bosses, runic monsters, and the currency exchange — and T16 Grand Expeditions yield ilvl 81–82 bases, so even non-boss runs pay for themselves. For the seasonal context behind all of these systems, our seasonal mechanics hub ties them together.
Drop rates and prices shift weekly in a live economy — the mechanical content above reflects patch 0.5.4e. Found something that contradicts your in-game experience? Tell us through the site feedback form and we will verify and update.
Was this guide helpful?
Help us improve PoE2Path with your feedback.